How to use the 16×2 LCD with Arduino?
What is a 16×2 LCD?
The 16×2 LCD screen has 2 lines and it can display up to 16 characters per line. 16×2 means two lines and each line has 16 columns, 32 characters in total. The 16×2 LCD screen can be programmed using an Arduino microcontroller board with the liquid crystal library to display custom text, numbers, and special characters.
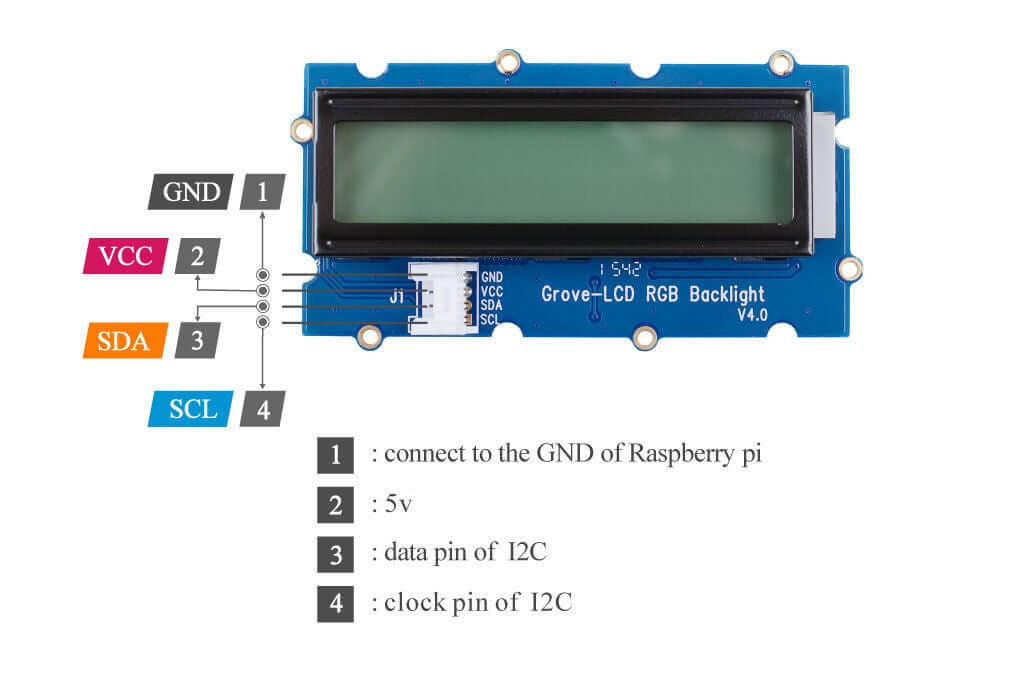
Traditionally, 16×2 LCD requires up to 10 I/O pins to display which comes with monocolor backlight, but with RGB backlight requires an extra 3 pins to control the color which will take up a lot of I/O pins on the main control board. Done with tedious monocolor backlight? With the help of Grove I2C connector, only 2 signal pins and 2 power pins are needed. You don’t even need to care about how to connect these pins. Just plug it into the I2C interface on the Arduino board such as Seeeduino V4.2.

This Grove 16×2 LCD comes with a full-color backlight. High contrast and ease of use makes it a perfect I2C 16×2 LCD with Arduino and Raspberry Pi. This enables you to set to any color via the simple and concise Grove interface.
Grove – 16×2 LCD RGB Backlight supports user-defined characters as well! Want to get a love heart or some other foreign characters? Just take advantage of this feature and design it!
Play 16×2 LCD with Arduino
Step by Step tutorial I2C display with Arduino:
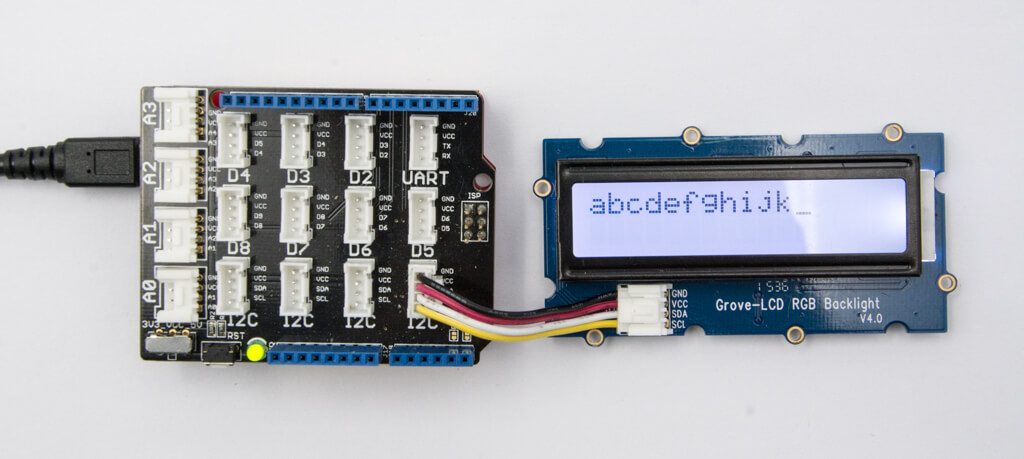
Step 1 – Connect 16×2 LCD display to I2C port of the base shield.
Step 2 – Connect base shield onto Seeeduino.
Note: If we don't have Base Shield, we also can directly connect Grove - LCD RGB Backlight to Seeeduino as below.
| Seeeduino | Grove – LCD RGB Backlight |
| 5V | Red |
| GND | Black |
| SDA | White |
| SCL | Yellow |
Step 3 – Connect Seeeduino to PC via a USB cable.
Step 4 – Download the Grove-LCD RGB Backlight Library from Github.
Step 5 – Refer to How to install Arduino library.
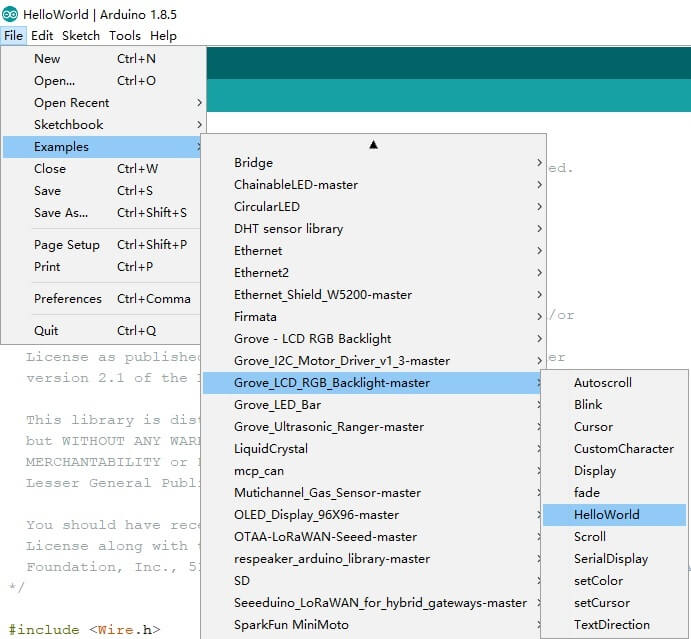
Step 6 – Here are 12 examples in the library as below.
- Autoscroll
- Blink
- Cursor
- CustomCharacter
- Display
- fade
- HelloWorld
- Scroll
- SerialDisplay
- setColor
- setCursor
- TextDirection
Step 7 – Please follow the picture below to select Examples > Grove_LCD_RGB_Backlight-master > HelloWorld and upload to Arduino. If you do not know how to upload the code, please refer to Upload Code.
Code for HelloWorld.ino
#include <Wire.h>
#include "rgb_lcd.h"

rgb_lcd lcd;

const int colorR = 255;
const int colorG = 0;
const int colorB = 0;

void setup()
{
    // set up the LCD's number of columns and rows:
    lcd.begin(16, 2);

    lcd.setRGB(colorR, colorG, colorB);

    // Print a message to the LCD.
    lcd.print("hello, world!");

    delay(1000);
}

void loop()
{
    // set the cursor to column 0, line 1
    // (note: line 1 is the second row, since counting begins with 0):
    lcd.setCursor(0, 1);
    // print the number of seconds since reset:
    lcd.print(millis()/1000);

    delay(100);
}
Step 8 – We will now see the “hello, world!” on the LCD display.
Playing 16×2 LCD with Raspberry Pi
Step by Step tutorial with Raspberry Pi:
Step 1 – Connect base hat onto Raspberry.
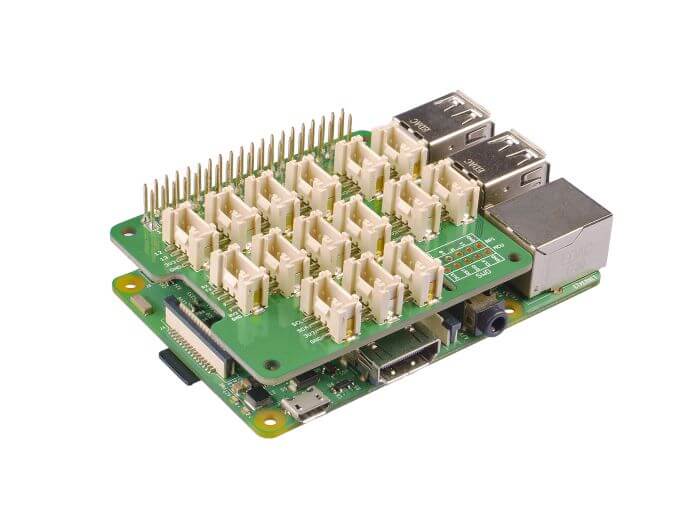
Step 2 – Connect 16×2 LCD display to I2C port of the base hat.
Step 3 – Connect Raspberry Pi to PC via a USB cable.
Step 4 – Follow the step by step installation for grove.py to configure development environment.
Step 5 – Run the following commands to create a python file.
cd grove.py
nano lcd_rgb_backlight.py
Step 6 – Copy the following code.
#!/usr/bin/env python

import time

from grove.display.jhd1802 import JHD1802

def main():
    # Grove - 16x2 LCD RGB Backlight connected to I2C port
    lcd = JHD1802()

    lcd.setCursor(0, 0)
    lcd.write('hello, world!!!')

    print('application exiting...')

if __name__ == '__main__':
    main()
Step 7 – Run the program.
sudo chmod +x lcd_rgb_backlight .py
sudo ./lcd_rgb_backlight .py
Step 8 – We will now see the “hello, world!!!” on the LCD display.
Playing 16×2 LCD with Codecraft
Things you need:
Step by Step tutorial with Codecraft:
Step 1 – Using a Grove cable connect 16×2 LCD display to Seeeduino’s I2C port. If you are using Arduino, please take advantage of a base shield.
Step 2 – Link Seeedino/Arduino to your PC via an USB cable.
Step 3 – Open Codecraft, add Arduino support (if using Arduino), and drag a main procedure to working area.
Note: If this is your first time using Codecraft, you can refer to Guide for Codecraft using Arduino.
Step 4 – Drag blocks as picture below or open the cdc file.
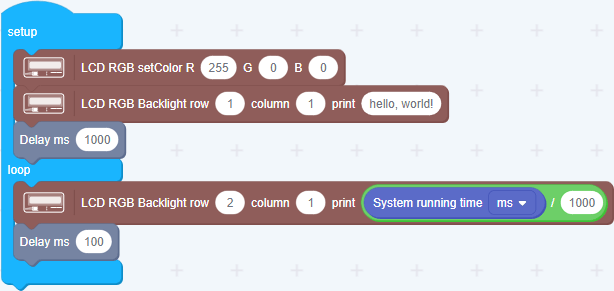
Step 5 – Upload the program to your Seeeduino / Arduino.
Project Ideas for Grove – 16×2 LCD RGB Backlight
Measure temperature and air humidity with the Arduino Uno
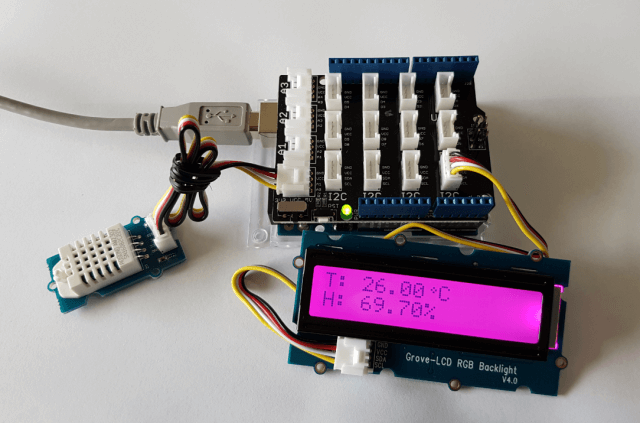
Temperature and air humidity readings are displayed and the RGB backlight changes its color depending on the temperature of the environment by using a Seeeduino V4.2 / Arduino Uno Rev3 microcontroller board and a Grove expansion kit.
Things you need:
- Grove – 16×2 LCD RGB-Backlight
- Seeeduino V4.2 / Arduino Uno Rev3
- Base Shield V2
- Grove – Temperature & Humidity Sensor Pro
- USB Cable 2.0 Hi-Speed A-St to B-St (2m)
Realtime Clock
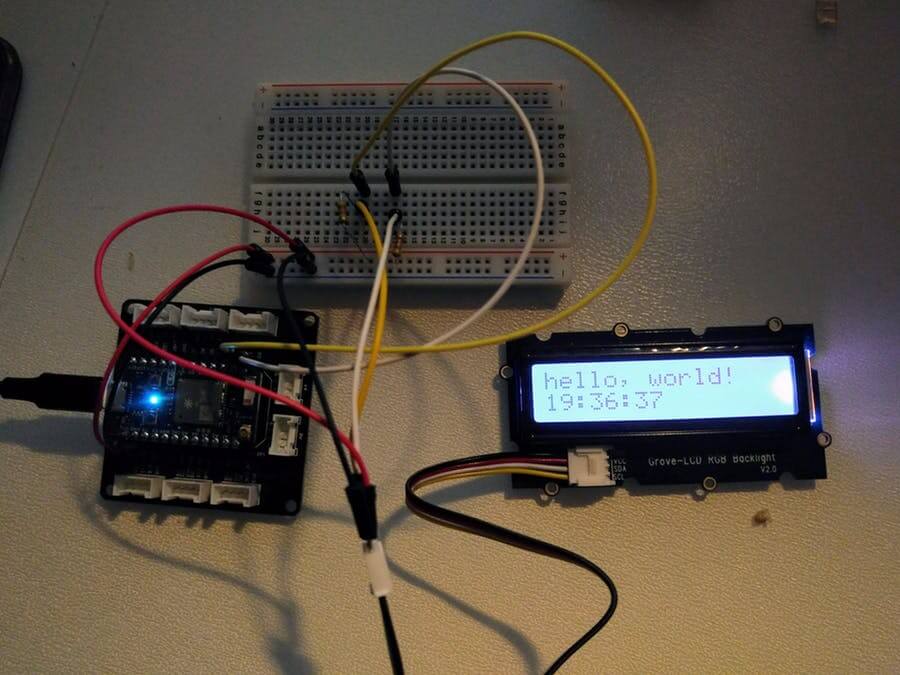
Particle’s Photon is a tiny Wi-Fi development kit for creating connected projects and products for the Internet of Things (IoT). This is a simple project which shows how to connect Grove – 16×2 LCD RGB Backlight and Photon to display information.
Things you need:
Display Intel Edison WiFi IP Address on a Grove-LCD RGB Backlight
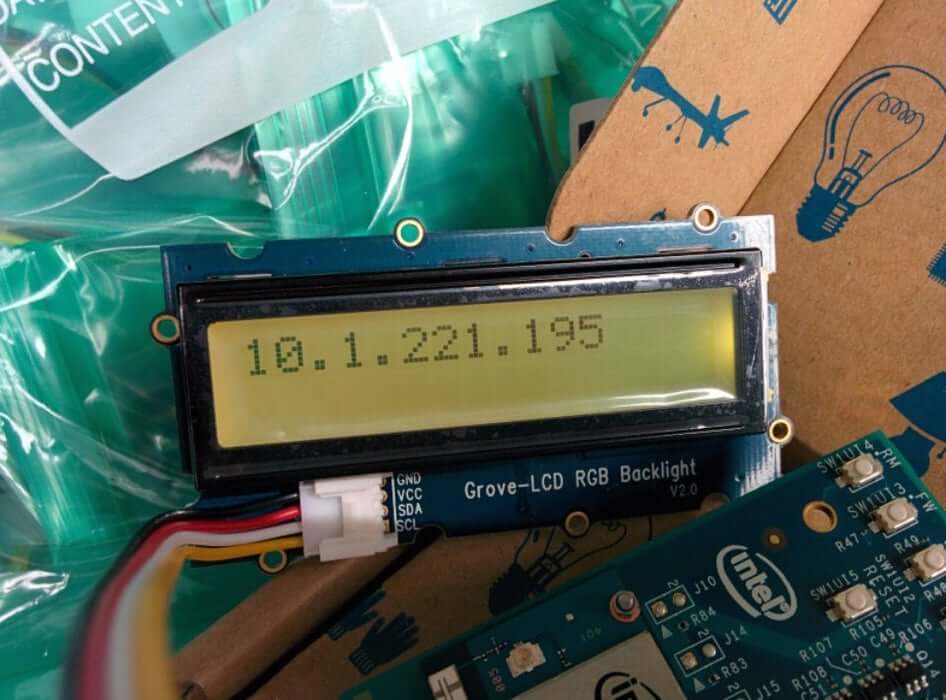
If you’re lucky enough to have a Grove-LCD RGB Backlight device, and want to save yourself the trouble of logging in via the serial console every time, here’s how to set up the Intel Edison to print its WiFi address to the LCD.
Toothbrushing Instructor
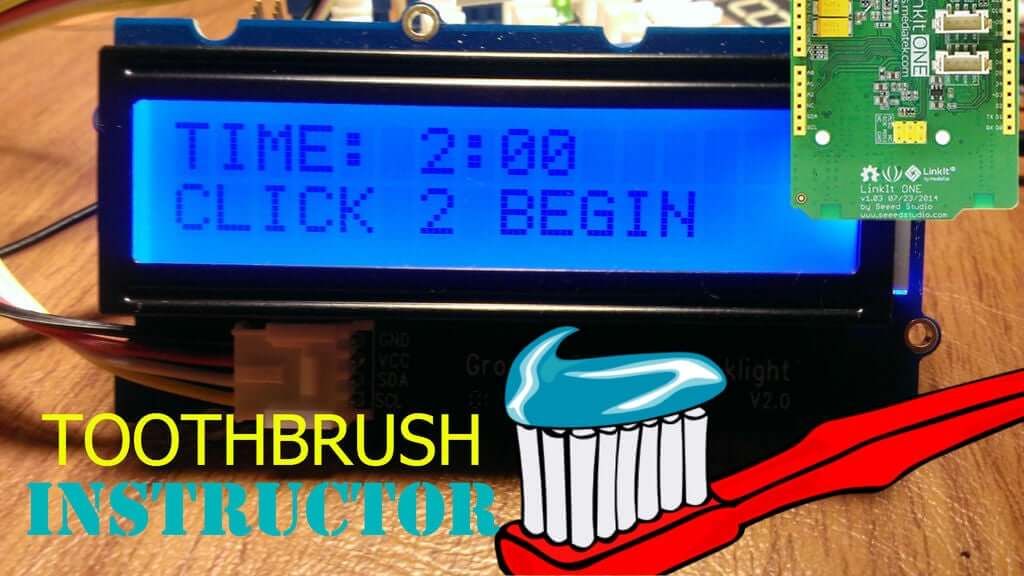
Kids just aren’t huge fans of brushing their teeth. Not only are they not huge fans, they also are pretty bad at it. This project was created not only to time them to make sure they brush for an entire two minutes, but also tells them what part of their mouth they should be brushing!
Grove Lucky Dumpling

LCD screen is fun, cheap, and most importantly well supported by the community. This project features the 1602 LCD screen and functions as a lucky dumpling (fortune teller). When you press its button, it will give you a glimpse into your future.
What you need:
- Grove – 16×2 LCD RGB Backlight
- Base Shield V2
- Grove – Button
- All parts included can be found in Grove – Starter Kit.
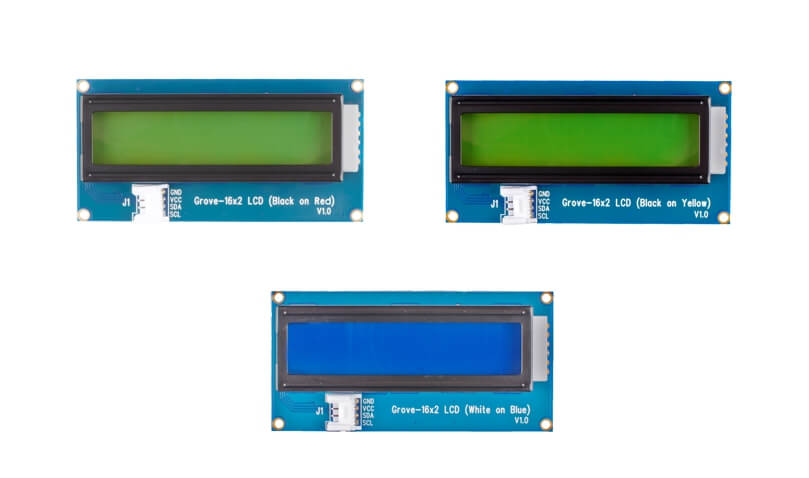
A more cost-effective monochrome backlight would be Grove – 16×2 LCD (White on Blue), Grove – 16×2 LCD (Black on Red) and Grove – 16×2 LCD (Black on Yellow). They are almost identical to the the Grove – 16×2 LCD RGB Backlight, and are all 16 characters wide, 2 rows with high brightness backlight.
Typical Applications for Grove – 16×2 LCD Series
- Temperature display
- Time display
- Any project that requires a simple display