How to Build Your Own OpenWRT Router with an SBC
OpenWRT is a custom framework without a required complete firmware Developers can customize the firmware, which can be installed on your router. In this tutorial, you will learn how to install the open-source OS for the router network. We use ODYSSEY – X86J4105 to turn the board directly into a router.
Why use OpenWRT?
Before we begin, here are some reasons you should use OpenWRT as your operating system for your router:
Free
Firstly, OpenWRT is free for you to use and download! There are no subscription or licensing fees.
Security
When setting up a router, security is always a big concern. With OpenWRT configurations, they are conservative which allows for full internet connectivity without exposing your router or connected devices to cyber attacks. OpenWRT resistance to common vulnerabilities also contributes to its security as its Linux OS is unaffected by many common attacks. Furthermore, OpenWRT is actively updated so any vulnerabilities are closed shortly after they are discovered.
Performance
Designed by network professionals, OpenWRT reduces latency/lag and increased network throughput via its buffer bloat control algorithms. In addition, OpenWRT has Wi-Fi improvements that support higher data rates and airtime fairness between stations which allows you to transmit data faster.
Extensibility
When you use other firmware for a router, it often comes with a fixed set of capabilities. On the other hand, OpenWRT provides more than 3000 packages ready to be installed. Here are some examples of what OpenWRT can do:
- Run ad-blocking on your router so you can enjoy clean uncluttered web experience from any connected device.
- Reduce latency/lag (bufferbloat) even during heavy traffic with Smart Queue Management
- Secure access to your home network when away with OpenVPN or WireGuard server.
- Secure your internet access and prevent your ISP from snooping on your internet activity with OpenVPN or WireGuard client.
- Prevent your ISP from spoofing and snooping on your DNS requests with DNS encryption.
Support
With OpenWRT vibrant community of developers, volunteers, and other long-time OpenWRT users, if you run to any problems, you can always find them for help to solve your issue in no time. Here are the platforms where you can find help:
- OpenWrt Forum – member-to-member conversations about OpenWrt.
- OpenWrt Developer and OpenWrt Admin mailing lists.
- #lede-dev and #lede-adm on IRC.
Control
As OpenWrt is a true Linux-based system, you will have full control over all functions of your router and device. OpenWRT comes with a command-line interface (via SSH) and a web-based user interface for configuration. Information is also stored in plain-text files for easy editing and copying. OpenWrt Image Generator allows you to create your own firmware images for your device with any customizations (pre-defined password, WiFi, etc). In addition, its LuCI WebUI allows you to select themes that suit your needs/tastes. Not to mention, it comes in over 20 languages! By the way, you can also control the external LEDs and buttons/switches to fit your project needs.
Installing OpenWrt on ODYSSEY – X86J4105
Hardware Requirements
- A Working Computer
- A USB Drive(<8GB is recommended)
- A Monitor
- Keyboard and Mouse
- Ethernet Cable x 2
Download the OpenWrt OS Image
First, download the OpenWrt OS image. Choose the version you wanted, navigate to x86 -> 64 and download your required version.
In this tutorial, 19.07 version is used and click here to download.

Creating a Bootable USB
Step 1 – Prepare your Bootable USB
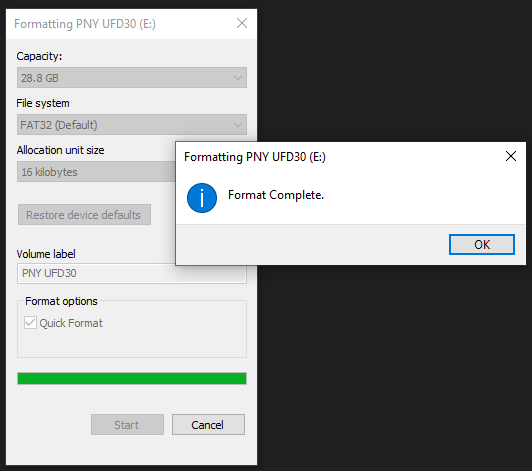
Format the USB drive. If you are a Windows user, you can format the USB drive by right-clicking the USB Drive and select Format.
Note: Choose FAT32 for the File System.
Step 2 – Download Flash Burner
Download the Open Source Flash burner balenaEtcher. Please choose the version according to your operating system(Windows/macOS/Linux).
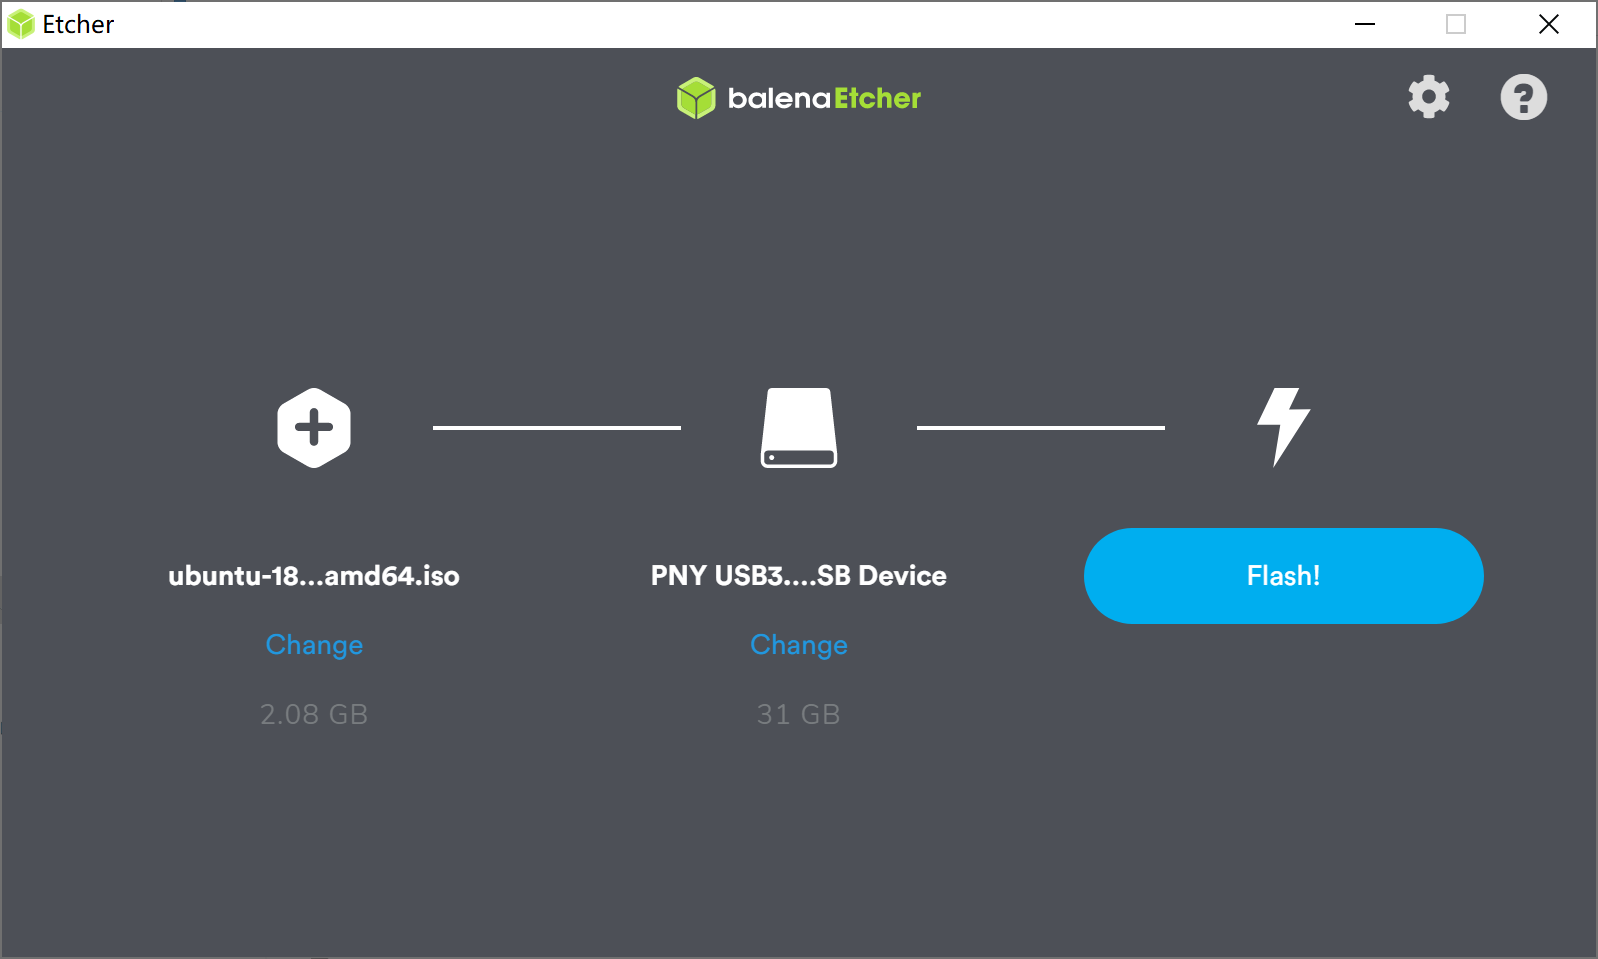
Step 3 – Writing the OS Image into USB
Select the downloaded Operating System Image, select the formatted USB Drive and Flash! Now, the bootable USB is all set to go.
Installing OpenWrt
Step 1 – Enabling CSM Mode in ODYSSEY – X86J4105
Plugin your bootable USB, Monitor and keyboard to ODYSSEY – X86J4105, and power up. When booting up, keep pressing DEL key to enter the setup screen. Navigate to Advanced -> CSM Support and press Enter to enable it.

Step 2 – Install the OS
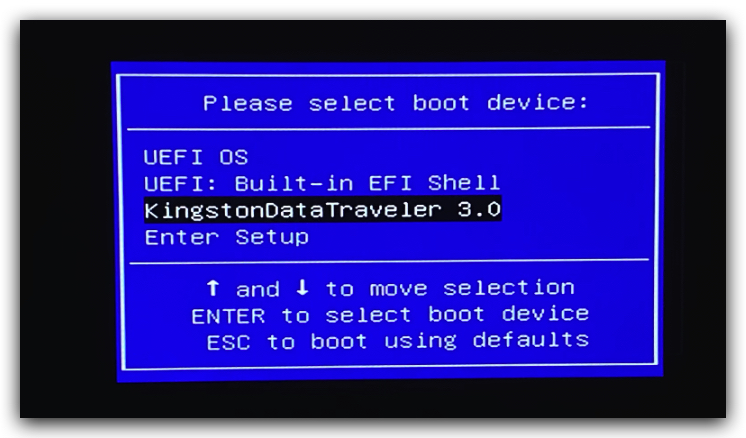
Reboot your ODYSSEY – X86J4105 and keep pressing F7 to enter the boot manager screen. Select the bootable USB and press Enter.
Step 3 – Installing process
Select the OpenWrt and press Enter. Follow through the installation instructions on the screen.
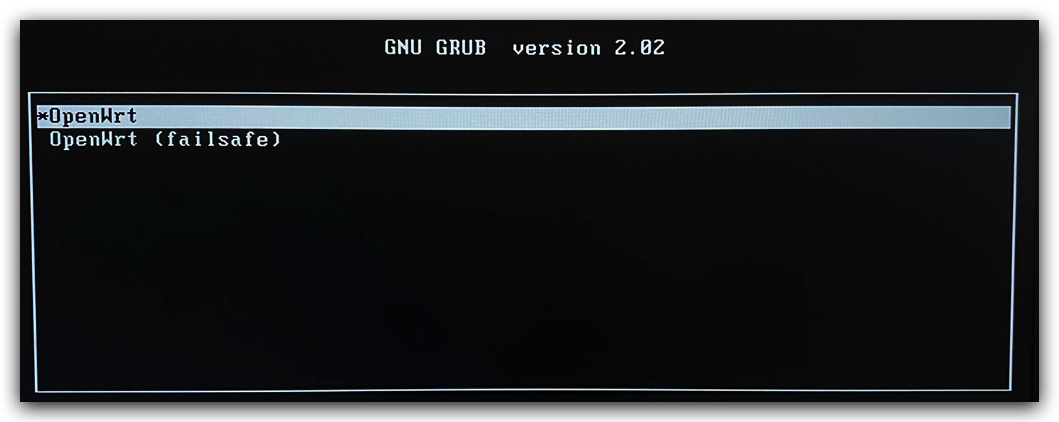
When it’s done, press Enter and you should see the screen as follow:
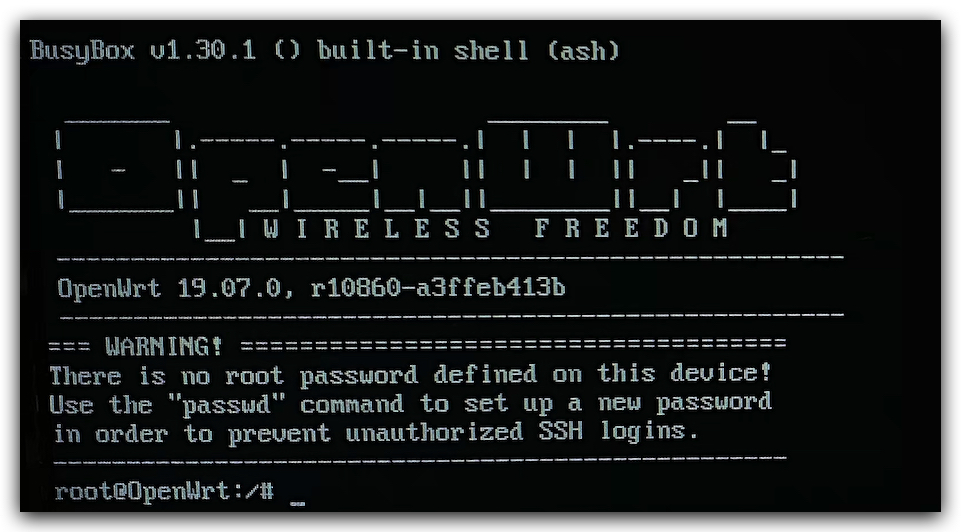
Now your OpenWrt is installed and ready to be used!
Configurations
Now, let’s configure to access to the OpenWrt system from a web interface from another PC. Enter the following in the shell in OpenWrt:
vi /etc/configure/network
And change the settings to as follow:
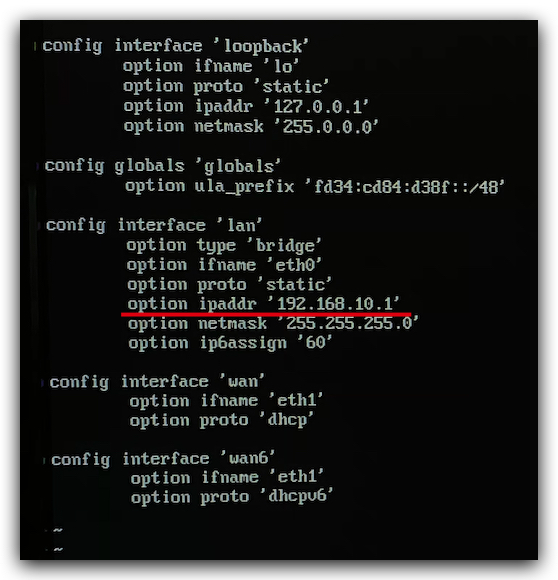
Where you change the station IP address for LAN configurations so that you can use this IP to access the router. Here the IP is changed to 192.168.10.1
Note: In vim, type i first to be insert mode so that you can edit. When done with editing, press ESC key, type :wq and enter to save and quit.
Accessing from Another PC
Now, you can access the OpenWrt from another computer via LuCI web interface. Simply, use an Ethernet cable to connect Ethernet Port that is close to the HDMI port. Connect the other ethernet cable to the other Ethernet port on ODYSSEY – X86J4105 and to the internet(This may be varied such as PPPoE method).
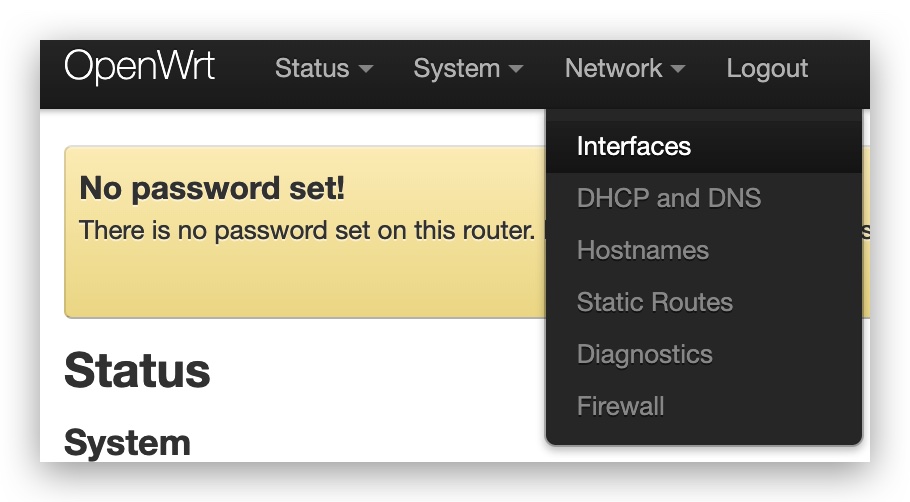
Now, from your computer, type 192.168.10.1 (The IP address specified earlier) in the web browser and you should see the following screen:
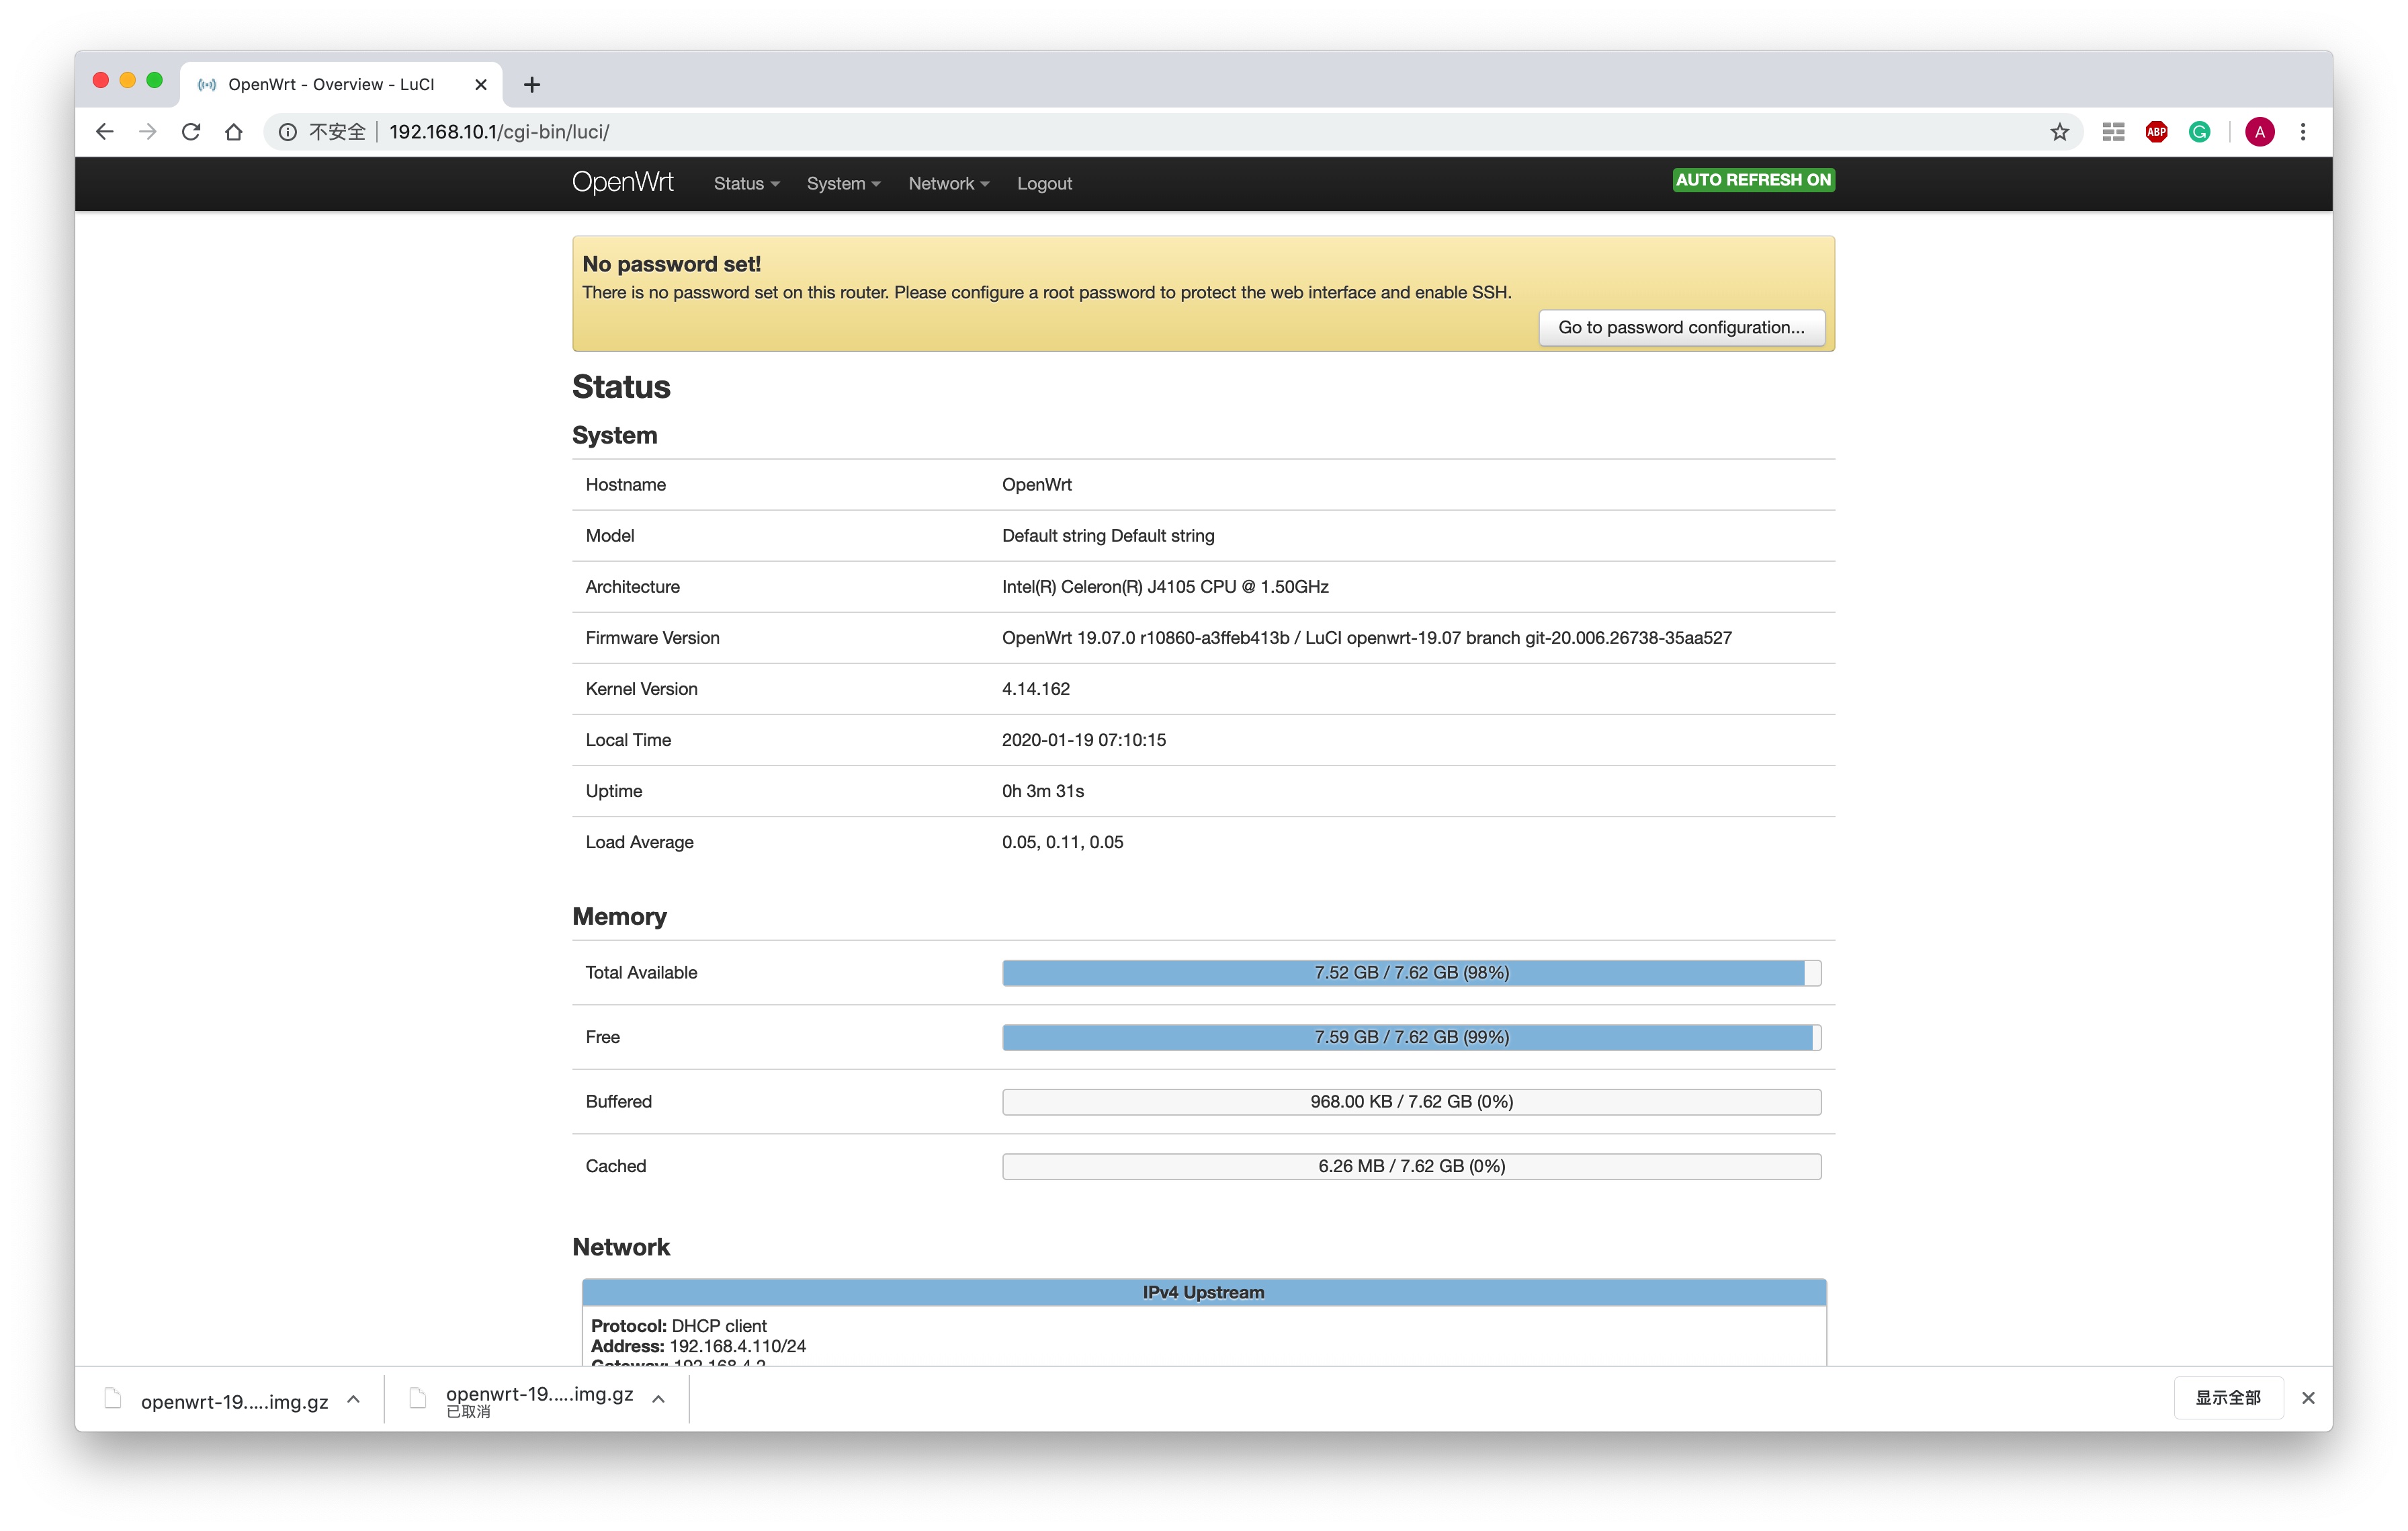
Now, you can access your OpenWrt from another PC!
Configuring LAN and WAN
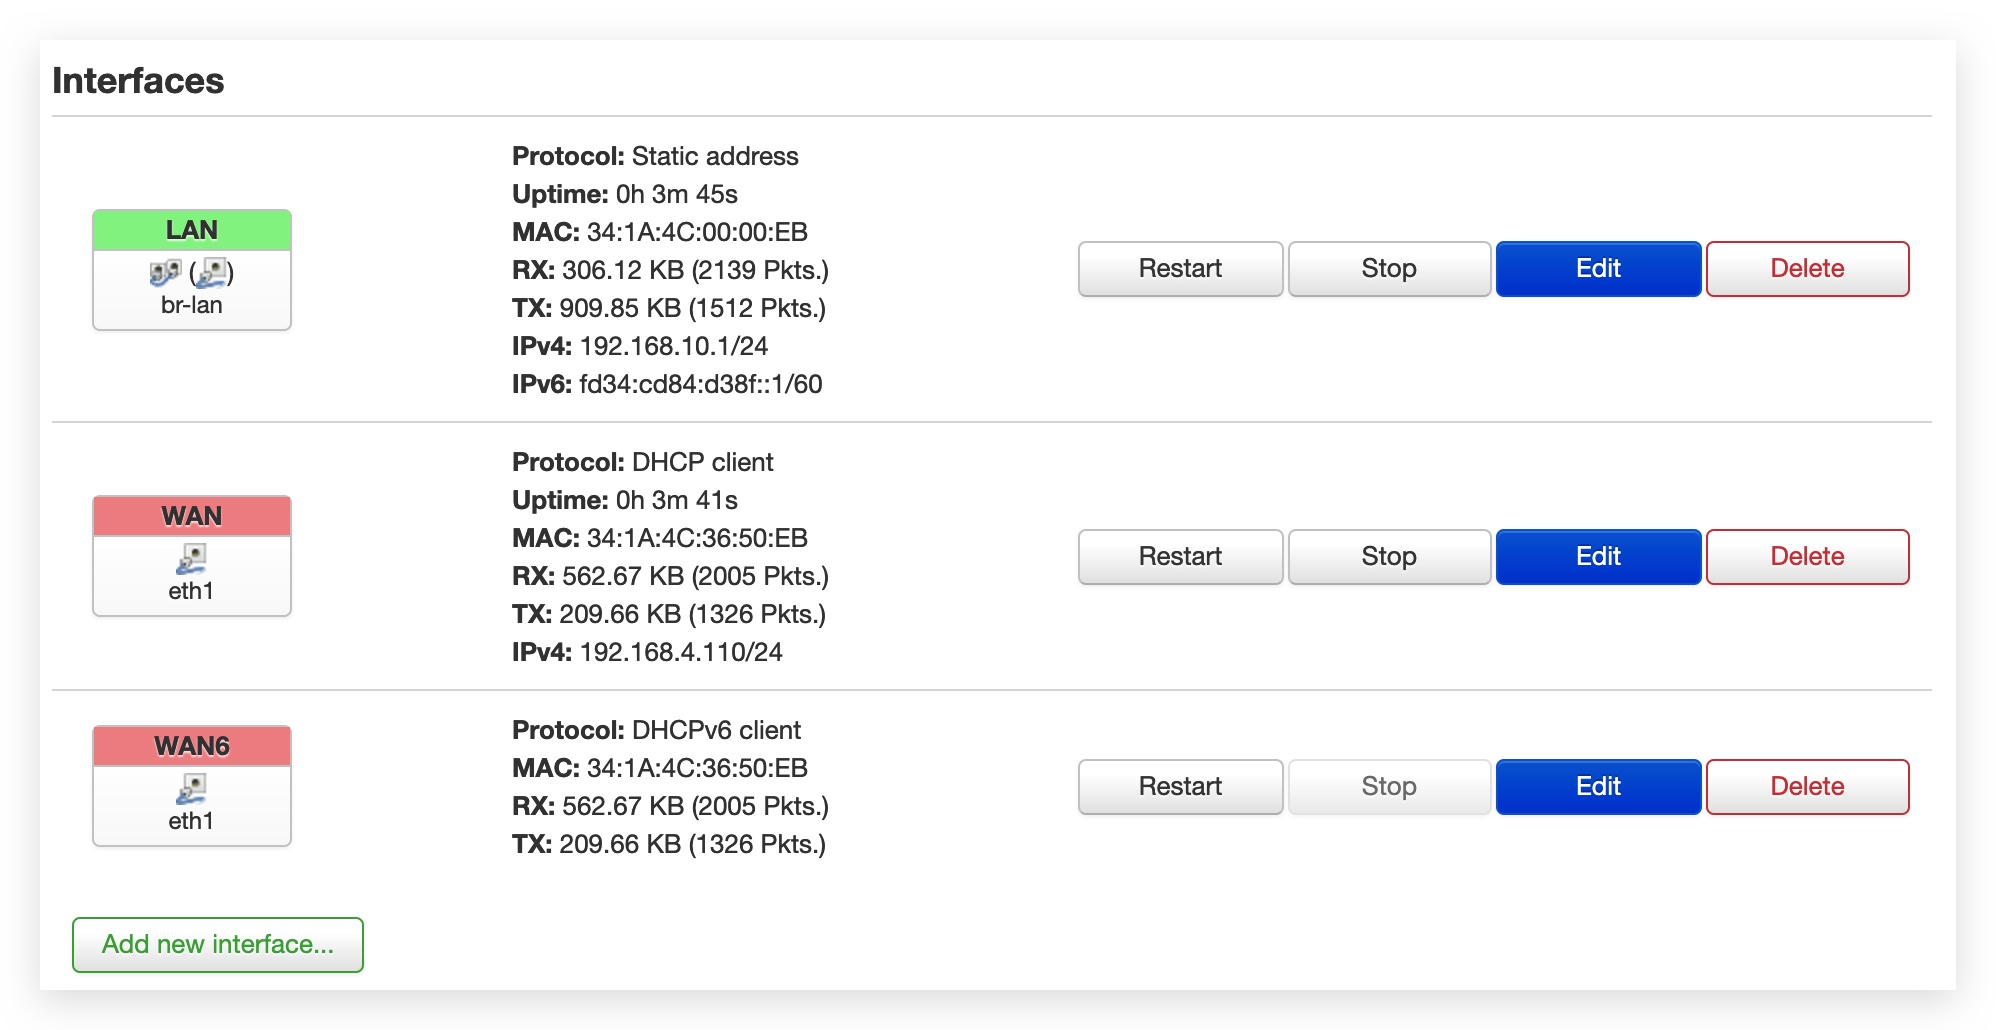
Navigate to Network -> Interfaces and configure WAN settings for internet access:
This shows all the interfaces settings for OpenWrt. Here, simply make sure the WAN(eth1) port is connected to the internet and is set to DHCP client Protocol as follow:
Now, your computer should access to the internet and your router is set to go!
For further development, you can start downloading and deploying all sort of applications such as Ad block, port mirroring and etc! For more, please visit OpenWrt.

re_computer: prepare for the next edge
Seeed re_computer is a modular edge computing system. You can re-design your edge solution by choosing existing popular SBCs, select mission board, add I/O modules, and nicely prepare them right enclosures for field usage. For more information, please learn more here.