How to use PWM on Jetson Nano
Recently, I want to use the PWM signal to control the speed of my DC motor with Jetson Nano. At first, I thought it would be simple, just like Raspberry Pi. After all, Nvidia said its 40-pin header is compatible with RPi. But then I checked on Nvidia’s developer forum. Bad news. According to Nvidia, if you want to use hardware PWM, you have to reconfigure the Pinmux. If you try to use soft PWM, we didn’t write the code.
So I read multiple docs from Nvidia’s official website and other sources. Below are the docs I referred
Reference article:
- NVIDIA Jetson Nano Pinmux official documentation
- NVIDIA Jetson TX2 Pinmux official documentation
- NVIDIA Jetson Nano Official Q & A
- Jetson Nano kernel build tutorial
Now let’s start to make your Jetson Nano output PWM. But before it, I strongly suggest you just buy a PWM driver. It won’t cost much and it works well.
1. Export the DT file.
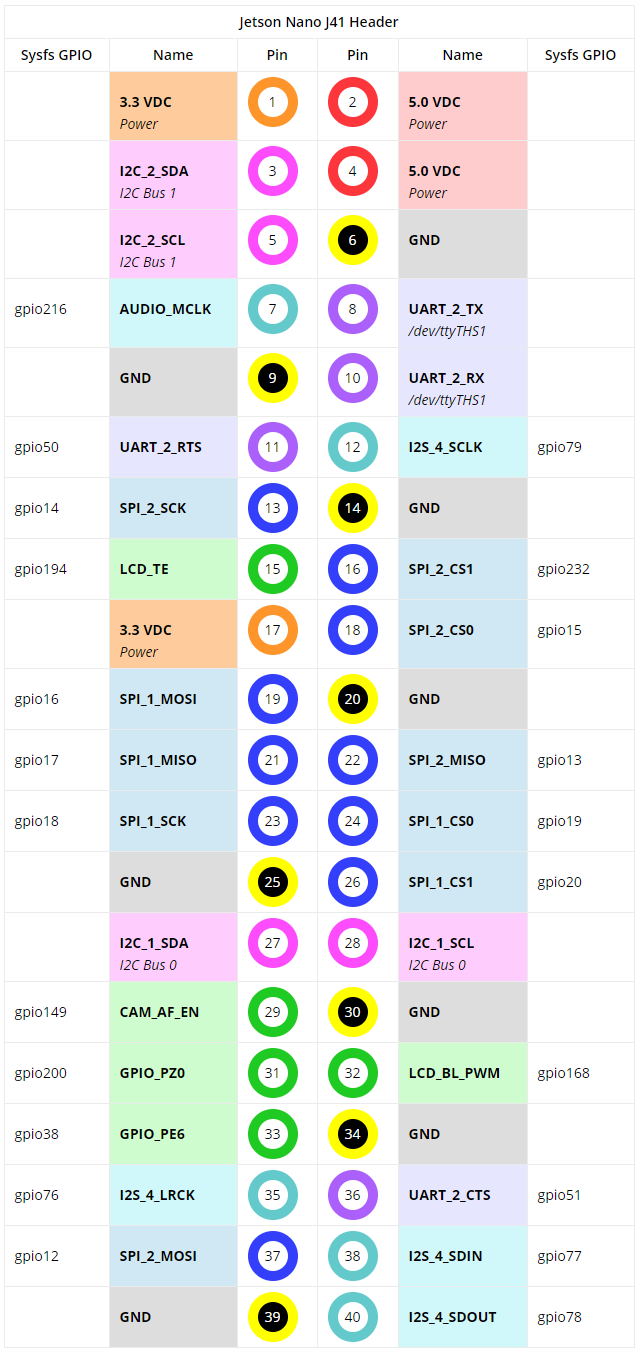
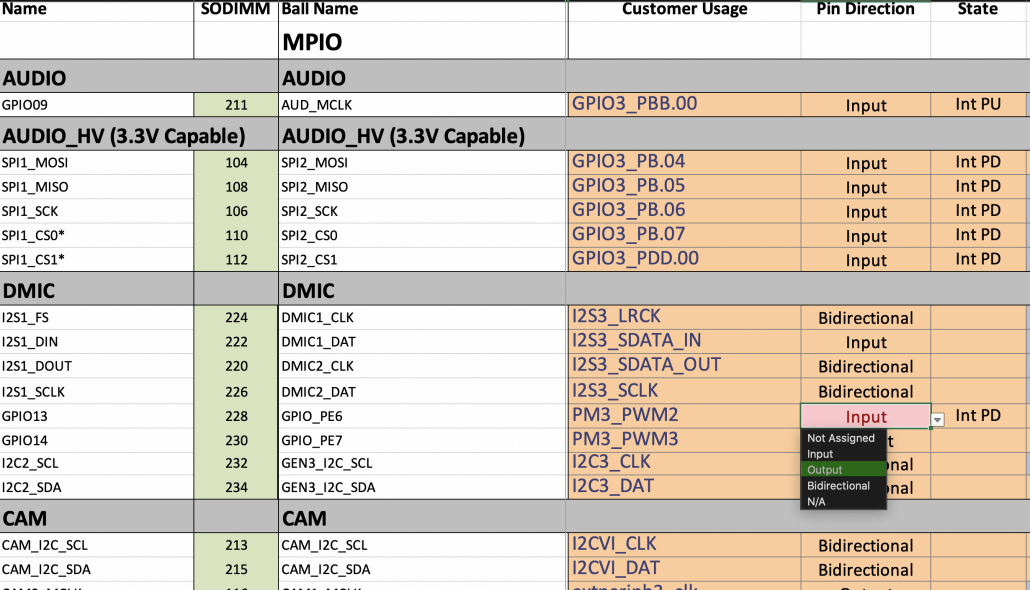
According to Nvidia’s official instruction, Pin 33 is specified as PWM output. But on the above pinout, 33 is configured as GPIO_PE6. Now what we need to do is reconfigure the Pinmux to set 33 as PWM.
Open the DT file we just downloaded.
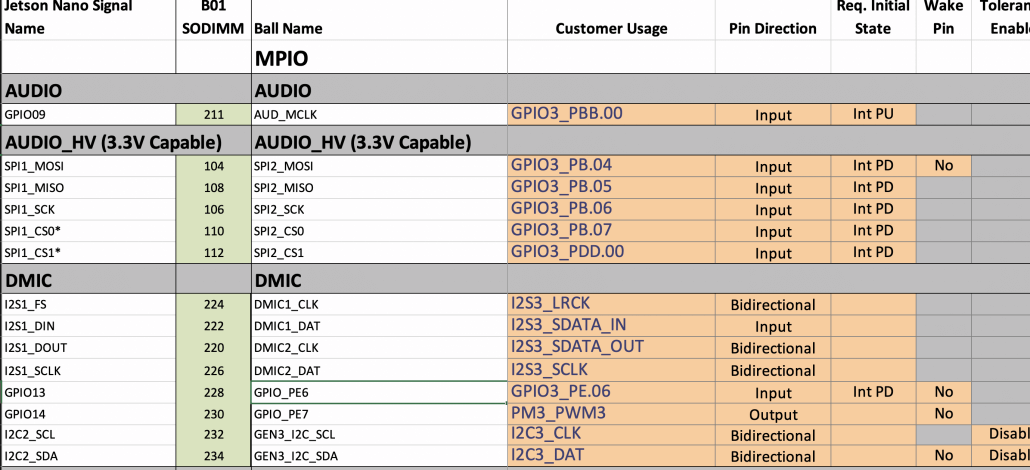
It’s quite easy to find GPIO_PE6. Now let’s change it to PWM.
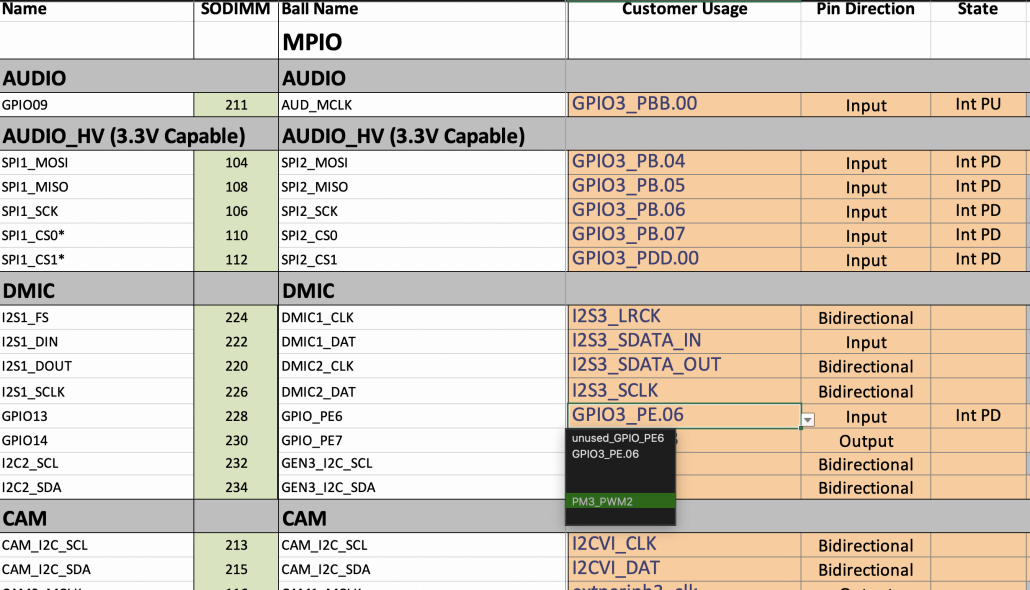
Then you’ll see this.
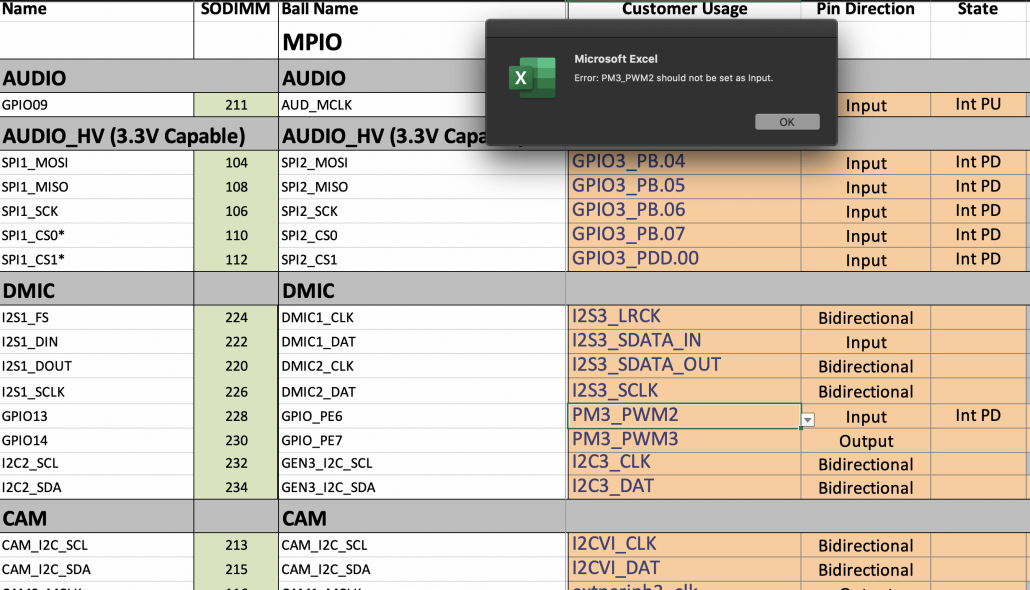
Don’t worry. Just click OK. Then change Input to Output.
After that, click Generate DT File
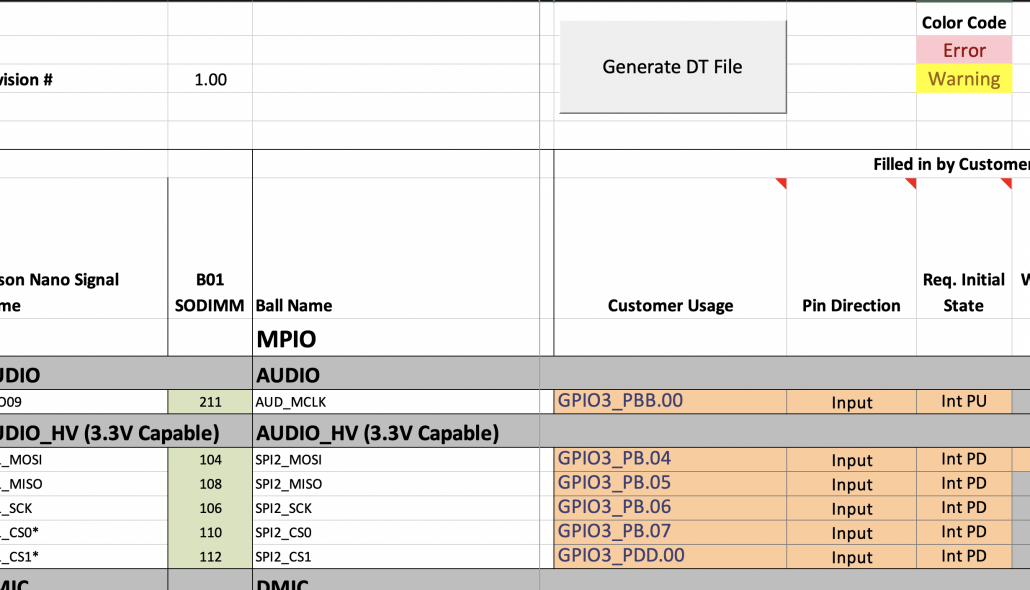
When asked about the board name, jetson-nano-sd should be fine.
Finally, save the Excel table as a CSV UTF-8 (comma-delimited) (*.csv)format, the file name isjetson-nano-sd.csv
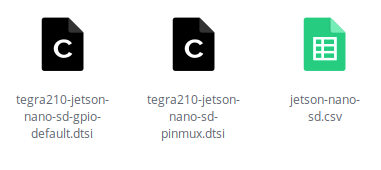
We got three files, copy this file to your linux host system.
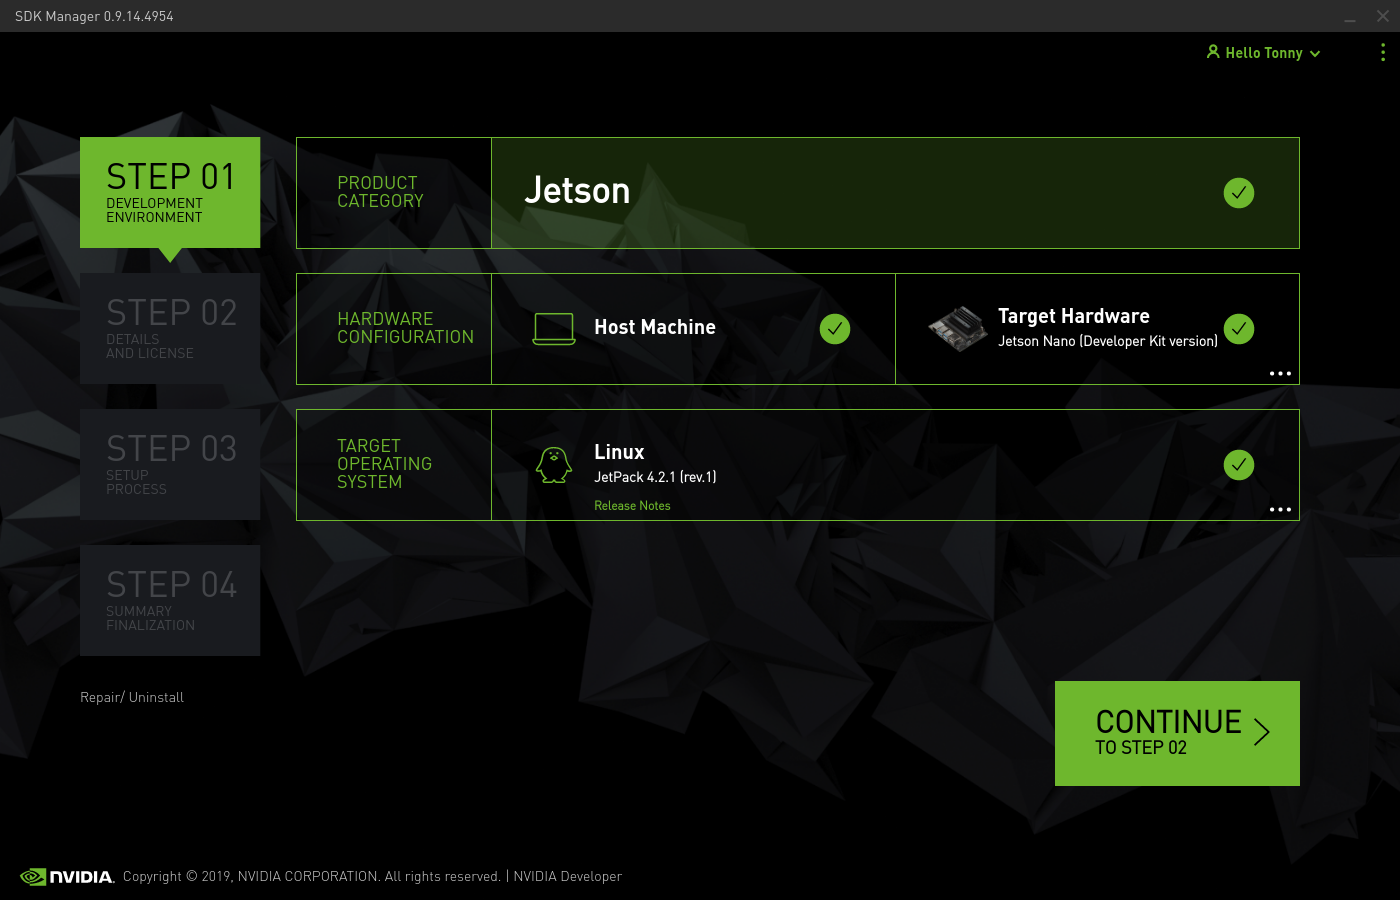
2. Download the necessary tools
First, download the Jetson Nano development environment in SDK Manager.
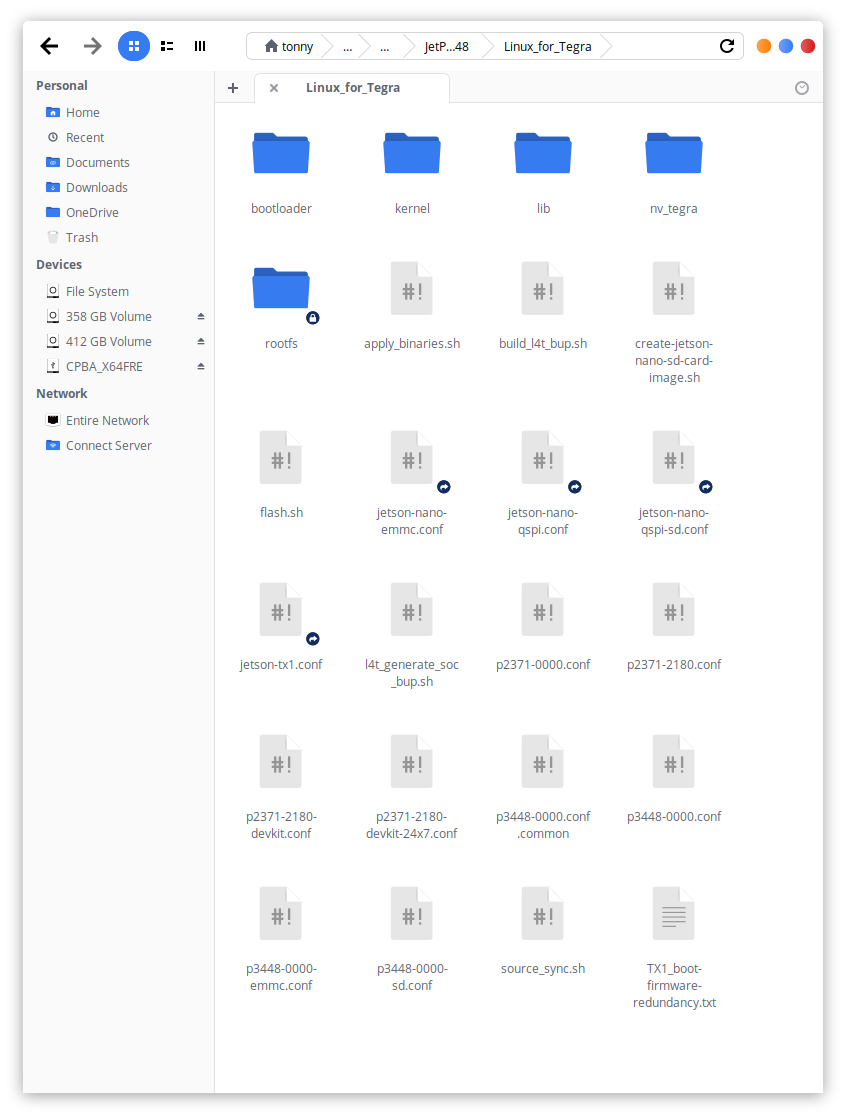
After everything’s done. Under path ~/nvidia/nvidia_sdk/JetPack_4.2.1_Linux_GA_P3448/Linux_for_Tegra, you should see source_sync.sh.
Run the following command in the terminal to pull down the kernel code
sudo apt install build-essential bc bzip2 xz-utils git-core vim-common ./source_sync.sh
When the script is running, the input tag is tegra-l4t-r32.2.0, the tag must be consistent with the version of other things
Then we can download the toolchain
It is recommended to check Filter
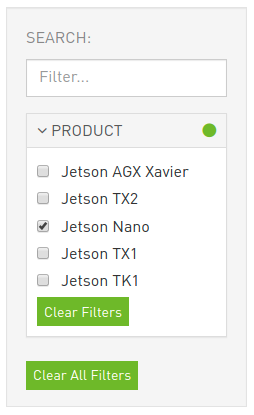
Then download GCC Tool Chain for 64-bit BSP
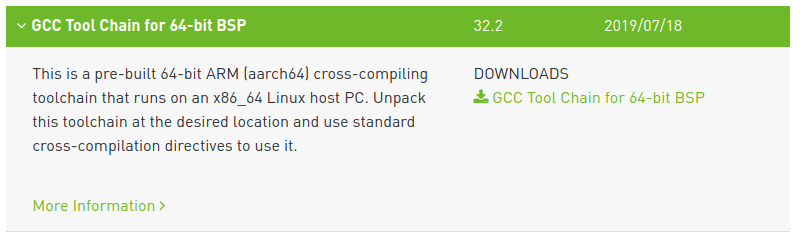
Unzip the toolkit and remember the path
For example, my path is/home/eric/bin/gcc-linaro-7.3.1-2018.05-x86_64_aarch64-linux-gnu
3. Compile Uboot
Download the script on Linuxtegra-pinmux-scripts
https://github.com/NVIDIA/tegra-pinmux-scripts
Create a csv folder under the directory tegra-pinmux-scripts and copy the csv file obtained before to it
cd tegra-pinmux-scripts
mkdir csv
cp <path-to-csv>/jetson-nano-sd.csv csv/p3450-porg.csv
Then execute the following command
./csv-to-board.py p3450-porg
./board-to-uboot.py p3450-porg > pinmux-config-p3450-porg.h
Use pinmux-config-p3450-porg.h to overwrite the original file in /home/tonny/nvidia/nvidia_sdk/JetPack_4.2.1_Linux_GA_P3448/Linux_for_Tegra/sources/u-boot/board/nvidia/p3450-porg.
Then set the environment variables and import the relevant information of the tool chain.
export CROSS_COMPILE=/home/tonny/bin/gcc-linaro-7.3.1-2018.05-x86_64_aarch64-linux-gnu/bin/aarch64-linux-gnu-
Install dtc
apt-get install device-tree-compiler
Return to the root directory of uboot /home/tonny/nvidia/nvidia_sdk/JetPack_4.2.1_Linux_GA_P3448/Linux_for_Tegra/sources/u-bootand compile uboot
make distclean
make p3450-porg_defconfig
make
Finally, import the newly compiled uboot into the L4T tree
cp u-boot.bin ../../bootloader/t210ref/p3450-porg/
4. Update CBoot
First we have to check the device tree version of our Jetson Nano
Run following commend on jetson nano
cat /proc/device-tree/nvidia,dtsfilename
For example, my jetson nano is tegra210-p3448-0000-p3449-0000-b00.dts. This means I need to modify the b00 version of the file later. Some people may get the a02 version of the nano, and they should change the a02 version of the file

If the L4T version is 32.1, you need to refer to the official documentation of NVIDIA Jetson Nano Pinmux to update part of the source code
Back to the Linux host, use the dtsi file generated by the previous Excel table to overwrite the file in the source code
$ cd Linux_for_Tegra/sources/hardware/nvidia/platform/t210/porg/kernel-dts/porg-platforms/
cp <path-to-new-dt-files>/tegra210-jetson-nano-sd-pinmux.dtsi tegra210-porg-pinmux-p3448-0000-<nano-dt-version>.dtsi
cp <path-to-new-dt-files>/tegra210-jetson-nano-sd-gpio-default.dtsi tegra210-porg-gpio-p3448-0000-<nano-dt-version>.dtsi
Enter the Linux_for_Tegra/sources/kernel/kernel-4.9/folder to build device tree image
cd Linux_for_Tegra/sources/kernel/kernel-4.9/
make ARCH=arm64 tegra_defconfig
make ARCH=arm64 dtbs
Finally, import the newly compiled device tree image into the L4T tree
cp arch/arm64/boot/dts/tegra210-p3448-0000-p3449-0000-<nano-dt-version>.dtb ../../../kernel/dtb/
5. Flash
Under Linux_for_Tegra folder run
sudo ./create-jetson-nano-sd-card-image.sh -o sd-blob.img -s <sd_card_size> -r <nano-dt-revision>
The correspondence between nano-dt-revision and nano-dt-version is as follows
| DT-Ver | DT-Rev |
|---|---|
| a01 | 100 |
| A02 | 200 |
| b00 | 300 |
Here my sd card is 32g, dt-ver is b00, then I actually executed
sudo ./create-jetson-nano-sd-card-image.sh -o sd-blob.img -s 32G -r 300
Next, enter the directory Linux_for_Tegra/bootloader/signedand copy the corresponding versiontegra210-p3448-0000-p3449-0000-<nano-dt-version>.dtb.encrypt to jetson nano
Then execute it on jetson nano
sudo dd if = tegra210-p3448-0000-p3449-0000- <nano-dt-version> .dtb.encrypt of = / dev / disk / by-partlabel / DTB
Of course, I personally recommend backing it up first, and rescue it in case of failure.
sudo dd if = / dev / disk / by-part label / DTB or = backup.dtb.encrypt