Building an AI Voice Assistant on NVIDIA Jetson – Voice Activation & Speech-to-Text
As voice interfaces become more prevalent in smart homes and robotics, developers are increasingly seeking low-latency, private, and offline AI voice assistants. In this tutorial, we’ll show you how to build a fully local voice assistant on the NVIDIA Jetson platform. Unlike cloud-based services, this assistant runs entirely on edge hardware, offering real-time performance, enhanced data privacy, and no internet dependency. Here we’ll focus on building how to:
- Capture microphone input
- Activate with a hotword (wake word)
- Convert speech to text using Whisper, an open-source speech recognition model
Whether you’re building smart home devices, service robots, or edge AI prototypes, this guide will help you deploy a powerful voice pipeline using Jetson Orin and open-source tools.
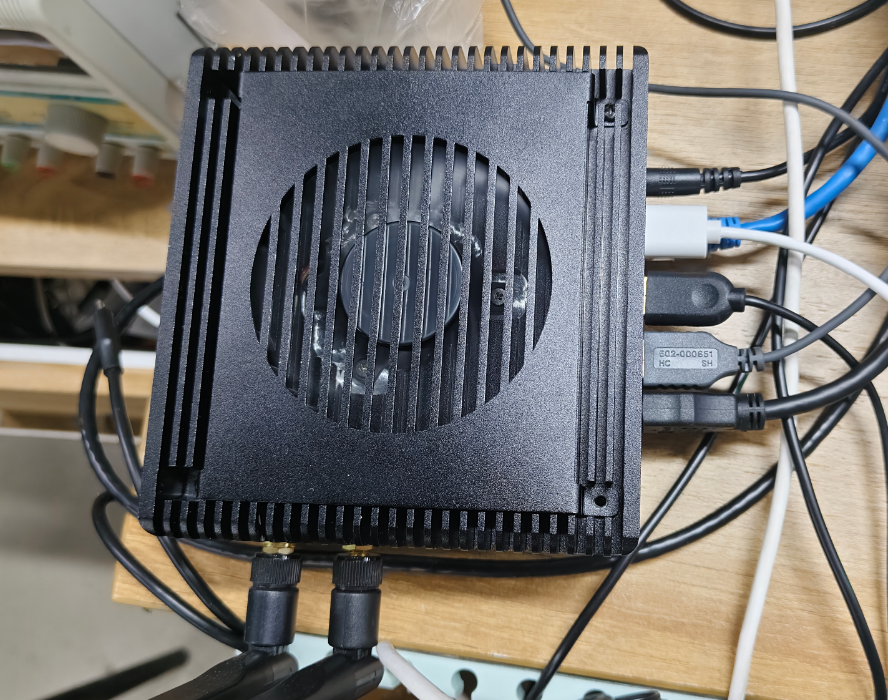
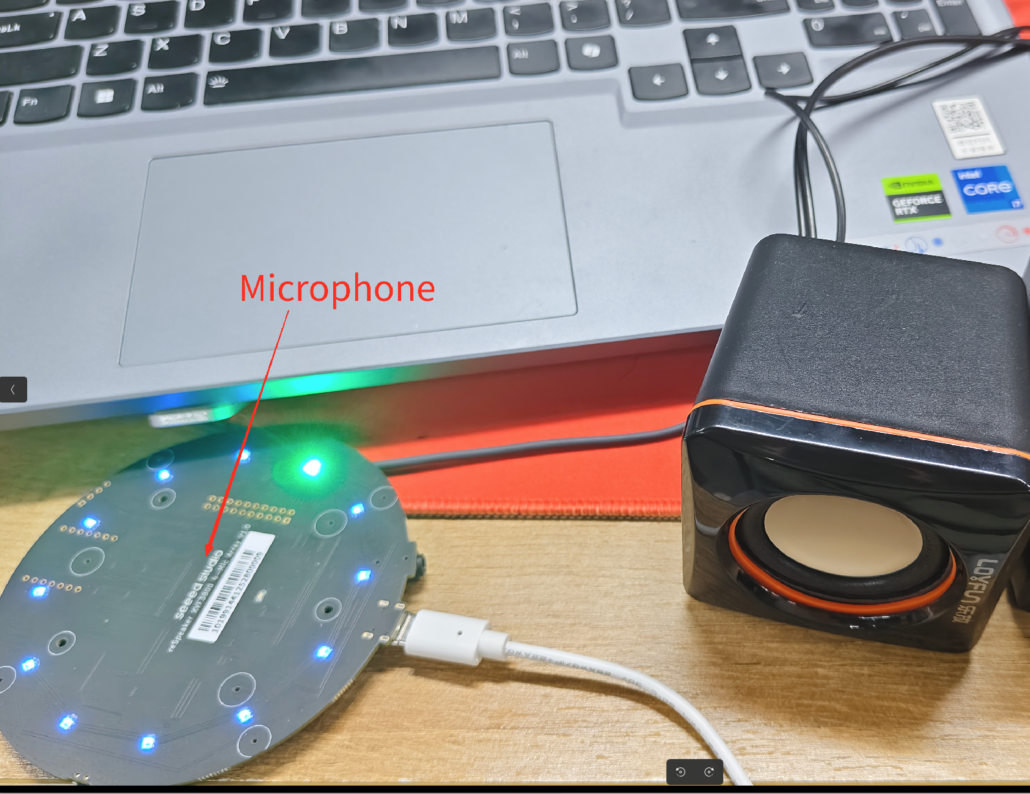
🛠️ Hardware You’ll Need
To follow along, you’ll need:
- NVIDIA Jetson edge AI computer (e.g., reComputer Super with Orin NX 16GB or similar)
- Microphone array (like ReSpeaker 4-Mic USB Array)
- Speakers (USB or HDMI output)
All the processing will be done entirely offline, directly on the Jetson device.
🎙️ Step 1: Capture Voice Input & Detect Wake Word
We’ll use a lightweight C++ implementation to handle microphone input and hotword detection.
🔧 Install Dependencies
Run the following commands on your Jetson:
sudo apt install nlohmann-json3-dev libcurl4-openssl-dev mpg123
git clone https://github.com/jjjadand/record-activate.git
🔧 Configure Microphone Settings
Open respeaker.cpp and adjust these parameters based on your mic and use case:
#define SAMPLE_RATE 44100
#define CHANNELS 2
#define RECORD_MS 20000
#define SILENCE_MS 4000
#define ENERGY_VOICE 2000
#define DEVICE_NAME "plughw:2,0" // Use 'arecord -l' to get thisENERGY_VOICEdefines how sensitive the detection is- Change
DEVICE_NAMEbased on your mic’s hardware ID
🏗️ Build the Recorder
cd record-activate/build
cmake .. && make
This will generate two binaries: one to detect voice (record_lite) and another to send audio to Whisper (wav2text).
🧠 Step 2: Run Whisper Locally for Speech-to-Text
We’ll use whisper.cpp, a lightweight and fast C++ implementation of OpenAI’s Whisper model.
🔽 Download & Compile
git clone https://github.com/ggerganov/whisper.cpp.git
cd whisper.cpp
sh ./models/download-ggml-model.sh base.en
cmake -B build && cmake --build build -j
🎯 Optional: Quantize the Model
To reduce memory usage:
./build/bin/quantize models/ggml-base.en.bin models/ggml-base.en-q5_0.bin q5_0This creates a smaller, faster version of the English Whisper model.
🔁 Step 3: Connect Voice Input with Whisper Transcription
🔌 Start the Whisper Server
./build/bin/whisper-server -m models/ggml-base.en-q5_0.bin -t 8This runs a local HTTP server that accepts .wav files and returns transcribed text.
🗣️ Start the Voice Assistant Pipeline
Back in the record-activate folder:
pasuspender -- sudo ./wav2text
pasuspender -- sudo ./record_lite- When the hotword is detected, the system captures voice input and sends it to Whisper
- Once transcribed, the assistant plays an activation sound (
activate.mp3) - You can then use the transcribed command to trigger AI actions or send it to a local language model
✅ What’s Working Now
At this point, you’ve built a local voice assistant that:
- Listens for a hotword
- Captures your voice
- Converts it to text in real-time
- Works completely offline, with no cloud dependencies
🧭 Next Steps
- Running a quantized LLM to understand and respond to commands
- Adding text-to-speech (TTS) output
- Controlling smart home devices or APIs using voice