How to use MCP9808 I2C Temperature Sensor with Arduino
When it comes to temperature sensors for Arduino, we tend to think of DS18B20. However, the MCP9808 is one of the more accurate/precise temperature sensing options we’ve ever seen as well thanks to its wide operating range and precision of +0.0625°C. Additionally, this temperature sensor works great with Arduino with its I2C communication protocol!
Hence, it’s safe to say that we’ll have to check out what it’s all about in today’s post, alongside an Arduino guide to help you get started immediately!
Introduction to MCP9808
We’ve established earlier that the MCP9808 I2C Temperature Sensor is a precise/accurate option, but there’s more that it has to offer. It comes with user-programmable registers, that allow for user-selectable settings (E.g. Low-power or Shutdown modes), providing flexibility for your temperature sensing applications.
Being a digital temperature sensor, it easily converts temperature of -20°C and +100°C to a digital word for easy microcontroller readings.
For its features, you have:
- Reading accuracy of:
- ±0.25 (typical) from -40°C to +125°C
- ±0.5°C (maximum) from -20°C to 100°C
- ±1°C (maximum) from -40°C to +125°C
- As mentioned user-selectable measurement resolution:
- +0.5°C, +0.25°C, +0.125°C, +0.0625°C
- User-programmable temperature limits:
- Temperature window and critical temperature limits
- Typical operating voltage range of 2.7V to 5.5V
- Typical operating current of 200µA
For its applications, you can use the MCP9808 for:
- General temperature sensing projects
- Industrial usages such as freezers, refrigerators, food processing units
- Personal computers and servers
- Consumer electronics
- Handheld/Portable Devices
- PC Peripherals
If you’re interested to find out the full features and schematics of the MCP9808, you can refer to the datasheet here!
Getting Started with MCP9808

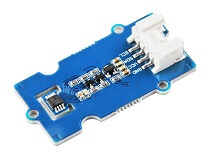
In order to get started with the MCP9808 sensor, you’ll first need a module that’s based on it. There are a number of breakout boards, modules, etc. on the market but today, I’ll be recommending the Grove – I2C High Accuracy Temperature Sensor(MCP9808) here at Seeed!
First, a look at its features:
Since it’s an MCP9808 integrated module, you’ll see similarities:
- High Accuracy±0.25 (typical) from -40°C to +125°C±0.5°C (maximum) from -20°C to 100°C±1°C (maximum) from -40°C to +125°C
- User-Selectable Measurement Resolution+0.5°C, +0.25°C, +0.125°C, +0.0625°C
- User-Programmable Temperature Alert Output
- I2C interface
Why pick this MCP9808 module instead of other breakout boards?
Ease of pairing MCP9808 with Arduino through Seeed’s very own Grove system
Grove system is Seeed very own initiative, mainly aimed at helping users like yourself to easily use different modules, through our plug and play system!
This means no more using messy and complicated jumper wires, soldering, breadboard, or debugging electronic circuits!
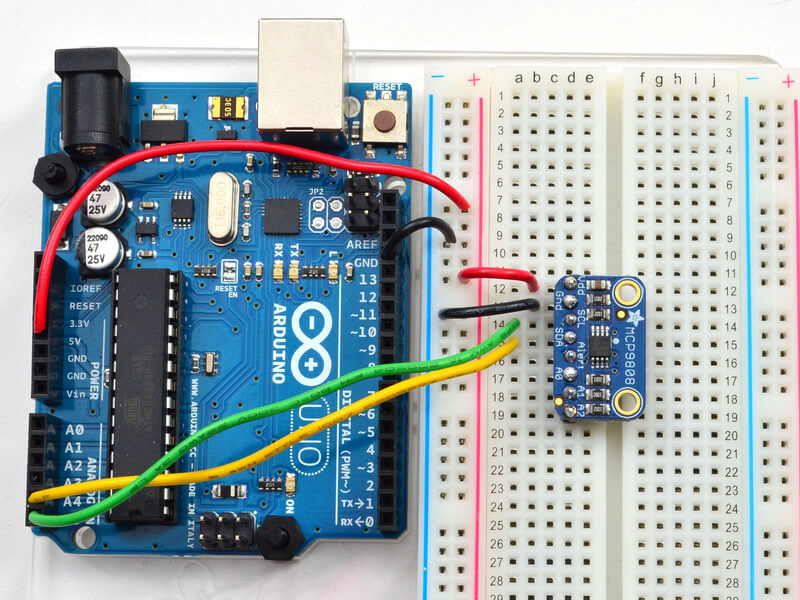
MCP9808 Breakout Board Wiring with Arduino 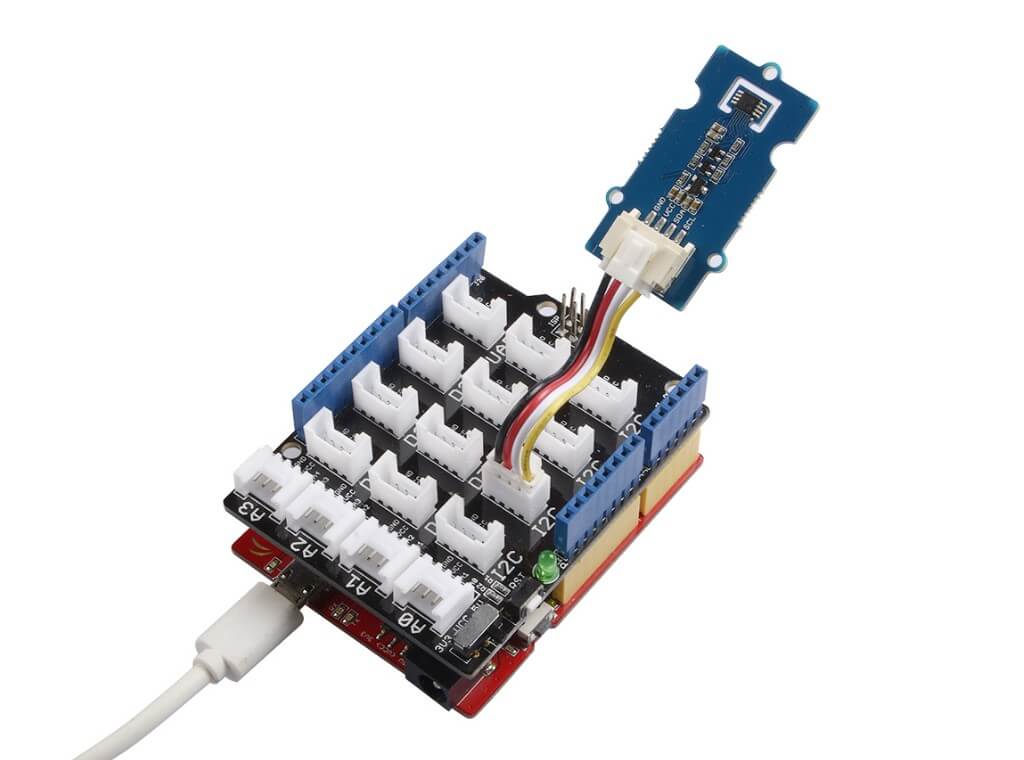
Grove MCP9808 Sensor Wiring with Arduino
Like how our Grove – I2C High Accuracy Temperature Sensor(MCP9808) offers a much simpler pairing with Arduino as compared to the breakout board option on the left?
- Well, All you need is a Grove Base Shield alongside your Arduino and you’re good to go! Switch to using grove today!
Grove – I2C High Accuracy Temperature Sensor(MCP9808) Arduino Guide
Now that you’ve seen how simple the pairing it is with Arduino, Here’s the step-by-step tutorial to help you get started!
Note: This module is compatible with other microcontrollers but users have to write their own software library as it’s not possible to provide software library/demo code for all platforms
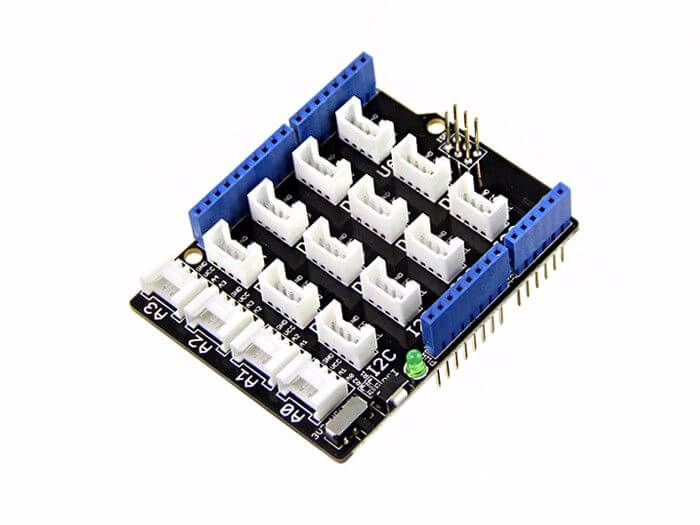
What you’ll need:
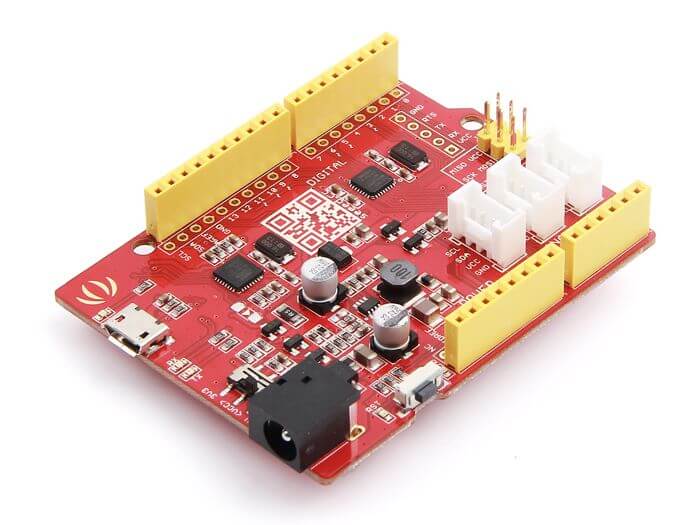
Seeeduino is Seeed’s very own Arduino board, built with relative benefits over the original
- If you do not wish to purchase a Seeeduino, this tutorial is still applicable for the following Arduino boards: Arduino UNO, Arduino Mega, Arduino Leonardo, Arduino 101, Arduino Due
Hardware Configurations:
- Step 1: Connect the Grove – I2C High Accuracy Temperature Sensor (MCP9808) to port I2C of Grove – Base Shield
- Step 2: Plug the Grove – Base Shield into Seeeduino
- Step 3: Connect Seeeduino to PC via a USB cable
It should look something like this after completing the above steps:

Software Configurations with Arduino Code:
- Step 1: Download the Grove MCP9808 library from Github
- Step 2: Install Arduino Library
- If you’re unsure on how to install library, refer to our guide here
- Step 3: Restart the Arduino IDE, open example via the path: File -> Examples -> Grove Temperature Sensor MCP9808 -> MCP9808_demo_with_limit

- Step 4: Upload the demo
- If you’re unsure on how to upload the code, do refer to our guide here
- Step 5: Open the Serial Monitor of Arduino IDE by clicking Tool -> Serial Monitor. Or click on CTRL+Shift+M key at the same time.
You should then achieve the following result:
sensor init!!
temperature value is: 29.31
temperature value is: 29.31
temperature value is: 29.31
temperature value is: 29.25
temperature value is: 29.25
temperature value is: 29.25
temperature value is: 29.25
temperature value is: 29.25
temperature value is: 29.19
temperature value is: 29.25
Using the ALE Pad

This MCP9808 module has 3 sets of ALE pads on the back of the PCB as you can see from the pinout above. If you’re interested on how you can use it, do refer to our wiki page here!
Summary
Overall, the MCP9808 sensor is an excellent choice for your temperature-sensing needs. Being a digital temperature sensor with high precision, you wouldn’t have to worry about not achieving accurate results for your Microcontroller Projects!
However, to experience MCP9808, you’ll need a module for pairings with an Arduino or Raspberry Pi. Hence, I highly recommend the Grove – I2C High Accuracy Temperature Sensor(MCP9808) simply with its ease of pairing when compared to other MCP9808 breakout boards!