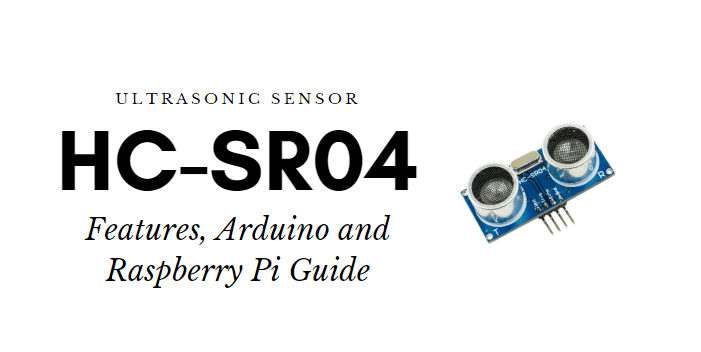
Arduino Ultrasonic Sensor Overview and Tutorials
With Arduino ultrasonic sensors like the HC-SR04, you can measure the distance. Through this Arduino tutorial, you will learn how an Ultrasonic sensor works and how do you use it with the Arduino and even with the Raspberry Pi.
What is an Arduino Ultrasonic Sensor?
An ultrasonic sensor is a sensor that measures distances through ultrasound which travels through the air. If the ultrasound hits an object or obstacle on its path, it will then bounce back towards the sensor.
Ultrasonic Sensor Working Principle

Here is a simple example of how an ultrasonic sensor works to measure distance:
- Firstly, the transmitter (trig pin) sends a sound wave
- The object picks the wave up, reflecting it back to the sensor.
- The receiver (echo pin) picks it up
The time between transmission and reception allows distance between to be calculated since sound’s velocity in air is known.
Examples of Arduino Ultrasonic Sensors
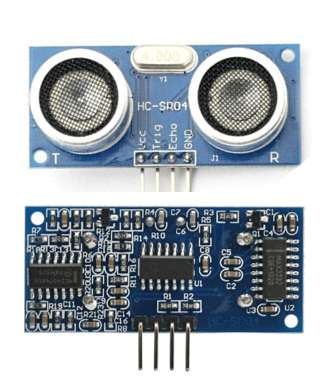
HC-SR04
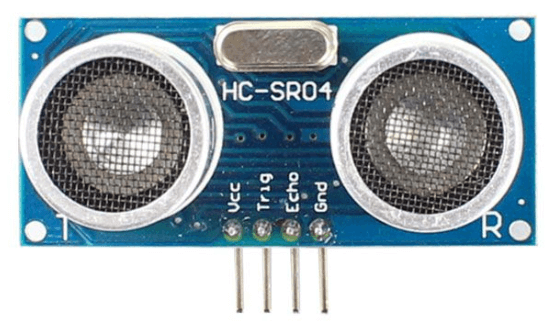
One of the most popular ultrasonic sensors would be the HC-SR04. The configuration pin of HC-SR04 is VCC (1), TRIG (2), ECHO (3), and GND (4). The supply voltage of VCC is 5V and you attach TRIG and ECHO pin to any Digital I/O in your Arduino Board to power it.
Specifications
- Power Supply: DC 5V
- Working Current: 15mA
- Working Frequency: 40Hz
- Ranging Distance : 2cm – 400cm/4m
- Resolution : 0.3 cm
- Measuring Angle: 15 degree
- Trigger Input Pulse width: 10uS
- Dimension: 45mm x 20mm x 15mm
Grove – Ultrasonic Distance Sensor
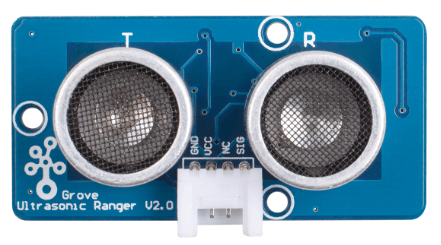
Next up we have our very own Grove – Ultrasonic Distance Sensor, Seeed’s very own version of an ultrasonic distance sensor which is comparative to the HC-SR04.
It can measure from 3cm to 350cm with the accuracy up to 2mm. It is a perfect ultrasonic module for distance measurement, proximity sensors, and ultrasonic detector.
Specifications
- Power Supply: 3.3V – 5V
- Operating Current: 8mA
- Working Frequency: 40Hz
- Ranging Distance : 3cm – 350cm/3.5m
- Resolution : 1 cm
- Measuring Angle: 15 degree
- Trigger Input Pulse width: 10uS TTL
- Dimension: 50mm x 25mm x 16mm
HC-SR04 vs Seeed Grove Ultrasonic Distance Sensor
So what is the difference between the HC-SR04 and Seeed Grove Ultrasonic Distance Sensor?

| Grove – Ultrasonic Distance Sensor | HC-SR04 | |
|---|---|---|
| Working Voltage | 3.3V / 5V compatible Wide voltage level: 3.2V – 5.2V | 5V |
| Measurement Range | 3cm – 350cm | 2cm – 400cm |
| I/O Pins needed | 3 | 4 |
| Operating Current | 8mA | 15mA |
| Dimensions | 50mm x 25mm x 16mm | 45mm x 20mm x 15mm |
| Ease of pairing with Raspberry Pi and Arduino | Easy, directly connect to I/O of Raspberry Pi Has Grove Connector for easy connection to Arduino | Requires voltage conversion circuit |
The main differences we can observe from the table above include:
Working Voltage
- Grove -Ultrasonic Distance Sensor supports a wider voltage level
I/O Pins Needed
- Transmitting and receiving signals on the Grove-Ultrasonic Distance Sensor share one pin, saving the requirement of using all available pins
Ease of pairing with Raspberry Pi and Arduino
- The Grove Ultrasonic Distance Sensor supports 3.3V, allowing it to be directly connected to the I/O of the Raspberry Pi instead of using a voltage conversion circuit
- With the onboard plug and play Grove connector, if you have a Grove-Base shield or a Seeeduino, you can easily connect the Grove-Ultrasonic Distance Sensor with a wire.
Despite the popularity of HC-SR04, the grove ultrasonic distance sensor is a more versatile option that allows for lesser external components and easier pairing with the Raspberry Pi and the Arduino. Not to mention, we provide full documents and libraries for Arduino, Python, and Codecraft so that you can use the Grove – Ultrasonic Distance Sensor with Arduino and Raspberry pi easily!
Getting started with Ultrasonic Sensor Arduino and Raspberry Pi Pairing Guide
For this tutorial, we will be using the Grove Ultrasonic Distance Sensor and pair it with the Arduino and Raspberry Pi. For the first tutorial, we have the guide for Arduino. Scroll down for the tutorial on Raspberry Pi.
Ultrasonic Sensor Arduino Guide:
What do you need?
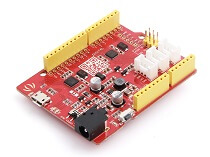
You can either watch the following video or read the written tutorial below for the instructions!
Step by step instructions
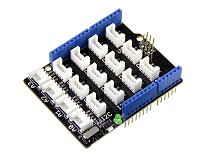
Hardware connections
Step 1: Connect Ultrasonic Ranger to port D7 of Grove-Base Shield
Step 2: Plug Grove – Base shield into Seeeduino
Step 3: Connect Seeeduino to PC via a USB cable
It should look like this after completing the above steps:

Software configurations:
Step 1: Download the UltrasonicRanger Library from Github.
Step 2: Refer How to install library Arduino if you are unsure on how to install library to your Arduino.
Step 3: Copy the code into Arduino IDE and upload it. If you do not know how to upload the code, please check our guide on how to upload code.
#include "Ultrasonic.h"

Ultrasonic ultrasonic(7);
void setup()
{
    Serial.begin(9600);
}
void loop()
{
    long RangeInInches;
    long RangeInCentimeters;

    Serial.println("The distance to obstacles in front is: ");
    RangeInInches = ultrasonic.MeasureInInches();
    Serial.print(RangeInInches);//0~157 inches
    Serial.println(" inch");
    delay(250);

    RangeInCentimeters = ultrasonic.MeasureInCentimeters(); // two measurements should keep an interval
    Serial.print(RangeInCentimeters);//0~400cm
    Serial.println(" cm");
    delay(250);
}- Step 4: We will see the distance display on the terminal as below:
The distance to obstacles in front is:
2 inches
6 cm
The distance to obstacles in front is:
2 inches
6 cm
The distance to obstacles in front is:
2 inches
6 cm
If you’re looking to connect multiple ultrasonic to one Arduino, you can do so by connecting one to D2 and the other to D3. Below are the respective codes:
#include "Ultrasonic.h"

Ultrasonic ultrasonic1(2);
Ultrasonic ultrasonic2(3);
void setup()
{
    Serial.begin(9600);
}
void loop()
{
    long RangeInCentimeters1;
    long RangeInCentimeters2;

    RangeInCentimeters1 = ultrasonic1.MeasureInCentimeters(); // two measurements should keep an interval
    Serial.print(RangeInCentimeters1);//0~400cm
    Serial.println(" cm");

    RangeInCentimeters2 = ultrasonic2.MeasureInCentimeters(); // two measurements should keep an interval
    Serial.print(RangeInCentimeters2);//0~400cm
    Serial.println(" cm");

    delay(250);
}
Using Ultrasonic Sensor with Raspberry Pi
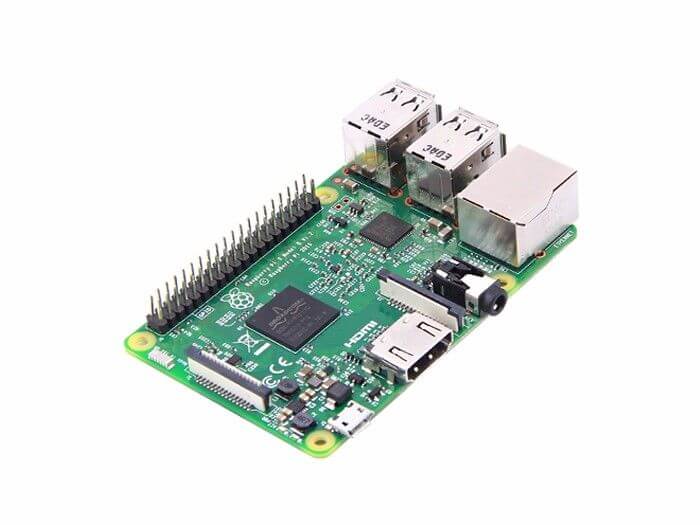
In this guide, we’ll be using the Raspberry Pi 3B for the guide below but other models that support the base hat can be used as well.
If you’ve yet to own raspberry pi, you can pick up a Raspberry Pi Zero, a low-cost option to use alongside the Grove-Ultrasonic Distance Sensor.
What do you need?
Step by Step Instructions
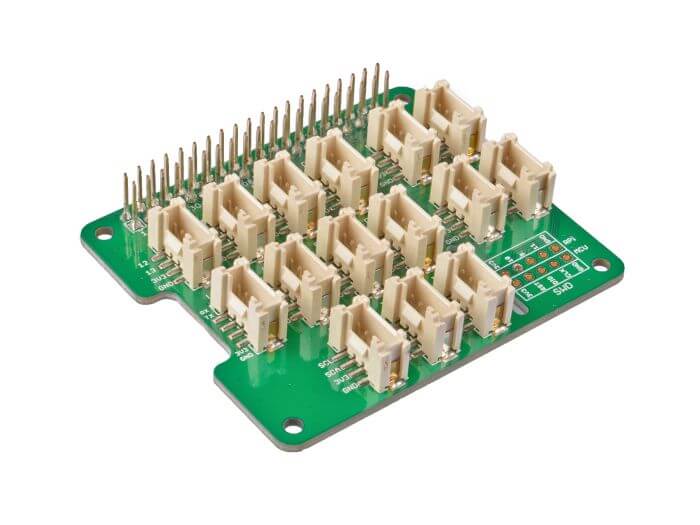
Hardware Connections
Step 1: Plug the Grove Base Hat into Raspberry
Step 2: Connect the Grove – Ultrasonic Ranger to port D5 of the Base Hat
Step 3: Connect the Raspberry Pi to PC through USB cable
- You can connect the ultrasonic ranger to any GPIO port as well but make sure you change the command with the corresponding port number
It should look something like this after completing the above steps:

Software Configurations:
- Step 1. Follow Setting Software to configure the development environment.
- Step 2. Download the source file by cloning the grove.py library.
cd ~
git clone https://github.com/Seeed-Studio/grove.py- Step 3. Execute below commands to run the code.
cd grove.py/grove
python grove_ultrasonic_ranger.py 5 6
Following is the grove_ultrasonic_ranger.py code.
import sys
import time
from grove.gpio import GPIO

usleep = lambda x: time.sleep(x / 1000000.0)

_TIMEOUT1 = 1000
_TIMEOUT2 = 10000

class GroveUltrasonicRanger(object):
    def __init__(self, pin):
        self.dio =GPIO(pin)

    def _get_distance(self):
        self.dio.dir(GPIO.OUT)
        self.dio.write(0)
        usleep(2)
        self.dio.write(1)
        usleep(10)
        self.dio.write(0)

        self.dio.dir(GPIO.IN)

        t0 = time.time()
        count = 0
        while count < _TIMEOUT1:
            if self.dio.read():
                break
            count += 1
        if count >= _TIMEOUT1:
            return None

        t1 = time.time()
        count = 0
        while count < _TIMEOUT2:
            if not self.dio.read():
                break
            count += 1
        if count >= _TIMEOUT2:
            return None

        t2 = time.time()

        dt = int((t1 - t0) * 1000000)
        if dt > 530:
            return None

        distance = ((t2 - t1) * 1000000 / 29 / 2)    # cm

        return distance

    def get_distance(self):
        while True:
            dist = self._get_distance()
            if dist:
                return dist


Grove = GroveUltrasonicRanger


def main():
    if len(sys.argv) < 2:
        print('Usage: {} pin_number'.format(sys.argv[0]))
        sys.exit(1)

    sonar = GroveUltrasonicRanger(int(sys.argv[1]))

    print('Detecting distance...')
    while True:
        print('{} cm'.format(sonar.get_distance()))
        time.sleep(1)

if __name__ == '__main__':
    main()
If everything goes well, you should see the following result (It shows the distance measured by the sensor)
pi@raspberrypi:~/grove.py/grove $ python grove_ultrasonic_ranger.py 5 6
Detecting distance...
121.757901948 cm
246.894770655 cm
2.60205104433 cm
0.205533257846 cm
0.657706425108 cm
247.433267791 cm
122.485489681 cm
^CTraceback (most recent call last):
  File "grove_ultrasonic_ranger.py", line 110, in <module>
    main()
  File "grove_ultrasonic_ranger.py", line 107, in main
    time.sleep(1)
KeyboardInterrupt
You can quit this program by simply pressing Ctrl + C
Arduino Ultrasonic Sensor Projects
Now you know how to program your Ultrasonic sensor, why not try your hand at some of these projects!
Drinking Reminder Water Bottle

Do you often forget to drink water when you are busy? With this project, you can create a drinking reminder to alert you to drink water! With the ultrasonic sensor, it is able to detect the changes in the water level in the bottle and also calculate how much water was drunk!
What do you need:
Interested? You can find the full tutorial here!
Trash Sensor
Ever wonder how much trash you produce in a week? Want to know how fast you fill up your recycling bin?
With this project, you can track your trash (or recycling) build-up and receive notifications when it needs to be taken out.
What do you need:
- Arduino Yun
- Micro SD Card with Card Reader-32GB (or any SD card with 4 GB or more)
- USB-A to Micro-USB Cable
- Jumper Wires
- Grove Ultrasonic Distance Sensor
Interested? You can find the full tutorial by RChloe on Seeed Project Hub!
Ultrasonic Sensor Home Alarm
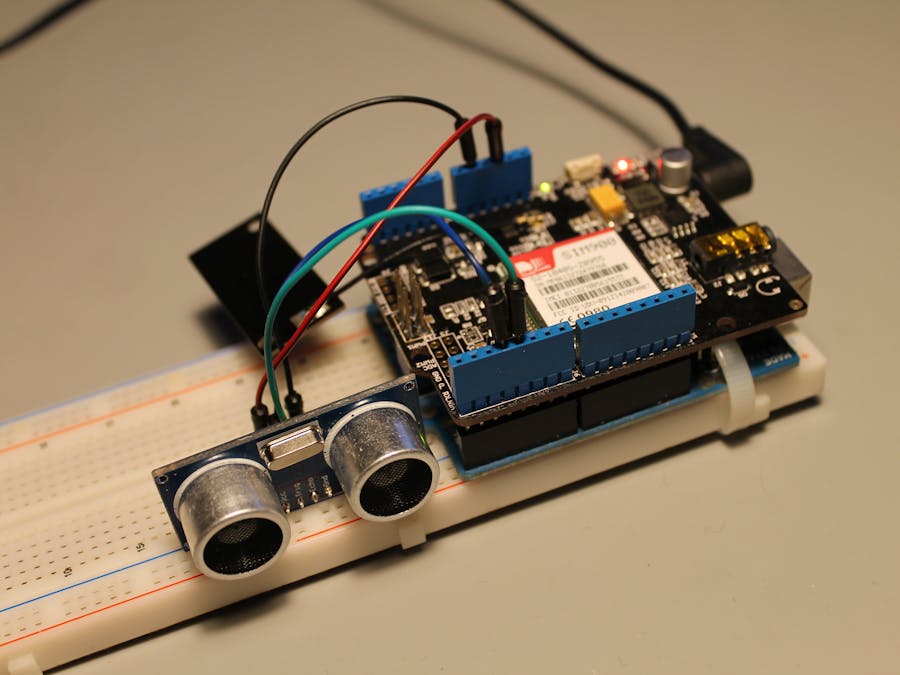
Want a security system but they are just too pricey? Why not make one of your own for much cheaper! This project allows you to build an alarm system that will call you if the ultrasonic sensor detects a difference in the distance being measured.
What do you need:
- Arduino UNO / Seeeduino V4.2
- GPRS Shield V3.0
- Grove Ultrasonic Distance Sensor
- Power supply 12V@2A
- Breadboard
Interested in this project? You can check out the full tutorial by Hugo Gomes on Seeed Project Hub!
Summary
I hope the above tutorials have been helpful, if you need any further technical support, you can send an email to [email protected]
The Grove-Ultrasonic Distance Sensor is now in stock now, get one while you can!