How to run Python Programs on Raspberry Pi? Beginner Tutorial
Own a Raspberry Pi and need a simple tutorial on how you can start create and run your own programs on Python? You’re in the right place today! In today’s post, I’ll introduce Python, why it is commonly used, and most importantly how you can get started with projects alongside it!
Before we get started…
- If you’ve yet to own a Raspberry Pi, what are you waiting for? Pick one up today with our wide array of options available here at Seeed including the latest Raspberry Pi 4 Computer Model 4B!
Introduction to Python
What is Python and Why is it used in Raspberry Pi?
Python is a widely-used programming language with an easy, beginner-friendly syntax (arrangement of words, phrases, in sentences). Due to its wide adoption, it has a huge community, giving access to libraries, frameworks, and tools to help users get started!
For Python to run any platform, it requires a Python Interpreter, and since Linux, an OS for the Raspberry Pi has been written for it, running of Python Interpreter has no issues.
- Hence, it is used for the Raspberry Pi, starting off as a scripting language to a full-fledged programming language option for software configurations!
What is python used for
Since Python is a multi-purpose programming language, it can be used for many useful applications in different industries as such:
- Web development and applications
- Creating GUI applications
- Game development, programming, and computing
- Automation
- Machine learning and Artificial Intelligence
- Raspberry Pi projects such as turning LED on and off, etc.
Some of the applications sound complex? But with Python, you can simply solve complex problems or applications with fewer lines of code, saving both time and effort!
Python vs C# and JavaScript
Lastly, before we begin our tutorial, let us have a quick comparison between Python and other programming languages; C# and JavaScript. To not dwell further, we’ll just take a look at the main differences:
Language complexity and Ease of Usage:
We’ve now established earlier that Python uses a much simpler language, but what about C# and Java? C# is much complex as you need to know more language constructions, while Java being a full-formed web programming is a lot to learn. A simple example is the below codes when extracting the first three letters of “Hello World”:
- Python:
str[0:3]- C#
str.Substring(0, 3)- JavaScript:
str.substr(0, 3)Simpler, Shorter, Easier with Python!
Cost of Development Time and Performance
C# and Java are compiled languages, allowing for faster performance. However, when changes are made, there’s high development time as you’ll have to wait for the program to compile.
However, with Python, you can just restart your application and continue on!
Community Support
Both Python and Java have been open-source languages for a long time, whereas C# has just recently become that. Hence, community support for Python and Java will be bigger.
This means, if you stumble across any problems, the likelihood of finding solutions to those two languages is higher!
All in all, very much everything you do on Python can be done with other programming languages such as C# and Java. With its simpler usage, it makes a better option for beginners to get started.
Python Program Tutorial
How to Download and Run Python 3
Of course, to first get started you’ll need to install Python. Good news if you’re using Raspbian, the default OS for Raspberry Pi as it should contain both Python 2 and 3 IDE!
So go ahead and load it up by clicking on the Top left Pi icon -> Programming -> Python 3 (IDLE)

However, if for some reason you do not have python in your system, simply launch the terminal window (4th icon from the left) and run this command at the command prompt:
sudo apt-get install python3If you’re running on other OS such as Ubuntu, Debian, and LinuxMint, here’s how you can install Python 3.7:
- Step 1: Install Prerequisites
sudo apt-get install build-essential checkinstall
sudo apt-get install libreadline-gplv2-dev libncursesw5-dev libssl-dev \
libsqlite3-dev tk-dev libgdbm-dev libc6-dev libbz2-dev libffi-dev zlib1g-dev- Step 2: Download Python 3.7
cd /usr/src
sudo wget https://www.python.org/ftp/python/3.7.4/Python-3.7.4.tgz
Extract the download package with this:
sudo tar xzf Python-3.7.4.tgz- Step 3: Compile Python Source Code using Altinstall
cd Python-3.7.4
sudo ./configure --enable-optimizations
sudo make altinstall- Step 4: Check the Python version installed
python3.7 -V

Python-3.7.4
Writing your first Python Program with Hello World!
Hello, World? It’s a program aimed to help beginners get started in writing your first Python Program in the interpreter. It allows you to test out commands one line at a time!
- Step 1: Launch the Python Interpreter and enter the following command:
python- Step 2: You should see “>>>” sign, where you’ll have to type the following command in and press enter:
print("Hello, World!")- You should then see the phrase Hello, World! replied back to you
That’s all it took for you to run your first Python program! Simple right?
- You can now exit the interpreter by entering the following command:
exit()Learn Python through Mathematical Expressions
Apart from “Hello, World”, you can learn python with Raspberry Pi through programming the interpreter to perform mathematical calculations with operator signs:
| Operation | Symbol | Example |
|---|---|---|
| Power (exponentiation) | ** | 5 ** 2 == 25 |
| Multiply | * | 2 * 4 == 8 |
| Divide | / | 15 / 3 == 5 |
| Integer Division | // | 14 // 3 == 4 |
| Remainder (modulo) | % | 14 % 3 == 2 |
| Add | + | 2 + 2 == 4 |
| Subtract | – | 4 – 3 == 1 |
Want to get started? You can test it out by running the commands below:
print("3 + 3 is", 3 + 3)
print("3 * 4 is", 3 * 4)
print("100 - 1 is", 100 - 1)
print("(33 + 2) / 5 + 11.5 is", (33 + 2) / 5 + 11.5)
When the above command is run, you’ll see the following output:
3 + 3 is 6
3 * 4 is 12
100 - 1 is 99
(33 + 2) / 5 + 11.5 is 18.5
For more complex mathematical functions, you can visit the relevant python libraries!
Running Program via Thonny
Another way you can run a python program is through Thonny. Thonny is a Python Editor ith a beginner-friendly environment with features suitable for writing codes and running programs!
If you’re running on Raspbian, simply head to the Pi icon -> Programming -> Thonny Python IDE as follows:

Once Thonny is launched, click File > Open, and then navigate to your Python program. Once program is loaded, click Run > Run the current script
Using other Linux OS? You can visit the Thonny Website to download Thonny for Linux OS here!
How to run Python through Raspberry Pi GPIO pins
What’s unique of running python on Raspberry Pi instead of the typical PC is that you can run codes specifically to control hardware components through its GPIO pins! In today’s tutorial, I’ll start by teaching you how you can code an LED to turn it on and off!
You’ll need the following hardware components:


Hardware Assembly and Configurations:
- Step 1: Plug the Grove Base Hat into Raspberry
- Step 2: Select any GPIO port on the Base Hat and connect the Purple LED to it
- Step 3: Connect the Raspberry Pi to PC through USB cable
For step 2, you can connect it to the Grove Port as well, which would result in the pairing to look like this:

Software Configurations with Python
- Step 1: Follow Setting Software to configure the development environment
- Step 2: Download the source file by cloning the grove.py library
cd ~
git clone https://github.com/Seeed-Studio/grove.py- Step 3: Execute the following command. Take note of the GPIO port you’ve connected the Grove – Purple LED to and enter it under port number.
cd yourpath/grove.py/grove
python grove_led.py portnumber
If your port number is 12, your command should look like this:
cd yourpath/grove.py/grove
python grove_led.py 12
You should now be able to see the LED on and Off!
Raspberry Pi Python Projects
Of course, we couldn’t end a tutorial without introducing some raspberry pi python projects you can get started with right? With building projects being one of a good way to learn python programming, here are some for you to try!
1) Raspberry Pi Smart Clock with Python

Want to build a smart clock with your Raspberry Pi that shows time on an OLED display? This project not only does that but also allows you to hear time at different intervals! All software configurations are done with Python!
What do you need?
Hardware components:
- Raspberry Pi 3 Model B
- RGB Diffused Common Cathode
- Speaker: 0.25W, 8 ohms
- Jumper Wires (Generic)
Software apps and other services:
- Raspbian or Noobs on Raspberry Pi
- Python GPIO library installed in Pi
- Python SSD OLED Library
Interested to find out more? You can check out the full tutorial alongside the Python Code by Ashwini Kumr Sinha on Hackster.io!
2) E Ink Calendar for Raspberry Pi

Want to program a calendar for your Raspberry Pi with Python? This project allows you to do so! Not only does it use an E ink display that doesn’t harm the eyes, but with a stronger light, the display turns clearer!
What do you need?
Hardware components:
- Raspberry Pi 3B+
- Seeed 2.7″ Triple-Color E Ink Display for Raspberry Pi
Software configurations:
- Raspberry Pi Raspbian
- Seeed Eink Raspberry Calender python code
Interested to find out more? You can check out the full tutorial by Seeed on Seeed project hub!
3) Smart Control of Raspberry Pi Fan using Python and ThingSpeakAPI
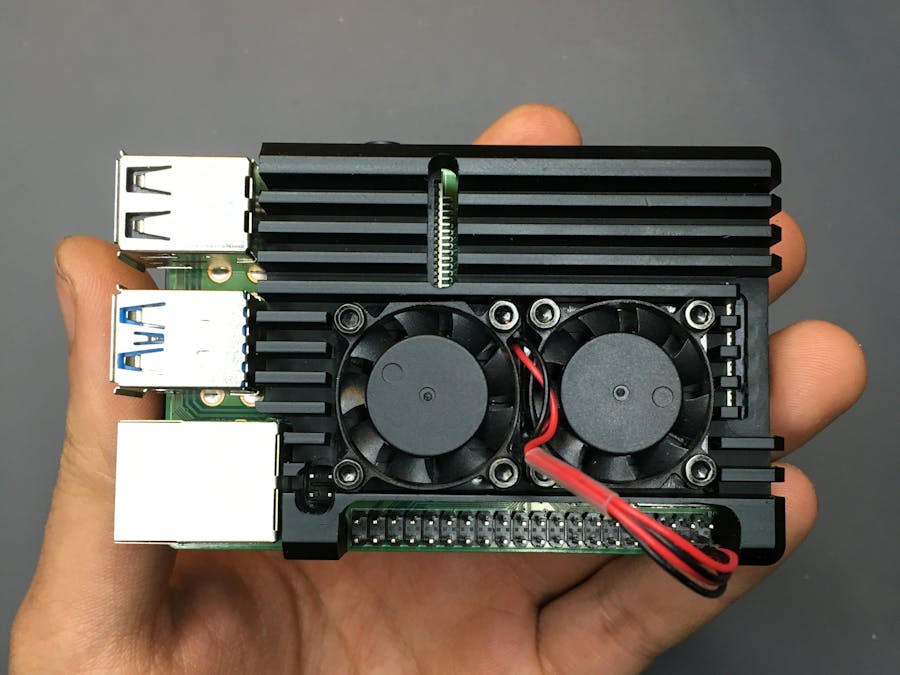
Worry about the thermal issues present in the Rasberry Pi 4 and only want the fans to turn on when the processor really needs it? With this project, you can implement a Python script to control a fan based on the current temperature of the Raspberry CPU using On-off control!
- Cool your Raspberry Pi and learn Python at the same time!
What do you need?
Hardware components:
- Raspberry Pi 4 Computer Model B 4GB
- Seeed Armor Aluminum Metal Case with Dual Fans for Raspberry Pi
- General Purpose Transistor NPN
- Resistor 330 ohm
- Breadboard
- Jumper wires
Software apps and online services:
Interested to find out more? You can check out the full tutorial by Nurgaliyev Shakhizat on Seeed Project Hub!
4) Picamera Python Project
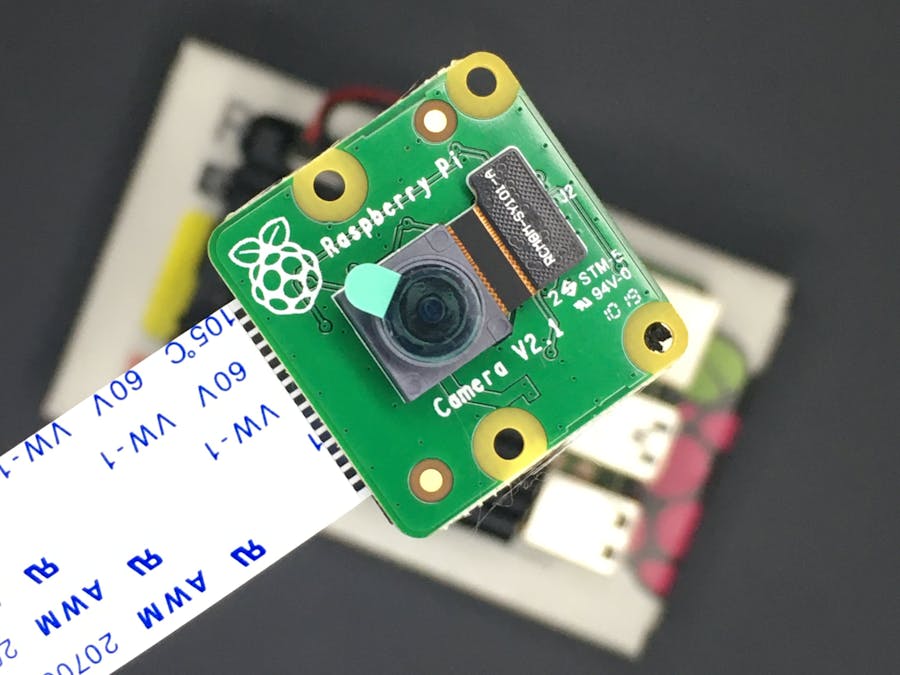
Need a python code to control your Raspberry Pi Camera module for photo taking and video recording? This project shows you how to do so!
What do you need?
Hardware components:
Software apps and online services:
- Raspbian operating system with Python
Interested to find out more? You can check out the full tutorial by Nurgaliyev Shakhizat on Seeed Project Hub!
5) Building a custom Minecraft controller with Raspberry Pi

Do you know the Raspberry Pi supports Minecraft? Yes! You can play Minecraft on Raspbian OS with a Keyboard and Mouse. However, if you’re looking to enhance your gameplay by building a custom controller, this project is for you!
What do you need?
Hardware components:
- Dexter Industries GrovePi+
- Raspberry Pi 2 Model B
- Dexter Industries Raspbian for Robots
- Seeed Grove Buttons
- Seeed Grove Joystick
- Wireless Keyboard and Mouse
Software apps and online services:
- Dexter Industries Raspbian for Robots
Interested to find out more? You can check out the full tutorial by Dexter Industries on Seeed Project Hub!
Resources and Going Further
As this raspberry pi python tutorial is meant for beginners, if you want to go further with an in-depth step by step tutorial, you may refer to the following resources:
- Raspberry PI Youtube Python Series by Sentdex
- More on installing Python packages
- More on Thonny
- More on Raspberry Pi Python projects
- Community tips on Learning Python with Raspberry Pi
Summary
That’s all for today’s guide on Raspberry Pi and Python. I hope with this, you get a deeper understanding of how you can get started!
Do remember that although you can refer to codes available online, if you want to master the Pi you’ll have to master programming and python as well since it’s the main language for any useful purposes.