Learn How to Solder Quickly – Circuit Board, Wires, Desoldering
Understanding how to solder electronics is one of the most fundamental skills you should know, be it working with microcontroller boards (E.g. Arduino), building a circuit, or even simply forming a connection between electronic components. What’s even better about learning how to solder is that it’s much more fulfilling and enjoyable thanks to its hands-on experience.
Hence, in today’s tutorial, we’ll provide you with a step-by-step tutorial on how you can get started with soldering. We’ll be covering the following contents:
- Introduction to Soldering
- Soldering tools you’ll need to get started
- How to use a soldering iron
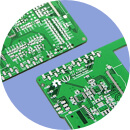
- How to solder circuit boards
- How to solder wires
- How to desolder
What is Soldering and How it works

Before we get started, let us understand a little more about soldering and what it actually is. Well, soldering is essentially the process where you establish a connection between electronic components, allowing for electric current to flow for one conductor to the other.
Soldering works by heating metal wires with a soldering iron and then applying the solder to the joint. The solder acts as a glue, whereupon melting, it flows over the metals to be joined and then establishing a connection between the metals.
What Soldering Tools you need to get started?
Thankfully when it comes to learning how to solder, you do not require a lot of tools to get started. We’ll just identify the few absolute essential tools you’ll require.
- If you’re new to soldering and don’t wish to purchase each essential tools individually, you may consider our Soldering Starter Pack that has everything you need!
1. Soldering Iron
Firstly, a soldering iron. A soldering iron is used to heat the metal wires for melting such that electrical connections can be established. Being one of the most important tools used in soldering, it comes in variations for user preferences; Soldering pencil, Soldering Stations, etc.
When it comes to picking a suitable soldering iron, you would want to consider the following factors:
- Wattage; Depending on the wattage of your soldering iron, it’ll determine the amount of power available. We recommend soldering irons with a wattage of 40W-60W to prevent loss of heat and bad solder joints that are present in lower-powered soldering irons (20W-30W)
- Soldering Iron Types: There are a few types of soldering iron, more commonly being soldering pencils and soldering stations
- Soldering pencils are cheaper and useful for simple DIY soldering projects but do not offer much control of the temperature on the iron tip
- Soldering Stations are power stations with a pencil attached to it, allowing for control of the desired temperature. Though being more expensive, it provides a higher soldering precision
- Soldering Iron Tips: Present at the very end of most soldering irons is known as the tip. Comes in many variations with each having its specific advantages, selecting one comes down to your purpose of usage
- Conical tip is the one with a pointed end, more suited towards high precision soldering requirements
- Chisel tip is the one with a broad flat tip, more suited towards soldering larger components
Soldering Irons available at Seeed
Here at Seeed, we offer the following soldering irons for your consideration.
Mini Soldering Iron – US Standard (Shape-BC2)

Small, portable, lightweight, with adjustable temperature is this Mini Soldering Iron. With support from 100 to 400 Celsius and integrated STM32, this soldering iron support different modes (Sleep mode, alert mode) as well.
Its features include:
- Portable and lightweight. More convenience for soldering.
- Easy temperature control
- Sleep mode
- Alert mode, with screen appearing “warning” when the temperature is higher than 400℃.
- Solder iron tips can be changeable.
- The software can be rewritten and programmed.
- The power adapter accepts 100V-240V voltage input.
Variety of soldering tips available:
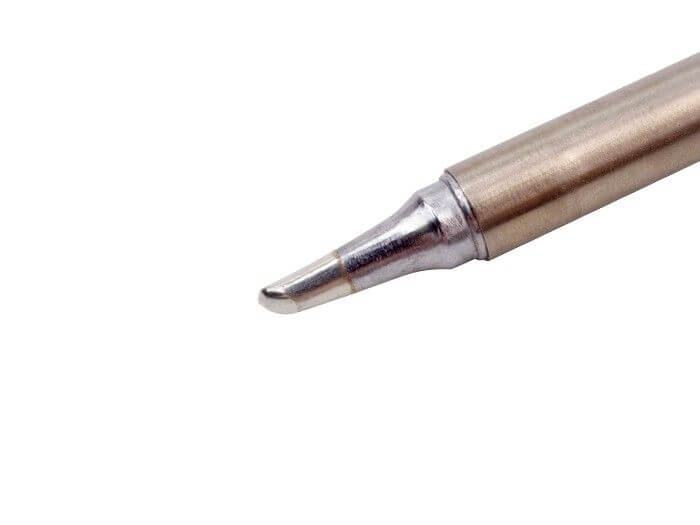
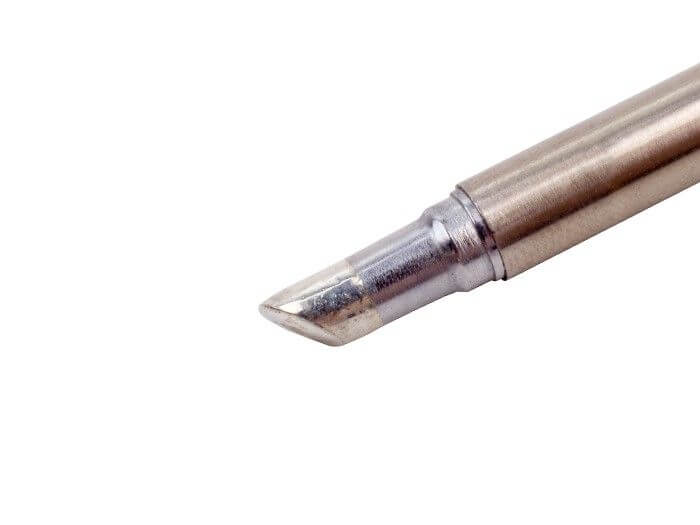
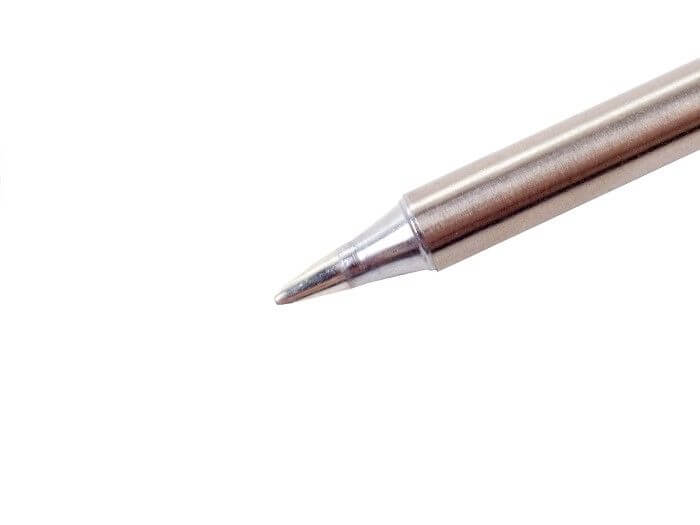
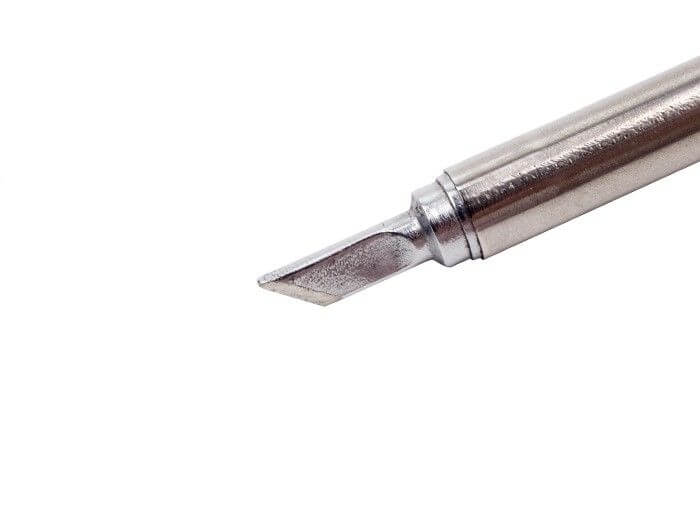
From left to right:
- TS-BC2 Series Solder Iron Tip
- TS-C4 Series Solder Iron Tip
- TS-D24 Series Solder Iron Tip (Thinnest)
- TS-KU Series Solder Iron Tip (Broad flat tip)
2. Brass or Conventional Sponge
Next soldering essential you’ll need is brass or a conventional sponge. The purpose of using either is for keeping the soldering iron tip clean through the removal of oxidation that forms. It’s important that oxidation does not form as it’ll turn your soldering iron tip to black.
You could use either a brass or a conventional sponge but we highly recommend using brass as:
- A conventional sponge may result in a shorter lifespan of your soldering iron due to expansion and contraction
- Even by wetting the sponge, it’ll affect the temperature of your soldering iron tip upon wiping
3. Soldering Iron Stand
Well, next on this list is a soldering iron stand. This may sound basic but it’s a useful soldering essential to have. Instead of placing your soldering iron on the table upon usage which poses as a fire risk due to its high-temperature tip, how about placing it on a stand that helps prevent that from happening!
Soldering Iron stand available at Seeed:
Mini Soldering Iron Stand with Sponge

At only $0.90, this mini soldering iron stand allows you to not only place your soldering iron, but the included foam means you can clean the tip upon usage as well!
4. Solder

Moving on to something that you’ll definitely need when soldering, which is the solder. Solder is essentially the metal alloy material wrapped around a cylinder that’s used alongside the soldering iron to establish a connection between electronic components.
The most commonly used kind of solder is made of either a Tin/Copper alloy due to the health concerns linked posed when using a leaded rosin core solder instead.
NOTE: Do note that you may come across another type of solder called the Acid Core Solder. This kind of solder are used for plumbing and is not suitable for your electronic components and circuits.
5. Safety Equipment
Lastly on our soldering essentials are safety equipment. Well, with soldering irons reaching temperatures that may result in burns or damages, ensuring that you’re protected with safety equipment is an absolute essential.
Such safety equipment refers to:
- Protective eyewear (e.g. goggles) for prevention of accidental splashes of hot solder
- Fume extractor for the prevention of harmful solder smoke to enter your eyes/lungs (Recommended if you’re working in an area that’s not well ventilated)
How to use a soldering iron (Tinning the tip)
Like an oven before usage, you’ll first to “pre-heat” your soldering iron before any usage. This process is called tinning, whereby doing so, you can not only improve heat transfer, but it protects your soldering iron tip as well. Here’s how you can get started doing so:
- Step 1: Ensure that your selected soldering iron tip is tightly screwed in place
- Step 2: Turn on your soldering iron and let it heat up, we recommend setting the temperature to around 400deg if you’re using a soldering station or one that has adjustable temperature
- Step 3: Wipe the tip on a sponge or brass for cleaning
- Step 4: On one hand, hold your soldering iron, while on the other holder the solder. Now proceed to make contact with the tip of your soldering iron with the solder and ensure that the solder melts
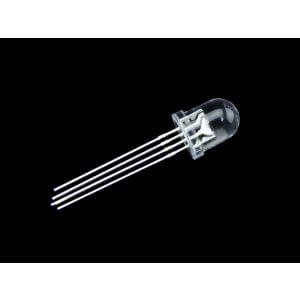
How to Solder a LED into a Circuit Board in 4 Simple Steps
Have you got all the soldering essentials needed? Now for the moment, you’ve been waiting for, let us go through a quick tutorial on how you can solder an LED onto a circuit board.
What you’ll need:
- Step 1: Insert the LED leads into the holes of the circuit board, flip it over and bend the leads outward at a 45′ angle
- Step 2: Turn your soldering iron on and touch the tip of the iron to the copper pad and LED lead
- Hold the soldering iron in place for 3-4 seconds to ensure that proper heating to the pad and the lead is applied
- Step 3: Continue holding your soldering iron on the copper pad and LED lead. Now bring your solder over and touch your solder to the joint
- Ensure you do not touch the solder directly to the tip of your soldering iron
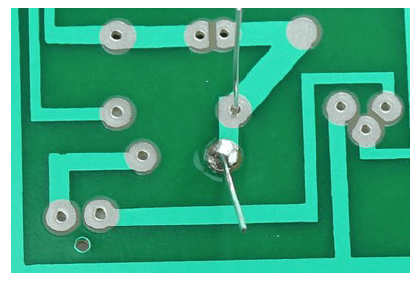
- Step 4: Now remove your soldering iron and allow for the solder to cool off naturally. Once done, snip off the extra LED leads
Your circuit board should look something like this after completing the above steps:
How to Solder Wires Together in 5 Simple Steps
Now that you’ve understood how to solder an LED into a circuit board, it’s time for our next tutorial – How to solder wires together. For this tutorial, it is recommended that you use soldering helping hands or clamp devices such that it’s easier.
- Step 1: Remove the insulation from both ends of your wires that you’re soldering together
- Step 2: Heat up your soldering iron, and once fully heated, touch the tip to one end of the wire. Hold it there for 3-4 seconds.
- Step 3: Once the end of the wire is fully coated, repeat step 1 and 2 on the other wire
- Step 4: Now bring the two tinned wires together, place them on top of one another and touch it with the soldering iron tip
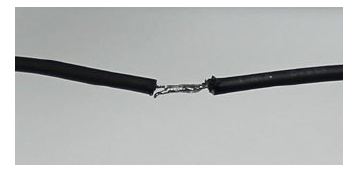
- Step 5: Remove the soldering iron and allow for the solder to cool off naturally
Your wires should then look something like this after completing the above steps:
How to Desolder in 4 simple steps
Now that we’ve learned how to solder both an led on a circuit board and wires, we’ll move on to the final tutorial for today’s post; Desoldering.
Let’s say that you’ve soldered an electronic component awhile ago and want to simply remove it. Well, thankfully in the soldering world, there’s a thing called the desoldering wick that allows you to do so!

The above desoldering wick is 1.5m long and 3.0mm wide in width. It can be used by following the following steps:
- Step 1: Place the desoldering wick over the solder to be removed, then push the heated soldering iron tip onto the desoldering wick, the solder will be absorbed.
- Step 2: Remove the desoldering wick after the solder has been absorbed.
- Step 3: Cut off the used section of the wick using nippers.
- Step 4: Repeat the above steps if the solder is not removed completely. Absorbability may differ depending on the type of solder. Sn63% and 60% (tin content) have good absorbability.
Summary
That’s all for today on soldering. I hope with today’s blog, you get a deeper understanding of what you’ll need to solder, and how you can solder both circuit boards and wires together for your next soldering project!
With soldering being such an essential skill nowadays, learning it wasn’t that difficult right?