Top 10 DIY LED Matrix Displays You Can Build
An LED matrix display is a grid of pixels that you can code. It is bright and easy to read from across the room. You may start with a tiny LED dot matrix display for text, and subsequently, level up to a bright RGB LED matrix for animations that feel like a mini screen.
Many small, integrated LED matrix modules communicate over SPI or I2C. SPI modules are commonly built around the MAX7219 (great for simple, single-color scrolling text). On the other hand, I2C modules commonly use the HT16K33 (easy wiring and solid for basic grids). For bigger, full-color builds, HUB75 RGB panels are the standard, but they need a strong 5V power supply and a good refresh driver to avoid flicker. Last but not least, if you’re using addressable matrices, WLED’s 2D mapping makes wiring direction and layout much easier to handle.
In this post, we’ll discuss about 10 community-loved LED matrix display ideas (Reddit, GitHub, Hackster.io, YouTube, etc.). Each item includes a source link you can follow.
Top DIY LED Matrix Displays
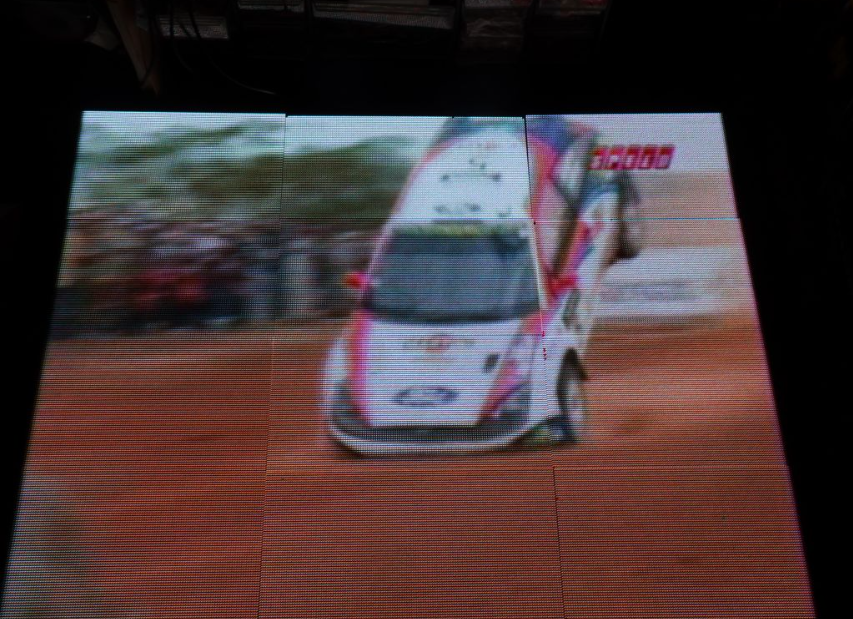
1) Raspberry Pi-Driven Large RGB Matrix with Video + Screen Share
A maker chained multiple HUB75 panels and streamed downscaled video frames to the wall. It’s a real-screen demo that is powered by a driver library. Using the monitor mode method, the Pi can make its standard video output smaller and send frames to the panel. It lets dashboards and clips operate without having to rewrite everything from the start. For big walls, the easiest way to stay stable is using a HUB75 interface board (HAT/bonnet) and a supply sized for the panel load.
2) Huge Pixel-Art Sign (80×32) With WLED
Flash WLED, define a 2D layout, and draw pixels from a web UI. It’s perfect for looping icons and quick animations on an addressable matrix. With WLED’s 2D mapping, you can show how your strips are physically connected, including straight, serpentine, and rotated. Subsequently, you can draw as if the matrix is entirely normal. You can quickly switch designs after the mapping is correct since most pixel-art workflows put images on the same 2D canvas.
3) Sound-Reactive WLED Matrix Visualizer
This converts music into motion. Fundamentally, the trick is keeping effects smooth in such a way that your refresh rate never stutters during loud sections. Different makers utilize the Sound Reactive build of WLED alongside an I2S digital MEMS mic for the finest beat response since they are less noisy than inexpensive analog microphones. You might change the sensitivity and smoothness so that the effects follow the music without flashing during quiet portions.
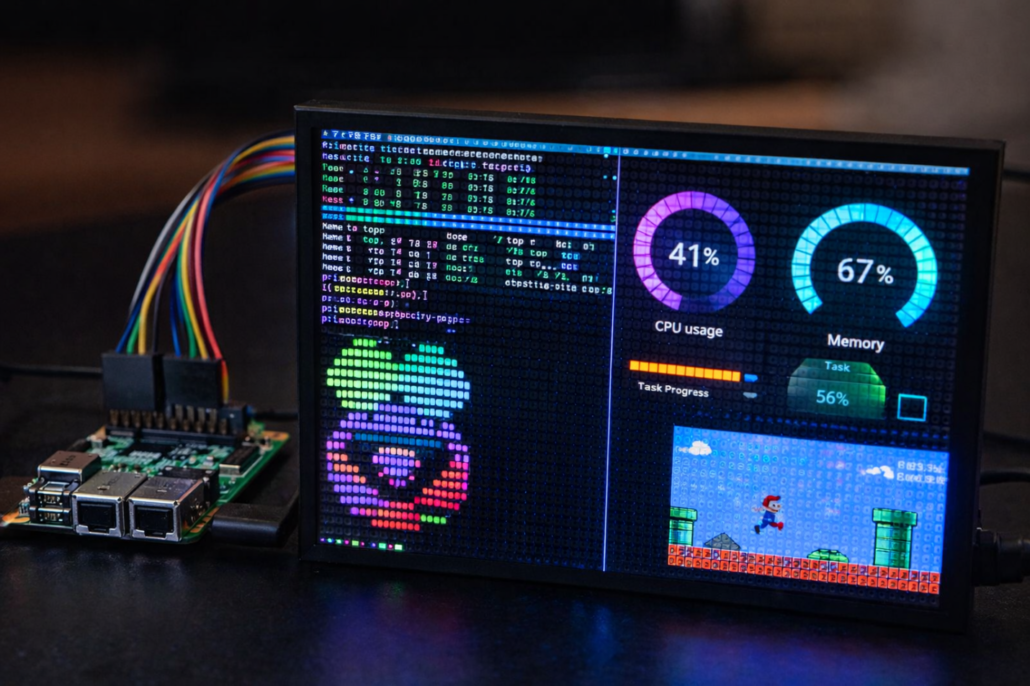
4) Raspberry Pi HUB75 RGB Matrix in Framebuffer Mode (Like a Mini Monitor)
Want your Pi to treat the RGB panel like a small screen? Use a framebuffer-style HUB75 driver like FBMatrix. It can render via uploaded frames or OpenGL, and you can show dashboards, terminal-style UIs, and smooth animations without building a custom pixel renderer first. This is great for fast prototypes since you can reuse familiar graphics workflows and refine performance later.
Source Link: Framebuffer RGB matrix driver for Raspberry pi
5) GIF / Logo “Photo Frame” Using rpi-rgb-led-Matrix
This toolchain is usual if you want sharp loops. It keeps art tidy by focusing on color depth and steady PWM on HUB75 displays. The toolkit has a viewer that can loop photos and even work with animated formats, so it’s great for a “set it and forget it” frame. The library also supports high color depth with PWM control, which makes gradients seem smoother, not banded.
Source Link: Controlling up to three chains of 64×64, 32×32, 16×32 or similar RGB LED displays using Raspberry Pi GPIO
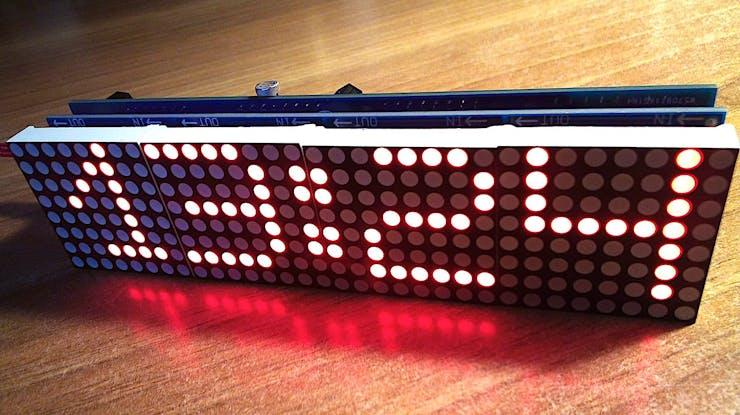
6) LED Matrix Display Arduino Scrolling Marquee
Chain MAX7219 matrices and after that, use MD_Parola animations to scroll messages, swap fonts, and run transitions. It suits a desk ticker. You may link together as many MAX7219 modules as you like using MD_Parola. This means you can make a little ticker or a lengthy desk banner without having to change the underlying code structure. It also has zones, which enable you to show various messages or animations on different portions of the same screen.
Source Link: Library for modular scrolling LED matrix text displays

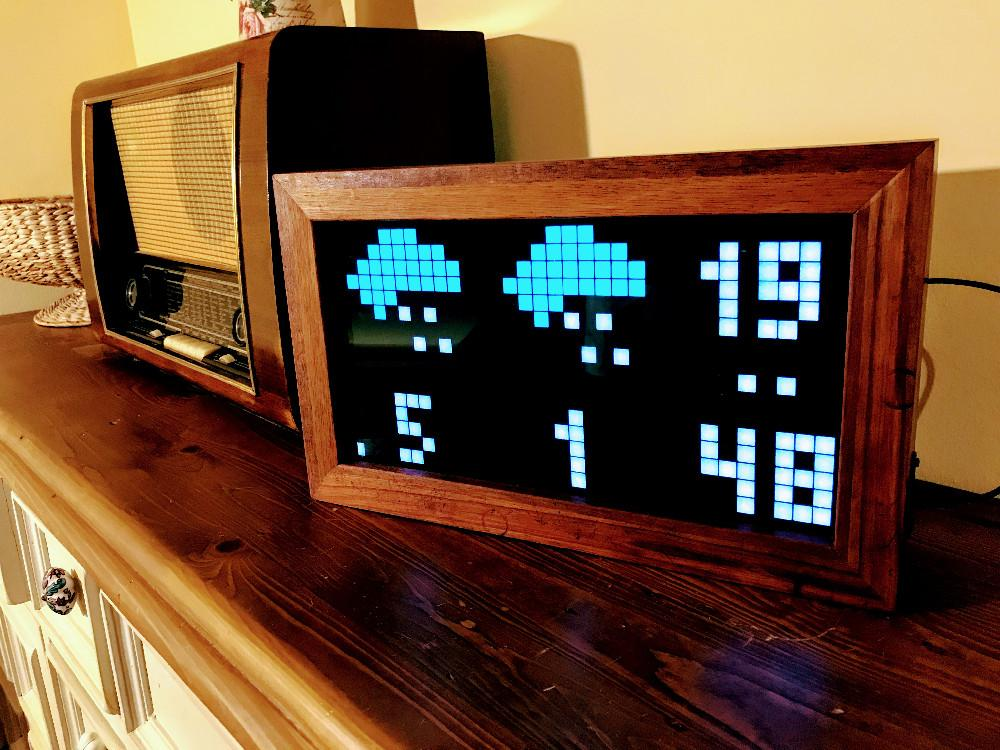
7) Precision Wi-Fi NTP Clock
Sync time via NTP, auto-adjust brightness, and add level shifting to use 3.3V logic with a 5V matrix module. This clock gets its time from NTP via Wi-Fi, which keeps it accurate. It can also be set up manually over BLE when Wi-Fi isn’t accessible. A modest level shifter keeps signals stable since the Nano ESP32 uses 3.3V logic, and many MAX7219 modules work best at 5V.
Source Link: Arduino Nano ESP32 LED matrix precision clock
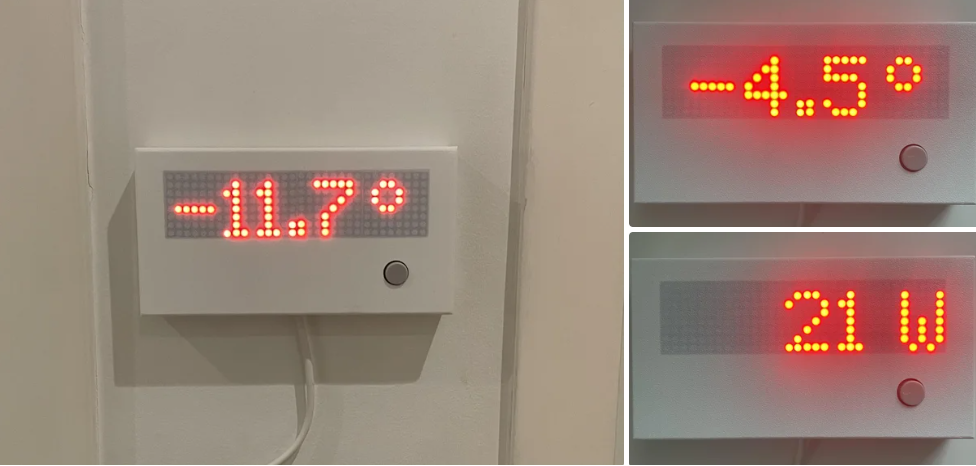
8) Home Assistant “At-A-Glance” Matrix
Show temperature, energy, reminders, or doorbell text as scrolling updates. ESPHome keeps it maintainable because your display logic is config-driven. This project is great since it makes Home Assistant sensors into a simple “glance screen” that shows things like the outside temperature, solar output, or energy numbers. A lot of builds include a button that lets you switch between data pages, so you can still utilize the display without having to open the phone.
Source Link: Home Assistant/ESPHome LED Matrix Temperature and Power Meter
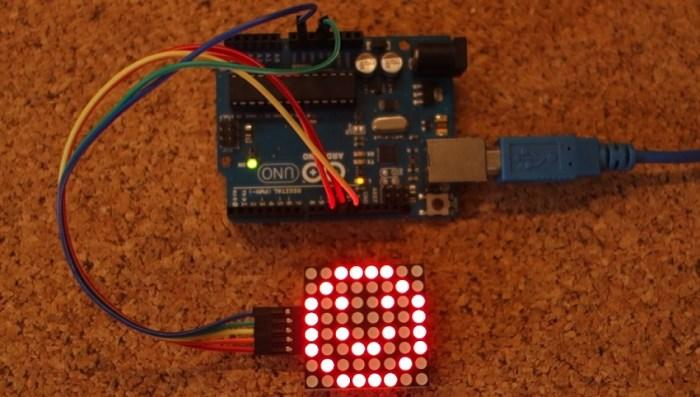
9) Tiny Arcade: Pong on an 8×8 Dot Matrix
Pong is a great “micro game.” You learn timing loops, input handling, and flicker-free updates on a grid. The MAX7219 modules are easy for beginners to use since the chip just needs three Arduino pins (DIN/CLK/CS) to control the complete matrix. Pong is a fun way to learn about “frame updates” since you have to clear and redraw pixels quickly to make them seem smooth.
Source Link: Guide for 8×8 Dot Matrix MAX7219 with Arduino + Pong Game
10) Big Wi-Fi Dashboard on A HUB75 RGB Panel
HUB75 panels scale when you want more pixels. PxMatrix is a common library for RGB dashboards, clocks, and simple UIs over Wi-Fi. PxMatrix works with the typical “Chinese RGB panels” that are used in bigger signage. It can handle panels of different sizes, like 32×16, 64×32, and 64×64. If you desire smoother animation on huge screens, study how scan type and refresh settings impact flicker. In some cases, DMA-based drivers may even raise refresh rates.
Source Link: Adafruit GFX compatible graphics driver for LED matrix panels
Make Your First LED Matrix Display with Seeed Studio
For beginners, our Grove and WS2812 options are the easiest way to build a first working LED display. They keep wiring simple and help you get results without complicated setups.
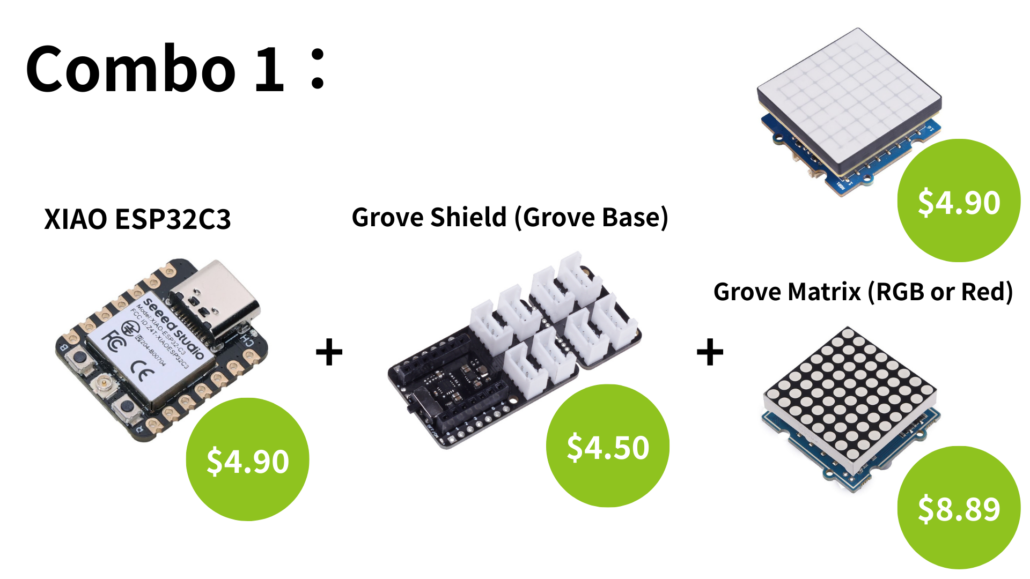
Combo 1: XIAO ESP32C3 + Grove Shield (Grove Base) + Grove Matrix (RGB or Red)
You can begin with XIAO ESP32C3, plug it into the Grove Shield for XIAO, and then connect a Grove RGB LED Matrix w/Driver or a Grove Red LED Matrix w/Driver. The benefit is the built-in driver, and hence, you control the whole matrix through the Grove connection instead of hand-wiring every LED. This suits icons, short messages, and simple animations.
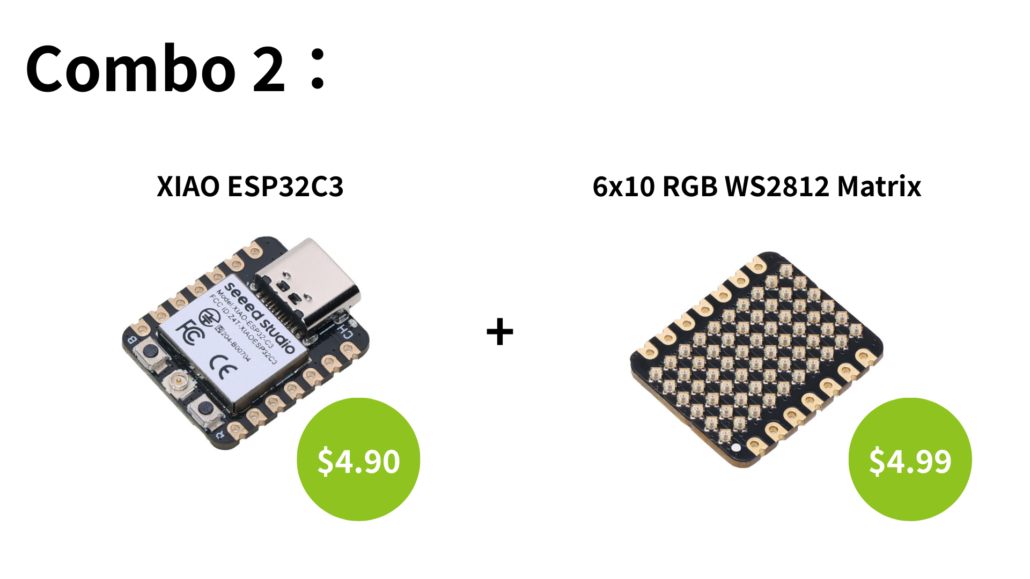
Combo 2: XIAO ESP32C3 + 6×10 RGB WS2812 Matrix
If you want a brighter pixel canvas, go with our 6×10 RGB WS2812 Matrix for XIAO. It gives you 60 addressable LEDs, and you can draw patterns, run effects, and animate with very little hardware effort. Apart from that, it supports extensions so that you can scale the display later.
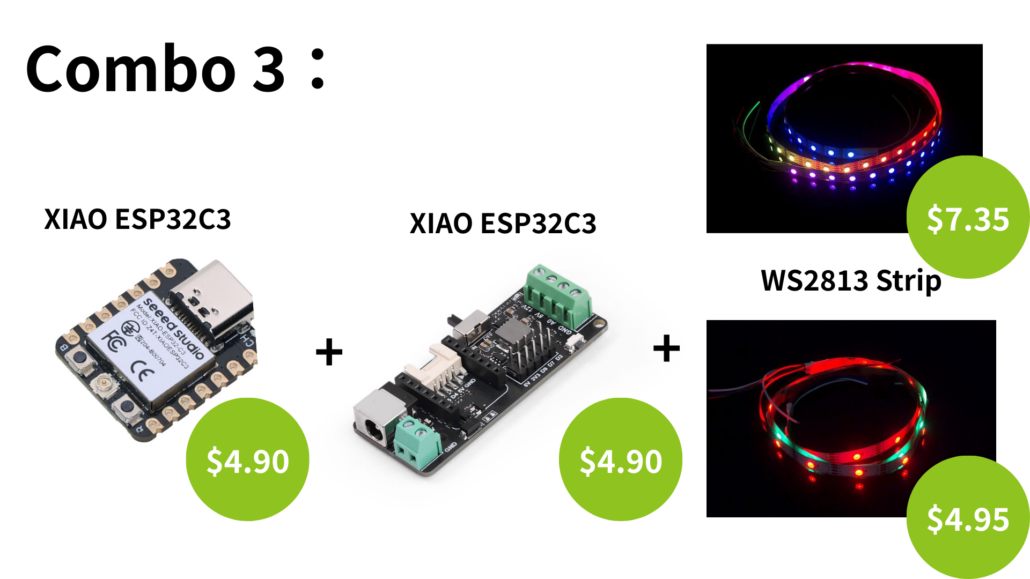
Combo 3: XIAO ESP32C3 + LED Driver Board for XIAO + WS2813 Strip
For a beginner-friendly setup that can grow into a bigger sign, use XIAO ESP32C3 with our LED Driver Board for XIAO and an addressable strip like WS2813. It’s a straightforward way to build flexible LED signage using addressable strips—ideal for outlines, text, and custom shapes, without committing to a fixed matrix panel. It also works with smart-light workflows like WLED and Home Assistant when you use an XIAO ESP32 board.
All three combinations are always modular. For instance, you can change how the display looks later without having to redesign the whole controller. This implies that you’ll spend less time fighting with wires and more time making fun content, layouts, and effects.
>> Want more community builds? Here are a few from our blog