What is an Oscilloscope? – Functions and Tutorial
If you’re familiar with troubleshooting circuits, you would have used a multimeter before. But if you require more information than a multimeter can provide, that’s where an oscilloscope will come into play! Thus, today we will look at the fundamentals of an oscilloscope and how to use it.

Before we can get into the main topic today, let’s look at some of the basic concepts you should know that will help you understand oscilloscopes better:
- Voltage: The difference in charge between the two points.
- Current: The flow of electrical charges.
- Resistance: The measure of opposition to the flow of current.
- Multimeter: All-in-one electronic measuring instrument that combines several measurement functions.
Should you need to recap and revisit these concepts, do check out these blogs! :
- Electronics Circuit: Voltage Dividers
- What happens in an electric circuit: Voltage vs Current
- Introduction to Measuring Instrument: What is a Multimeter?
With that said, let’s look at what will be covered today:
- Overview of Oscilloscope
- Oscilloscope Recommendations
- Oscilloscope Tutorial
Overview of Oscilloscope
What is an Oscilloscope?
An Oscilloscope is an electronics test equipment that graphically displays signal voltage changes and makes it easier to see any problems occurring in an electronics circuit.
Engineers use oscilloscopes to study the changing process of various electrical phenomena for laboratory work. It can be used to capture, process, display and analyze the waveform and bandwidth of electronic signals.

How does an Oscilloscope function?

The function of an oscilloscope is to simply display waveforms. As you can see from the image, the normal mode of operation time is displayed along the X-axis and amplitude is displayed along the Y-axis. From the waveform, it is possible to analyse the operation of the circuit and allow you to identify the problem and quickly troubleshoot the circuit.
The exterior of an Oscilloscope

- Display: Where the waveforms will be displayed.
- Connectors: These are inputs for the channels to be displayed. Most oscilloscopes nowadays are dual channel and are able to display two signals at the same time.
- Controls
- Vertical gain/Signal input sensitivity: Calibrated in V/cm, vertical division on the scale represents a given number of volts.
- Timebase: Calibrated in ms/cm, alters the speed at which the trace crosses the screen horizontally on the oscilloscope.
- Trigger: Enables the timebase of the oscilloscope to be triggered, so that a still or stable picture will be obtained on the display.
Types of Oscilloscopes
There are two main types of Oscilloscopes: Analog and Digital. Though there are more different categories under the digital oscilloscopes.
Analog Oscilloscope
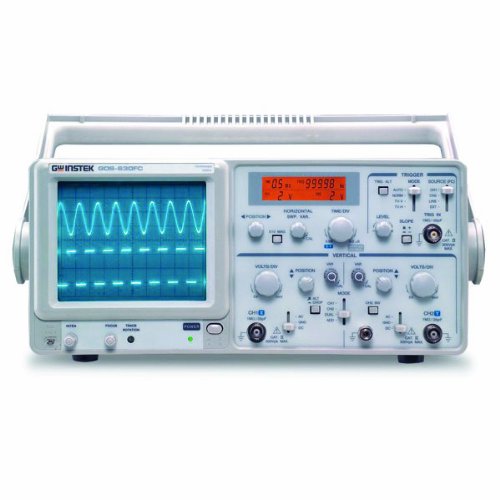
The first type of oscilloscope to be invented and popularised. This type of oscilloscope uses a cathode ray tube (CRT) to display waveform and image, thus they are also known as the cathode ray oscilloscopes. Though they’re not able to provide as much functionality as a digital oscilloscope, they’re still good enough to see usage in the laboratory and general test applications.
Digital Oscilloscope
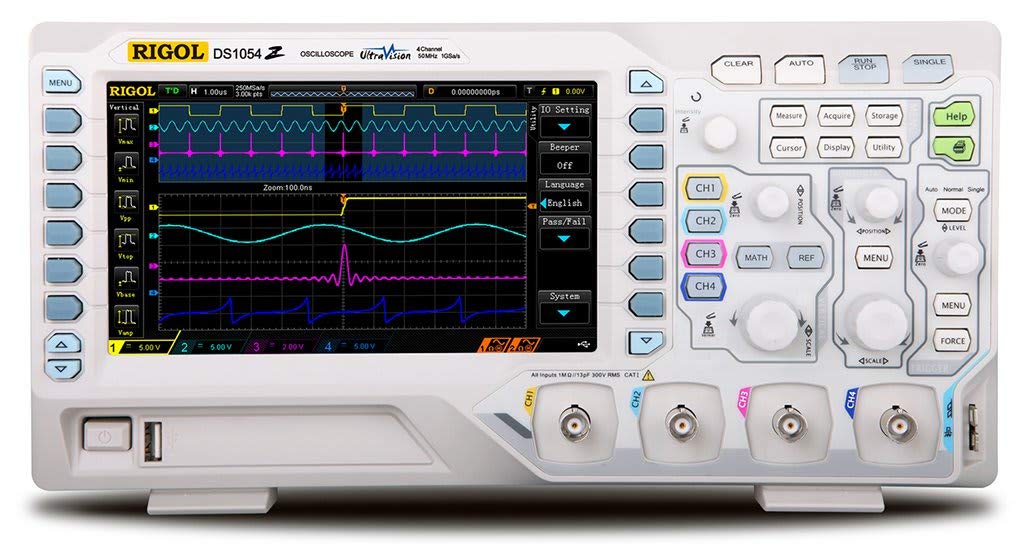
Fairly common nowadays, they basically work just like an analog oscilloscope, but with the waveforms displaying on an LCD, and providing even more functions and capabilities. This improvement has also allowed digital oscilloscope to see uses in RF design applications along with the general electronic circuit design and test applications.
There are also these sub-categories of digital oscilloscopes:
- Digital Sampling Oscilloscope: It is used to capture exceedingly high-frequency signals, especially repetitive signals and frequencies that are higher than the oscilloscope’s sampling rate.
- Digital Storage Oscilloscope (DSO): It has the memory to store waveforms and display them for a period of time.
- Digital Phosphor Oscilloscopes (DPO): It uses a parallel processing architecture that enables it to capture and display signals.
- Mixed Signal Oscilloscopes (MSO): Essentially an oscilloscope and a logic analyser in one, it has some analog oscilloscope input channels to look at waveform shapes and a number of logic analysis channels to look at the digital state of various channels.
Oscilloscope Recommendations
After looking at the background of oscilloscopes, I’m sure you would like to know where to get your hand on one! At Seeed, we offer a few oscilloscopes that will definitely satisfy you.
MiniDSO DS213 Nano 4 Channel 100MSa/s ($179.00)
The DS213 is a mini handheld digital storage oscilloscope that allows you to store, display and print waveforms! It also features a built-in 8 MB USB stick and you’re able to upgrade the system firmware.
Features:
- Tiny and portable
- Built-in 8 MB USB
- Colour display
- Able to store waveforms and upgrade system firmware
- 5-track-4-channel
- Four application partitions for loading and upgrading up to four different application firmware
If you’re interested in a cheaper alternative but is similar to the DS213, do check out our DSO Nano v3 ($89.00)!

DSCope U3P100 Dual-Channel 1GSa/s Sampling/100Mhz Bandwidth USB3.0 – Portable Oscilloscope ($299.00)

Our DScope U3P100 is a USB-based digital oscilloscope that is ultra-portable, dual-channel and features a powerful FPGA-based Waveform Processing Engine that is capable of bringing you a high performing oscilloscope. Moreover, the DSView software can process the waveforms efficiently and display waveforms at a real-time refresh rate.
Features:
- 2 Analog Channels
- USB 3.0 Interface
- 100MHz Bandwidth
- Up to 1GSa/s sample rate
- Up to 2Gbits hardware memory
- Ultra-portable size
- Unibody aluminium case
Oscilloscope Tutorial
We’re finally getting to the part where you’re waiting for, how to use and read an oscilloscope! But before we can show you how exactly you should do that, let’s look at more controls, apart from the ones we’ve mentioned earlier:
- Vertical gain: Alters the gain of the amplifier that controls the size of the signal in the vertical axis. It is normally set so the waveform fills the vertical plane as best as possible.
- Vertical position: Governs the position of trace when no signal is present. Do note that it should be set to a convenient position to avoid timing measurement errors.
- Timebase: Sets the speed at which the screen is scanned, calibrated in terms of a certain time for each centimetre calibration on the screen.
- Trigger: Sets the point at which the scan on the waveform starts.
- Trigger hold-off: Associated with the Trigger control, basically delays the trigger after the completion of the previous scan to prevent scanning too soon.
- Beam finder: Though not all oscilloscope possesses this control, it enables the beam to be found and adjusted so that it is in the centre of the screen.
Now that we’re all clear on the controls, using the oscilloscope will be a piece of cake for you! Here are the basic steps you should follow to operate an oscilloscope:
Step 1: Switch on the Oscilloscope
It goes without saying that you will need to press the power button to start the oscilloscope. You should also give it some time to warm up before you’ll be able to see the display.
Step 2: Setup your Oscilloscope
Once your oscilloscope is ready, plug in your connections. Then, find the trace control, set the gain control and timebase speed.
Step 3: Connect to an oscillating signal
If your setup goes well, the signal should be applied and you will be able to see the image on the display.
Step 4: Set the trigger
You should be able to control the trigger, no matter whether it triggers on the negative or positive-going edge. Do also note that you should adjust it according to your required image.
Step 5: Begin your measurement
Once you’ve reached the 4th step, you should be able to start with your measurements!
The instructions above are the basic steps that would allow you to use an oscilloscope. But if you prefer a more detailed tutorial, I suggest you check this out:
Oscilloscope How To (Oscilloscope Tutorial)

If you’re someone that prefers visual and detailed instructions on how to use an oscilloscope, I will suggest you check this out! Alike to the prior basic instructions, this tutorial uses a digital oscilloscope as well.
Summary
And that’s it on oscilloscopes! Hope that you have a better understanding of oscilloscopes now. We have touched on the basics, some recommendations, as well as instructions on how you should use it! If you’re interested in articles as such, click on the links down below.
Suggested Readings
- Introduction to the Oscilloscope – What is an Oscilloscope and How to use it?
- Oscilloscopes – For more oscilloscope options!