PIR Sensor: Overview, Applications and Projects
PIR Sensor is short for Passive Infrared Sensor, which applies to projects that need to detect human or particle movement in a certain range. It is also commonly known as PIR (motion) sensor or IR sensor.
Since PIR Sensors are equipped with powerful function with low-cost advantages, it has been adopted in tons of projects and is widely accepted by the open-source hardware community for projects related to Arduino and Raspberry Pi. With all these resources readily available, it has greatly helped beginners learn about the PIR sensor.
In this article, I will introduce the PIR Sensor and compare the different PIR sensors that you can find at Seeed. I hope this can help you understand PIRs better!
What will be covered:
- Overview of PIR Sensors
- Difference between PIR Sensor and Motion Sensor
- How does PIR work with Arduino and Raspberry Pi?
- Related Sensors
- Arduino and Raspberry Pi Projects using PIR Sensor
Overview of PIR Sensors
What is a PIR Sensor?
A PIR Sensor is an electronic sensor that measures infrared light radiating from objects in its field of view. They are most often used in PIR-based motion detectors. PIR sensors are commonly used in security alarms and automatic lighting applications.
Technically, PIR is made of a pyroelectric sensor, which is able to detect different levels of infrared radiation. For example, Everything emits varying levels of radiation, and the level of radiation will increase with the increase of the object’s temperature.
What does a PIR sensor detect?
PIR sensors are also known as PID or Passive Infrared Detectors. Thus, the PIR sensor can detect infrared radiation that is emitted by particles.
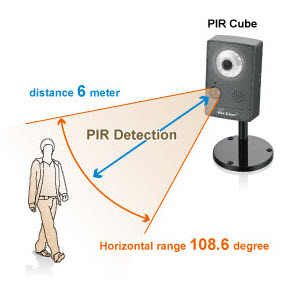
Generally, PIR can detect animal/human movement in a requirement range, which is determined by the spec of the specific sensor. The detector itself does not emit any energy but passively receives it and detects infrared radiation from the environment.
How does PIR Sensor work?
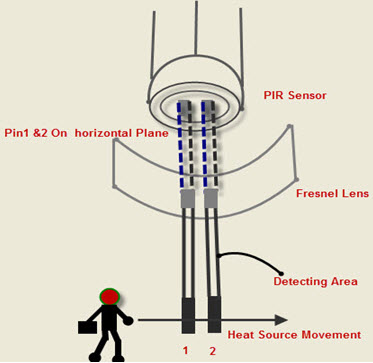
The PIR Sensor is pretty complicated when compared to the other sensors. Since they have 2 slots, and the slots are made of sensitive material.
The Fresnel lens is used to see that the two slots of the PIR can see out past some distance. When the sensor is inactive, then the two slots sense the same amount of IR. The ambient amount radiates from the outdoors, walls or room, etc.
When a human body or any animal passes by, it intercepts the first slot of the PIR sensor. This causes a positive differential change between the two bisects. But when the body leaves the sensing area, the sensor generates a negative differential change between the two bisects.
Range of Different PIR Sensors
- Indoor Passive Infrared: Detection distances range from 25 cm to 20 m.
- Indoor Curtain Type: The detection distance ranges from 25 cm to 20 m.
- Outdoor Passive Infrared: The detection distance ranges from 10 m to 150 m.
- Outdoor Passive Infrared Curtain Detector: distance from 10 m to 150 m.
Difference between PIR Sensor and Motion Sensor
The motion sensor is able to detect the movement of people or objects. In most applications, these sensors are mainly used to detect human activities in a specific area.
- Converts motion into electrical signals: the sensor either emits stimuli and monitors any changes reflected back, or acquires signals from the moving object itself.
- Alarm: Sounds the alarm when people or other objects invade and break the normal state, while others will alarm when they return to normal state after the invasion.
- Usage: Security systems all over the world rely on motion sensors to trigger alarms and/or automatic lighting switches, which are usually placed in relatively easy access to buildings, such as windows and gates.
PIR is only one of the technical methods to detect motion, so we will say the PIR sensor is a subset of the motion sensor.
PIR sensor is small in size, cheap in price, low power consumption, and very easy to understand, which makes it quite popular. A lot of merchants will add “motion” between PIR sensors for the convenience of beginners.
How do PIRs work with Arduino and Raspberry Pi?
Since there are many projects using PIR with Arduino and also a lot of tutorials, I will introduce some of the easier yet interesting ones for you to get your hands on!
At Seeed, we offer four PIR motion sensors! However, I’ll take Grove – PIR Motion Sensor as an example and compare it with other PIR sensors to illustrate how PIRs work with Arduino.
- PIR Motion Sensor – Large Lens Version
- Grove – PIR Motion Sensor
- Grove – Mini PIR Motion Sensor
- Grove – Digital PIR Motion Sensor
For the detailed step-by-step tutorial, please refer to Seeed Studio’s PIR sensor wiki page.
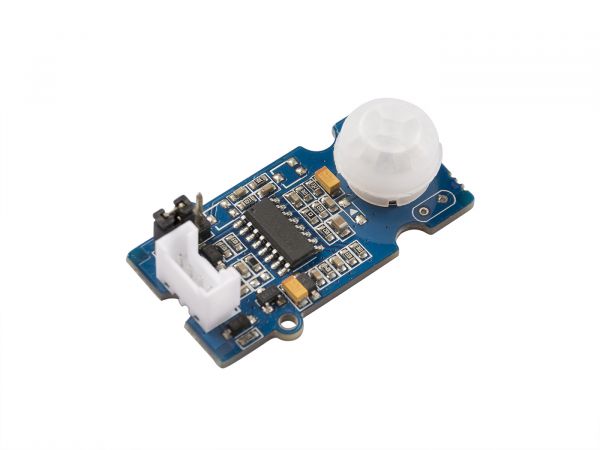
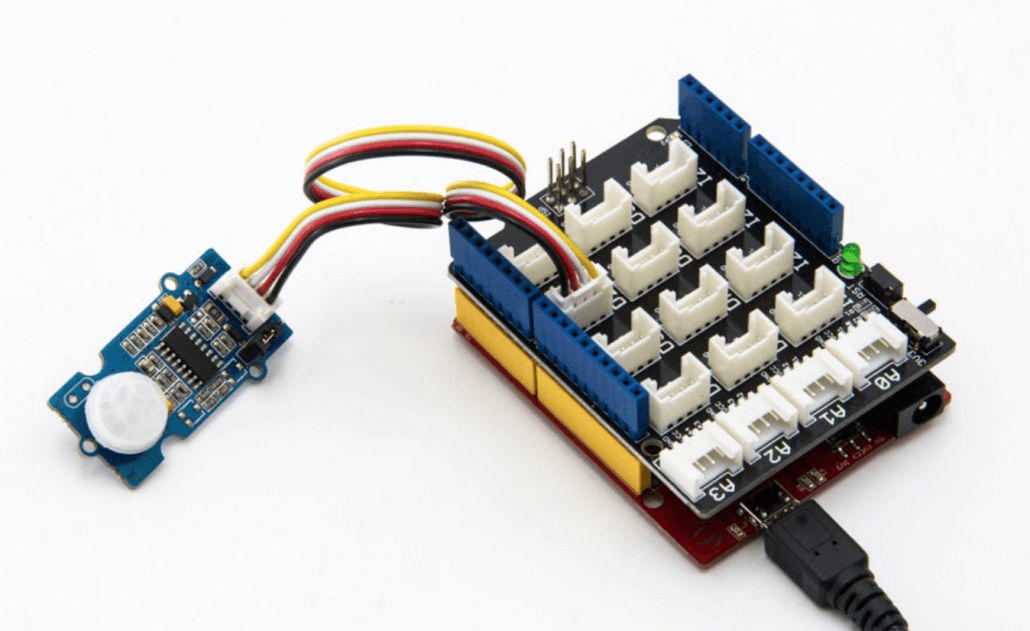
Grove – PIR Motion Sensor
This Grove – PIR Motion Sensor can detect infrared signals caused by motion. If the PIR sensor notices the infrared energy, the motion detector is triggered, and the sensor outputs HIGH on its SIG pin. The detecting range and response speed can be adjusted by 2 potentiometers soldered on its circuit board, The response speed is from 0.3s – 25s, and 6 meters of detecting range.
This is easy to use a motion sensor with Grove compatible interface. Simply connect it to Base Shield and program it, it can be used as a suitable motion detector for Arduino projects.
The PIR Motion Sensor Series includes several products that will meet your different needs:
| Product | Measuring Range and Angle | Features |
|---|---|---|
| PIR Motion Sensor – Large Lens version | Max Distance: 9m Angle: <120° | Large lens which can support long range and wide angle 2.54mm standard connector |
| Grove – PIR Motion Sensor | Max Distance: 3 – 6m (3m by default) Angle: <120° | Measuring distance and holding time adjustable Response speed: 0.3s – 25s |
| Grove – Mini PIR motion sensor | Max Distance: 2 – 5m (2m by default) Angle: X= 110° Y= 90° | Sensitivity adjustable Mini-size |
| Grove – Digital PIR Motion Sensor | Max Distance: 3 – 12m Angle: <100° | Mini-size Simple and intuitive |
Using PIR motion sensor with Arduino and Raspberry Pi
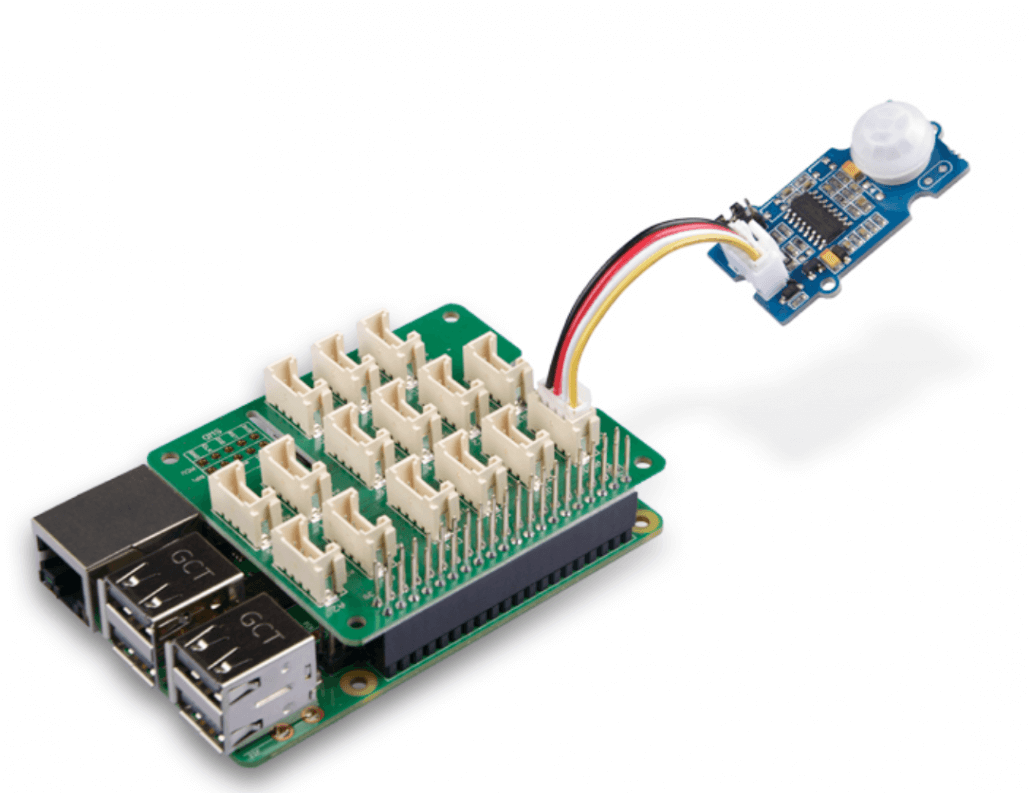
We prepared detailed tutorials and libraries on our wiki page to help you use the PIR sensor with Arduino and Raspberry Pi. With Grove, you can just plug and play to get started PIRs projects.
Related Sensors
The PIR sensor couldn’t satisfy your project needs? Here’s an alternative motion sensor you can consider:
Microwave Sensor
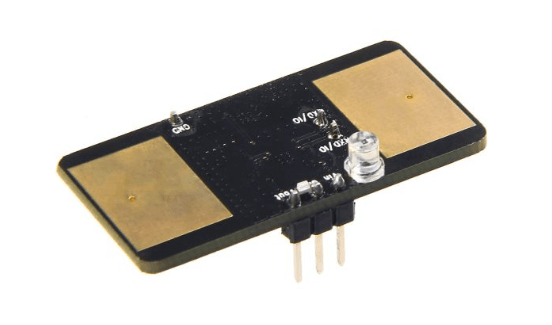
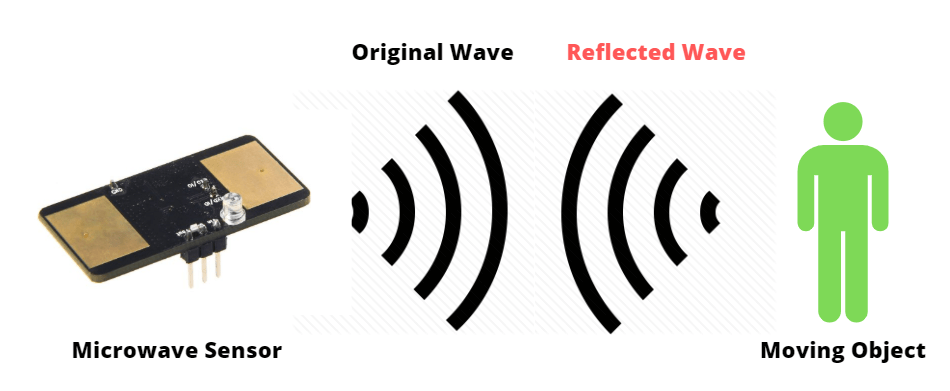
Microwave sensors are also known as Radar, RF, or doppler sensors. They are electronic devices capable of detecting motion from walking and running to crawling in an outdoor environment by using electromagnetic radiation.
Moreover, It is able to detect motion by applying the Doppler effect and project microwaves which will bounce off surfaces and return to the sensor. It is able to measure and detect the amount of time for the signal to be reflected, which is known as echo time.
What is Echo time?
The echo time helps calculate the distance from any stationary object within the detection zone and establishes a baseline for the motion detector to work from.
With echo time, the sensor is able to detect if there is any movement in the detection zone as if a person is moving within the zone as the waves will be altered which changes the echo time. With the microwave sensor, it is able to do all this within less than a microsecond.
It is also more suitable in certain scenarios compared to the PIR sensor. For example, it is not affected by ambient temperature compared to the PIR sensor.
Fun fact: A microwave sensor is able to offer stable performance at temperatures as low as -20°C and as high as 45°C!
Interested to learn more about it? Check out our other blog on Which Arduino Motion Sensor to Use – Microwave or PIR Sensor!
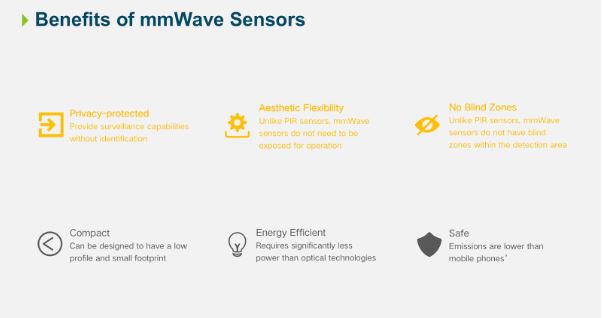
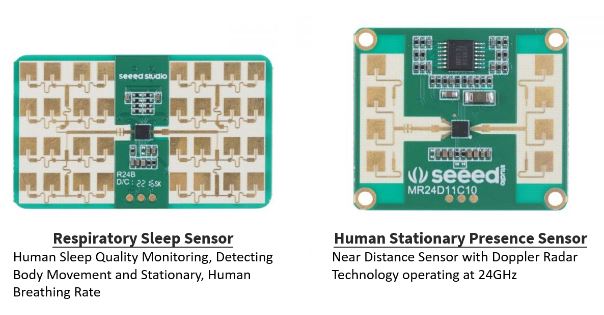
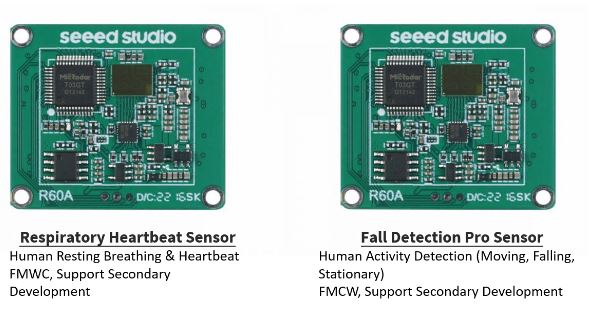
mmWave Sensor
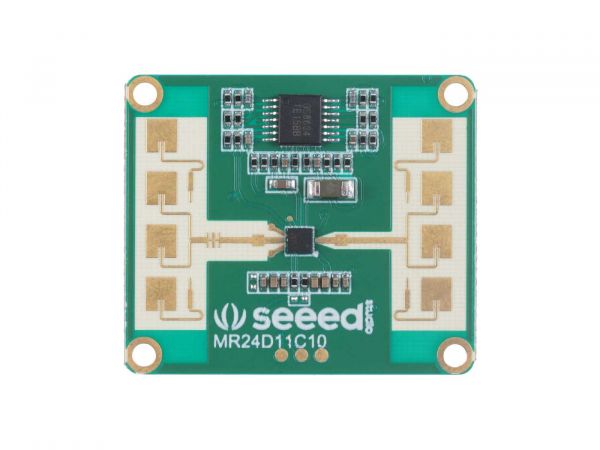
mmWave radar has the ability to detect movements that are as small as a fraction of a millimeter, hence the name millimeter wave. It typically measures electromagnetic waves that have extremely wide bandwidth and narrow beams.
Due to its precision in detecting the distance, velocity, and angle of objects within its range precisely, it’s now widely used in the automobile industry for advanced driver assistant systems.
All of the mmWave sensors are based on Infineon mmWave Frequency Modulation Continuous Wave (FMCW) industrial radar that applies Doppler radar technology.
Get yours today on Seeed’s online shop!
Interested to learn more about mmWave radars? Check out our guide and everything you need to know about FMCW here!
Arduino and Raspberry Pi Projects using PIR Sensor
Arduino Projects Using PIR sensor
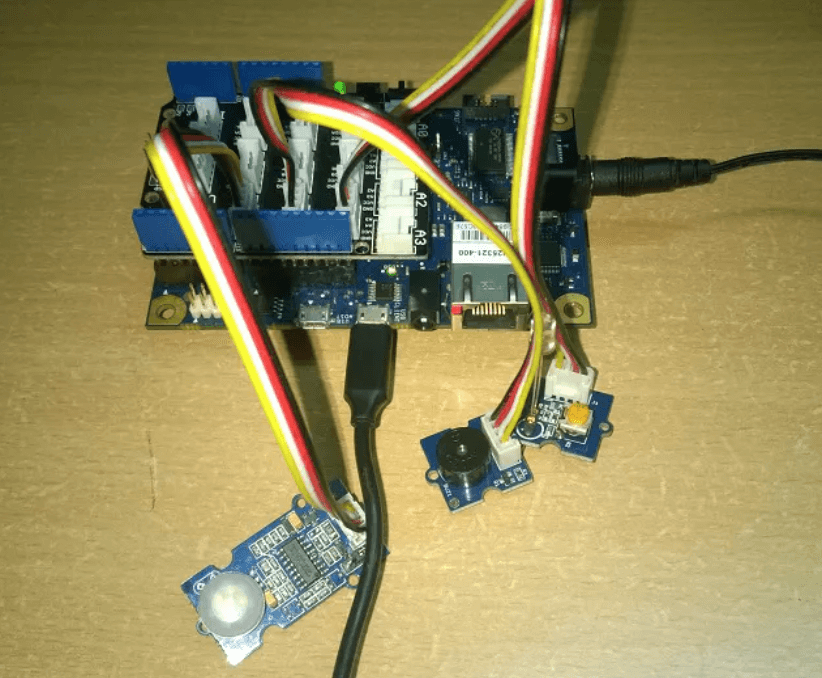
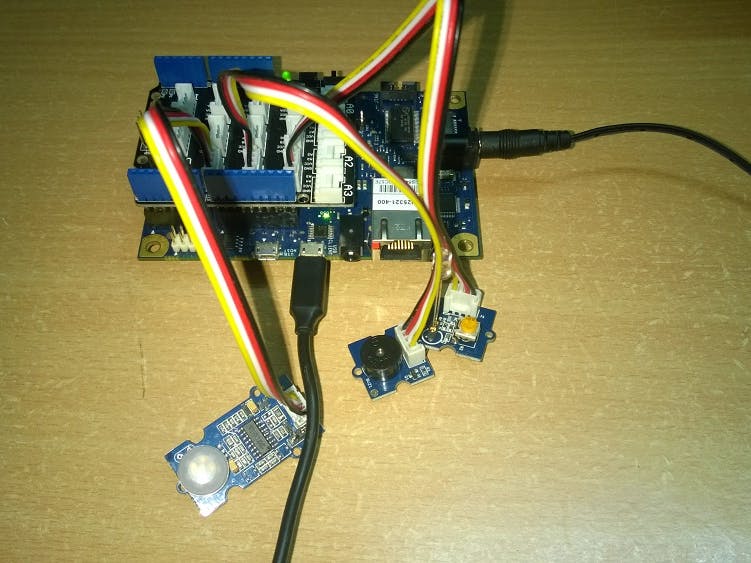
Burglar Alarm with PIR Motion Sensor
Want to DIY your very own Burglar Alarm System? This project explains how to make one using a PIR Sensor, a Buzzer, and an LED!
What you will need:
Interested? View more information here!
Sensor Controlled Guard Light
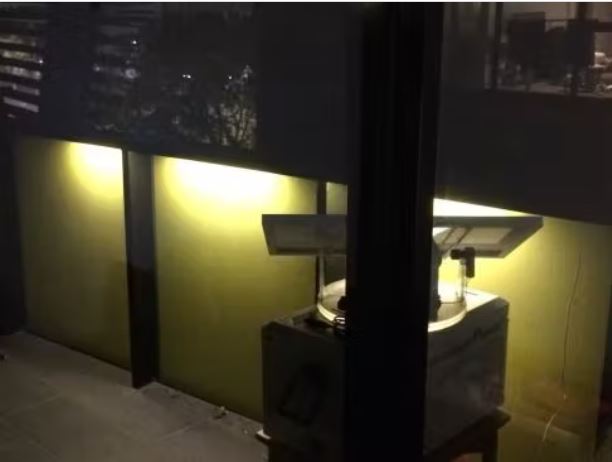
DIY your balcony light so that it will brighten up only when you need it!
What you will need:
- Arduino Nano v3
- Grove – Mini PIR Motion Sensor
- Grove – Light Sensor
- LED Strip
- 2x USB Battery Pack
- Solar Panels (optional)
- Grove – MOSFET
Intersted in doing it? Check out the guide here!
Automated Intelligent Zebra Crossing
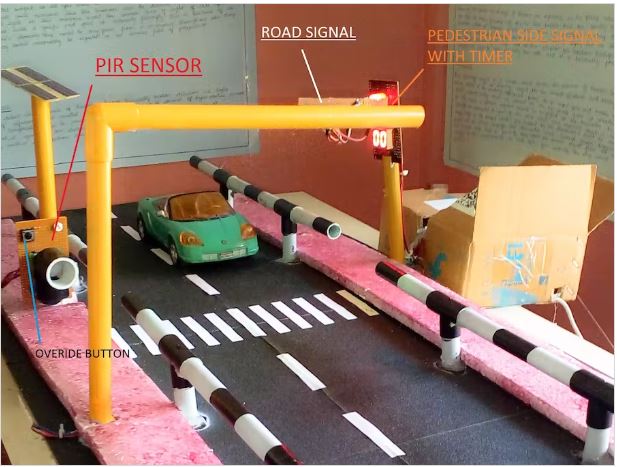
Love playing with toy cars? Build a road for it and add in an automated intelligent zebra crossing system with a road signal and pedestrian side signal with a timer for a more realistic playing experience!
What you will need:
- Arduino UNO / Seeduino V4.2
- Grove – PIR Motion Sensor
- 2x 7 Segment Display
- RGB Diffused Common Cathode
- Grove – Red LED
- Grove – Green LED
- Yellow LED
- 3x perforated PCB
- Pushbutton Switch
- Grove – Buzzer
- Resistor 10k ohm
- Jumper wire
Sounds like something you want to do? Check out the guide here!
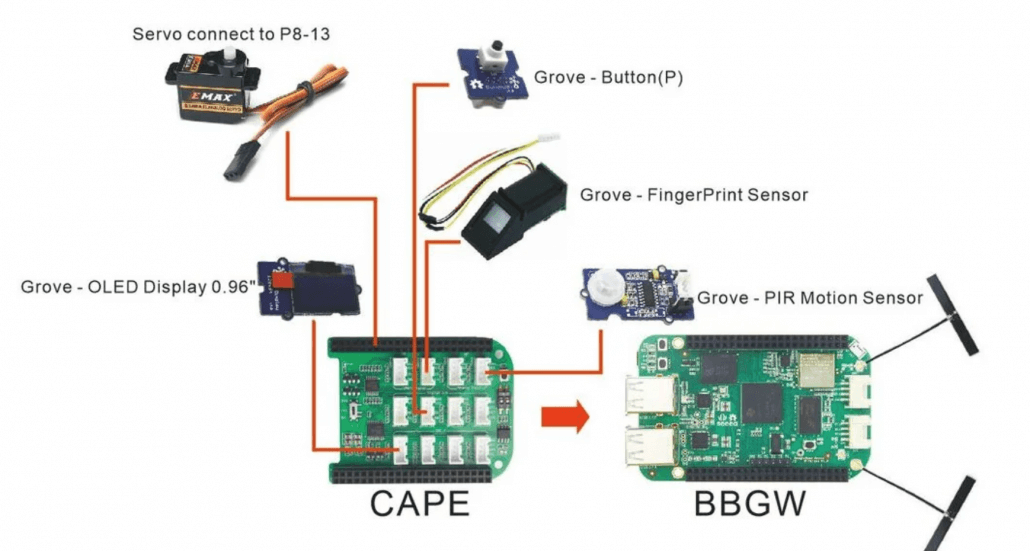
Halloween Candy Machine
Want to impress your guests during Halloween? Look no further, this automated Halloween Candy Machine will definitely win you the crowd!
What you will need:
- Beaglebone Green Wireless
- Grove Base Cape for Beaglebone
- Grove – Fingerprint Sensor
- Grove – PIR Motion Sensor
- Grove – Button(P)
- Grove – Servo
- Grove – OLED Display 0.96″
- Breadboard
- Jumper wire
Interested? Go ahead and try it out for yourself!
Christmas Music Cheer Light
Ho Ho Ho! Want to DIY your Christmas tree lighting? Check out this project where your Christmas tree can interact with you and light up accordingly!
What you will need:
- Seeeduino V4.2
- Seeed Base Shield V2
- Grove – Adjustable PIR Motion Sensor
- Grove – WS2813 RGB LED Strip Waterproof – 60 LED/m – 1m
- Grove – Loudness Sensor
Sounds fun? Go ahead and click here for details on how to DIY it!
Motion Activated Image Capturing System
Turn your smartphone into a motion sensor-activated security system! Whenever this system detects someone disturbing the peace of the PIR sensor, it will take his/her picture with the help of its camera module.
What you will need:
- Arduino Mega 2560
- Grove – PIR Motion Sensor
- HC-05 Bluetooth
- Jumper wire
- STEMpedia evive
Interested in this project? Check on how to do it yourself here!
Raspberry Pi Tutorial using PIR Sensor
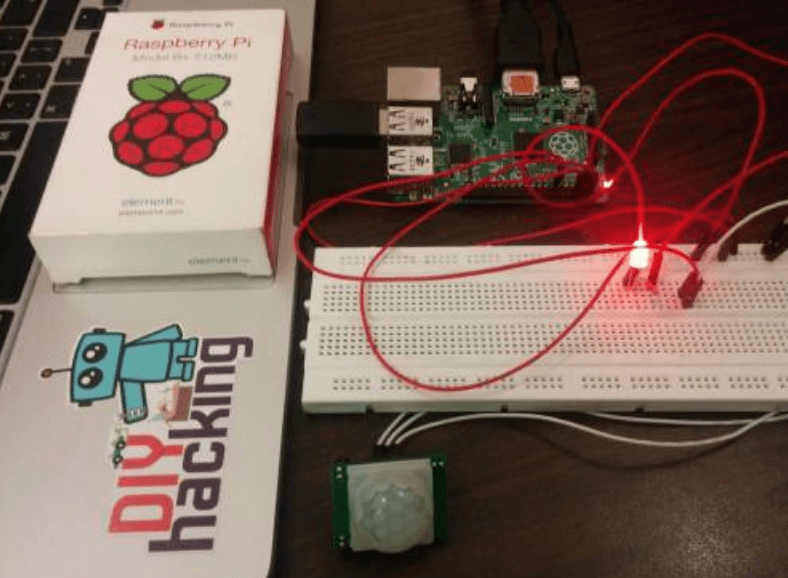
Need help on interfacing your PIR motion sensor with the Raspberry Pi? This tutorial will show you how to do so! The GPIO pins on the Raspberry Pi are critical when it comes to making a hardware project, whether it’s a robot or home automation system. In any case, you will have to use the GPIO (general purpose input/output) pins on the Raspberry Pi.
Summary
That’s all on PIRs and motion sensors! I hope I was able to help you better understand how PIRs and motion sensors work and aid you in choosing the most suitable PIR for your next project!