Pi-Hole Setup Guide: Network-wide ad blocker using Raspberry Pi
Introduction
Do you usually receive a bunch of annoying ads when you browse the internet? Have you tried adding an ad-blocker to your browser but wondered about a solution to block ads on all your devices? Well. Pi-hole is the solution.
What is Pi-hole?
Pi-hole lets you set up an ad blocker in your home network so that all the devices which are connected to that network will receive a complete ad-free internet connection. This makes it possible to block ads even on your mobile devices where a typical ad-blocker is unable to do. Pi-hole can be easily set up on your Raspberry Pi and this blog will help you achieve that in a short amount of time.
Why use Pi-hole?
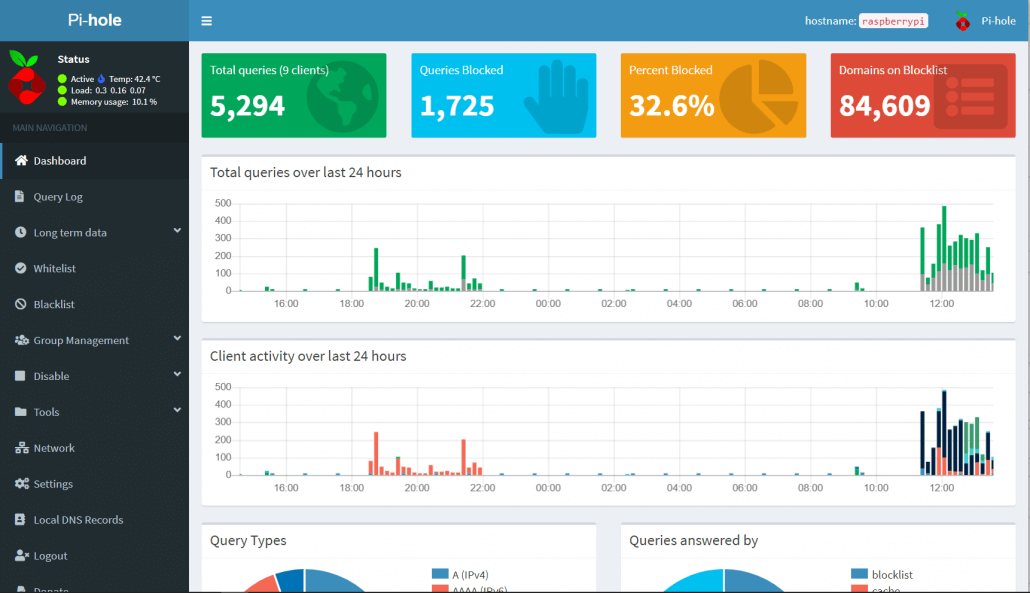
Using Pi-hole means, most of the ads will be blocked and therefore they will not be even downloaded. This in turn will improve the overall performance of the network. Most ads contain malware, so this will be better for your privacy and security as well. Also, it comes with a cool dashboard providing different statistics of your network and the ads being blocked. So, it will be very convenient to manage as well.
How to set up Pi-hole on a Raspberry Pi?
Setting up Pi-hole is not a complicated process. We will start by listing what you need for this setup:
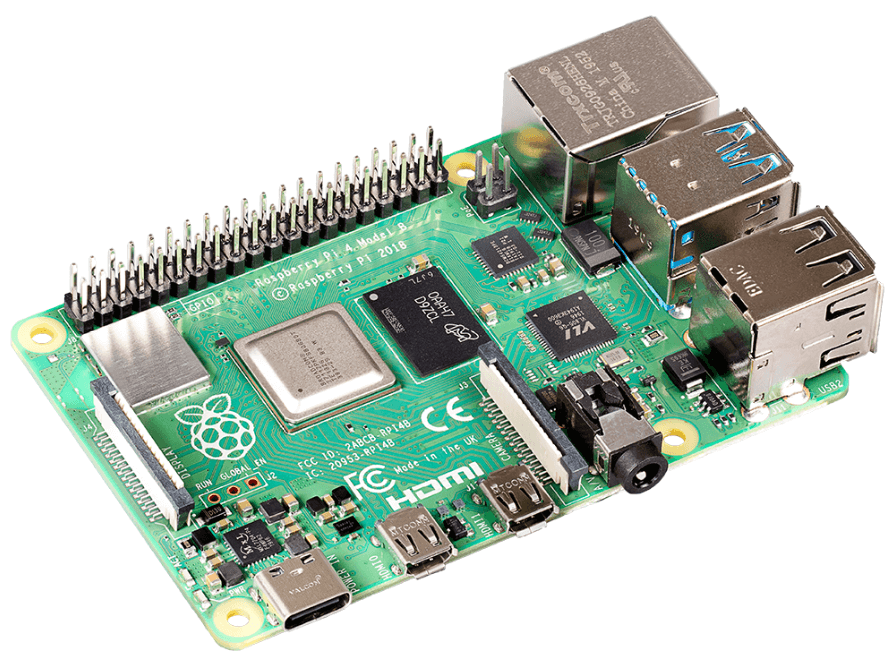
- 1 x Raspberry Pi
- 1 x USB Type-C Cable with power adapter
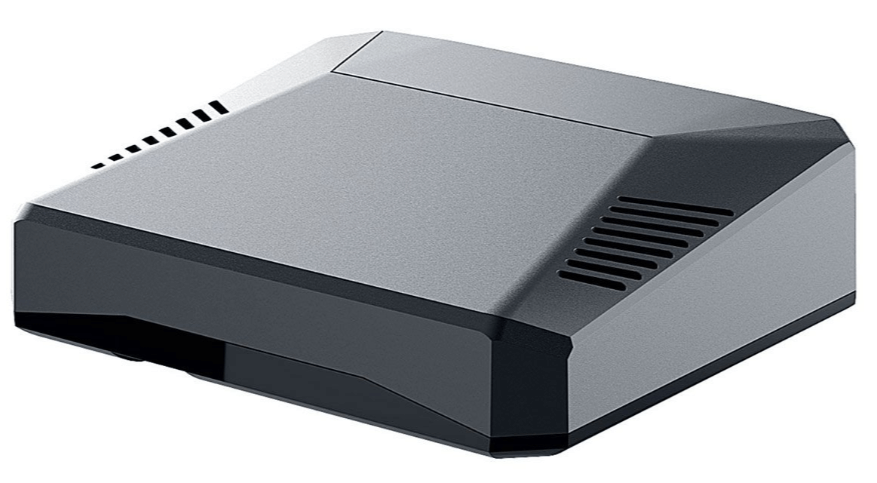
- 1 x Argon ONE Raspberry Pi 4 Aluminum Case (Optional)
- 1 x Micro-SD card with card reader
Note that we have used Argon ONE Raspberry Pi 4 Aluminum Case because once you set up Pi-hole on your Raspberry Pi, you would leave it running all the time. So, this case can help provide better cooling while the Raspberry Pi gets hot from continuous usage. On the other hand, it’s also a very stylish Aluminum case to use with your Raspberry Pi!
Configuring the Raspberry Pi for initial boot
When you buy a Raspberry Pi, there is no operating system installed on it out of the box. So, you need to burn an operating system into a micro-SD card and then boot the Raspberry Pi from that card.
Step 1
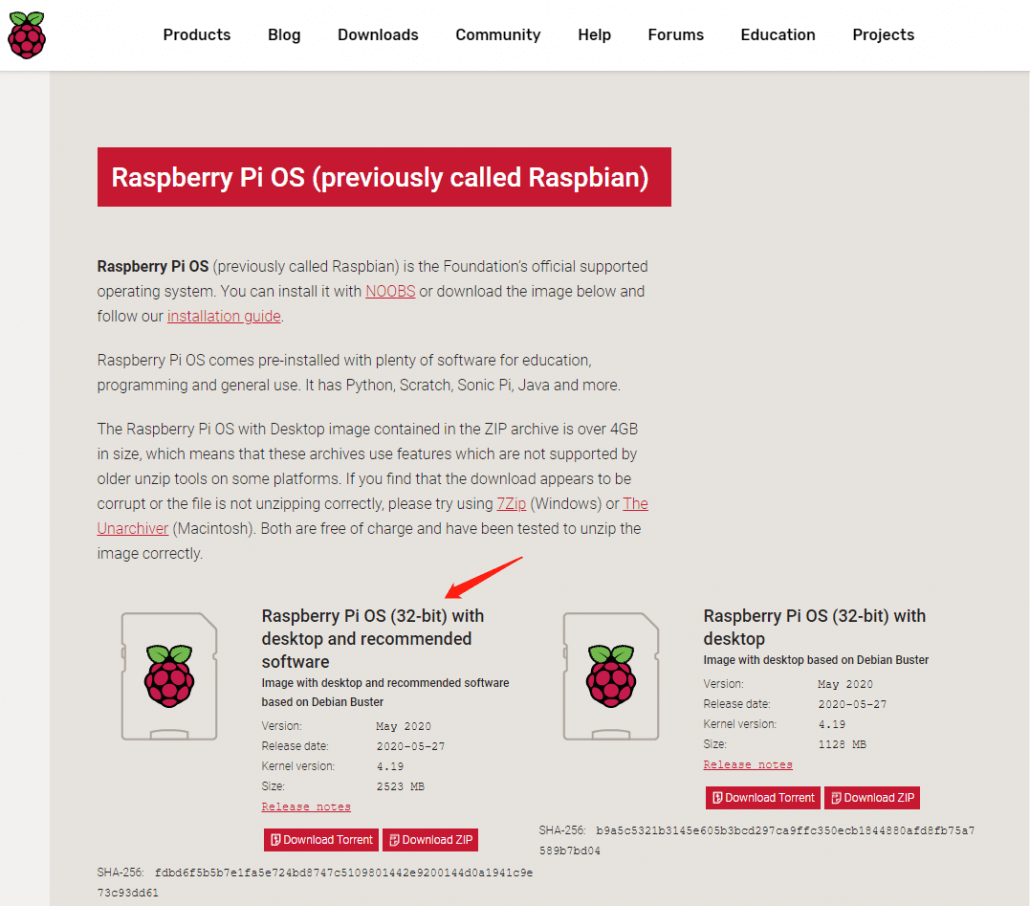
First, we must download a Linux-based operating system. Raspberry Pi supports various Linux distributions such as Ubuntu, but in this guide, we will use the official OS from the Raspberry Pi Foundation, which is the Raspberry Pi OS. Download it here by selecting “with desktop and recommended software” version.
Step 2
Then you need to download a software called “balenaEtcher” which is used to burn the downloaded image above and make the Raspberry Pi boot from the Micro-SD card. Click here to download the latest version of this software.
Step 3
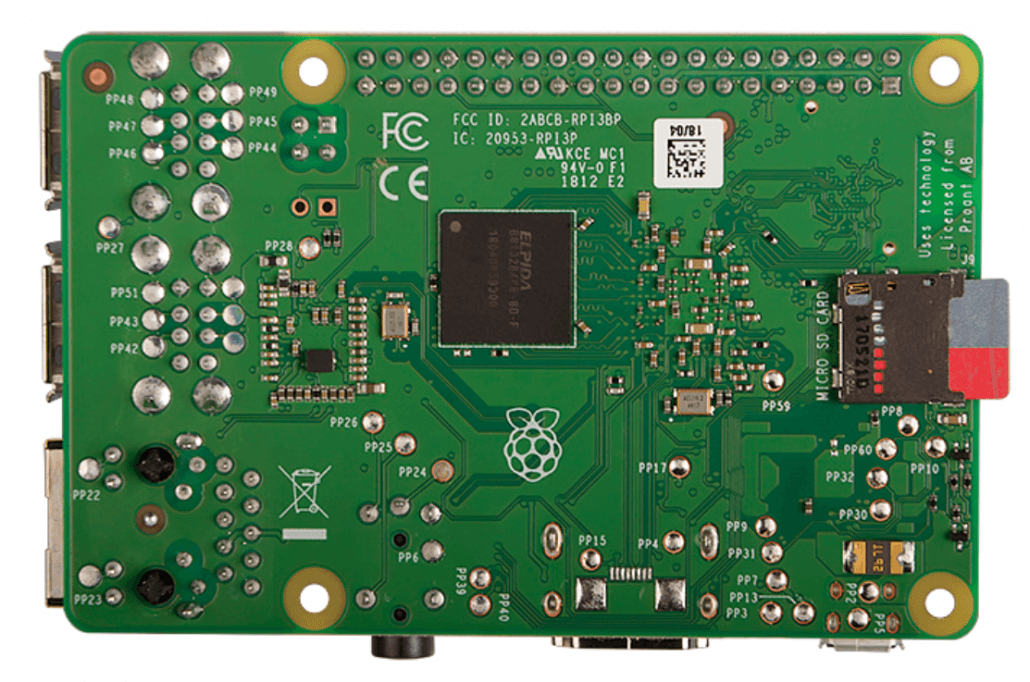
Then connect a micro-SD card into the micro-SD card slot of a PC by using a micro-SD to SD card adapter. You can also use a USB Micro-SD card reader.
Step 4
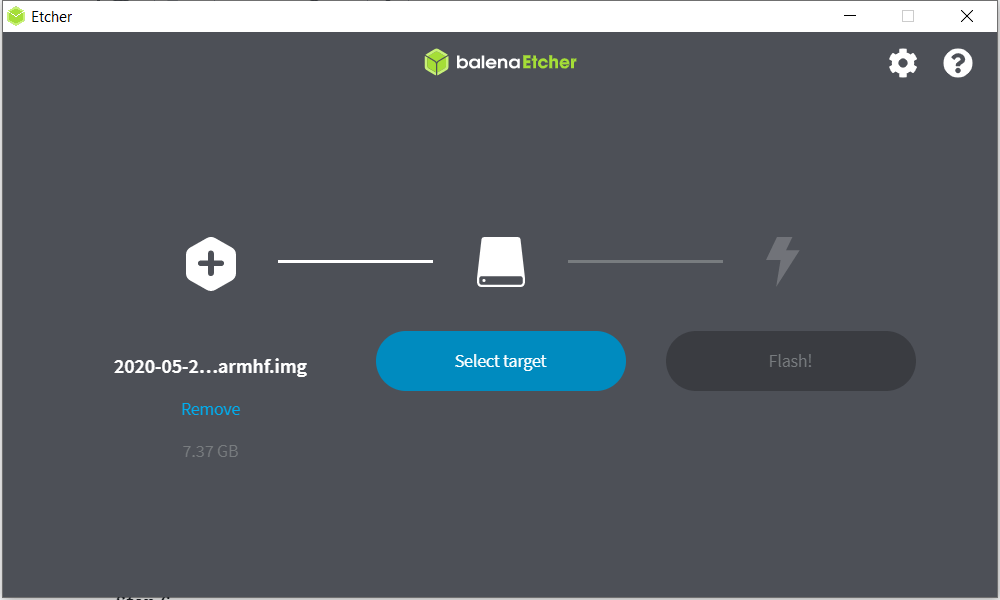
After that open the “balenaEtcher” software. Then point to the location of the downloaded image, select the connected micro-SD card, and press “flash”. It will take a few minutes to complete this process.
Step 5
Now we will set up Raspberry Pi to automatically connect to the wireless network so that we can communicate with it.
However, if you have an HDMI display, a keyboard and a mouse, you can skip this step, connect those into the Raspberry Pi and move onto “Configuring Pi-Hole on Raspberry Pi”
Also if you have a Seeeduino XIAO, you can follow the guide here to setup the communication between Raspberry Pi and PC and move onto “Configuring Pi-Hole on Raspberry Pi”
Step 6
Navigate to Raspberry Pi root folder from your PC and create a file called “wpa_supplicant.conf”. Then copy the following codes into this file and add your home Wi-Fi username and password into the fields “WiFi-name” and “WiFi-password”
country=US
ctrl_interface=DIR=/var/run/wpa_supplicant GROUP=netdev
update_config=1

network={
ssid="WiFi-name"
psk="WiFi-password"
key_mgmt=WPA-PSK
priority=1
}
Note:
The Wi-Fi name and password should be the same as your local Wi-Fi which your PC is connected to (make sure your PC and Raspberry Pi are in the same LAN).
Step 7
Create a blank file called “ssh” in this directory
Step 8
Then eject the micro-SD card from PC and insert it into the Raspberry Pi.
Step 9
Power up the Raspberry Pi through a Type-C USB cable and a power adapter
Step 10
Now we will download Putty, which is an SSH client we will use in order to communicate with the Raspberry Pi. Click here to download.
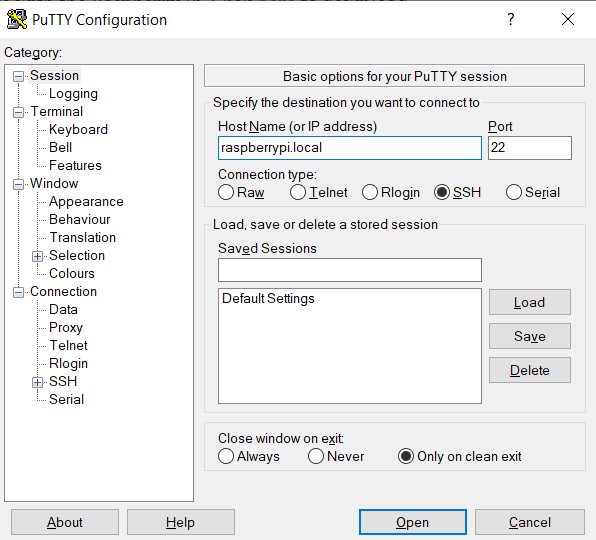
Step 11
Open Putty and set hostname as “raspberrypi.local” and port as “22”. Then press “Open”.
Configuring Pi-Hole on Raspberry Pi
Step 1
Start by entering the following commands in the terminal of Raspberry Pi via SSH or directly.
wget -O basic-install.sh https://install.pi-hole.net
sudo bash basic-install.sh
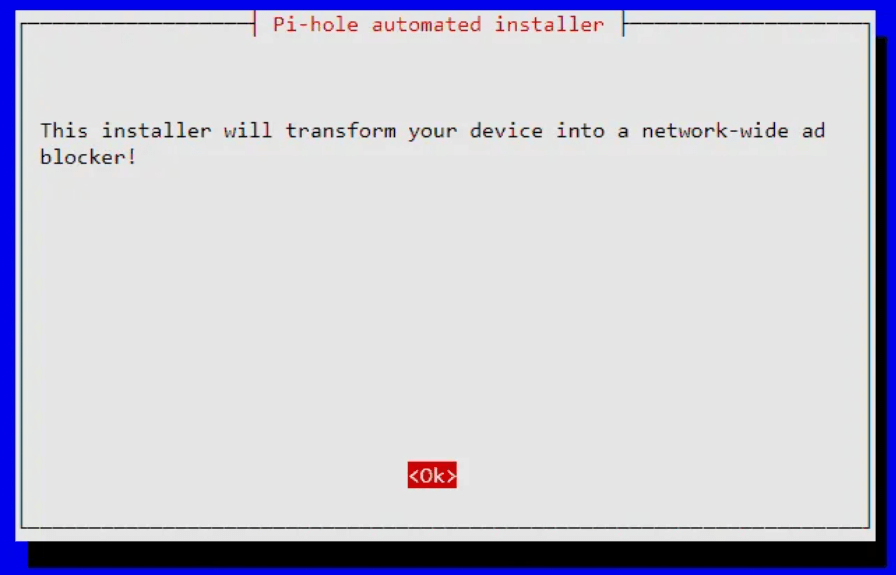
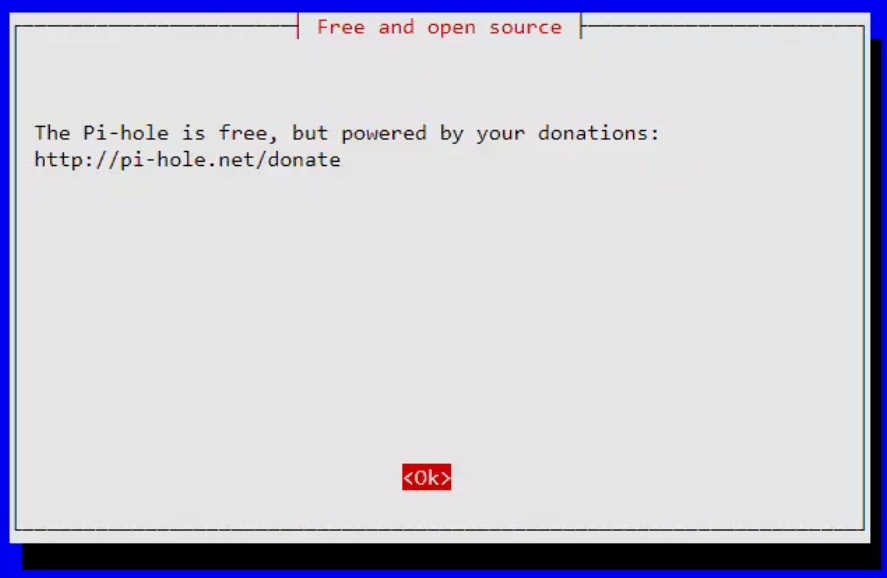
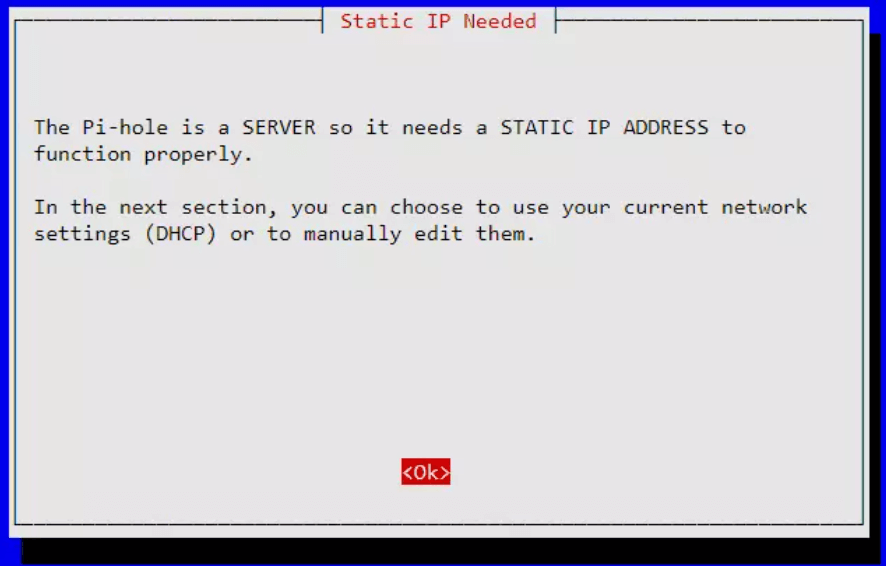
Step 2
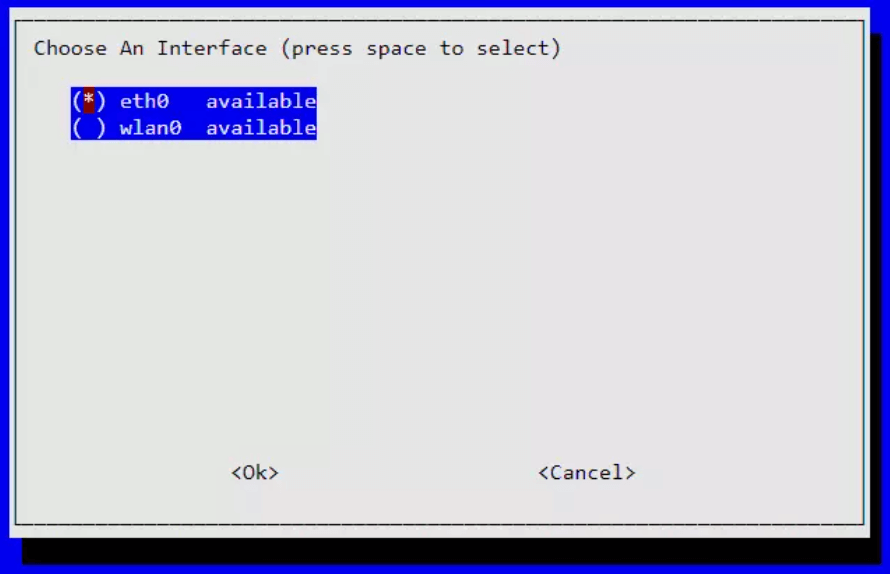
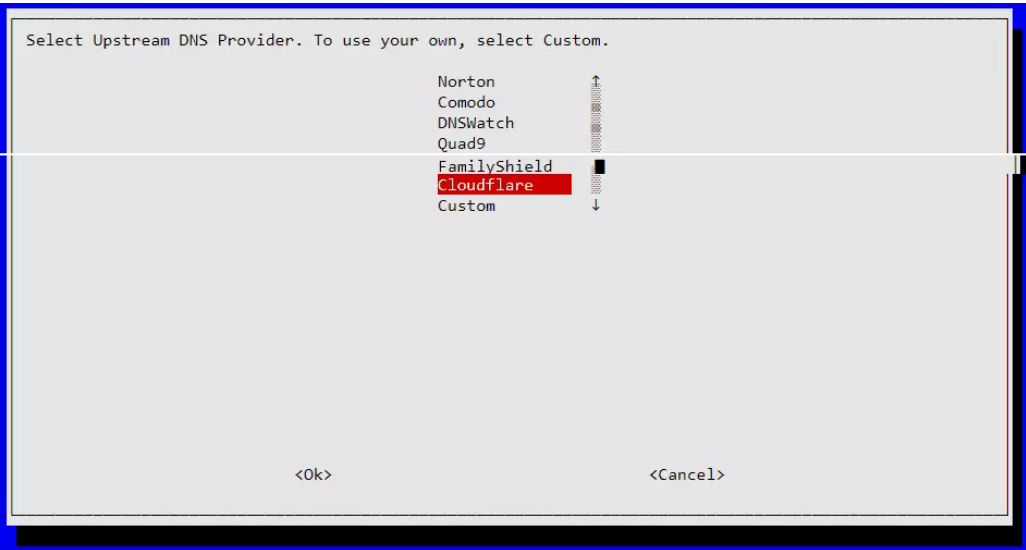
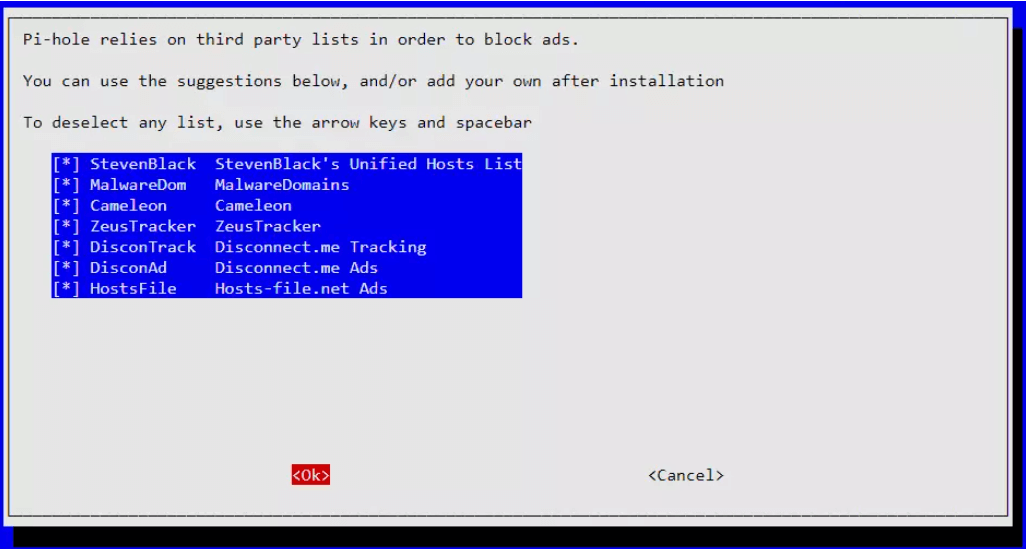
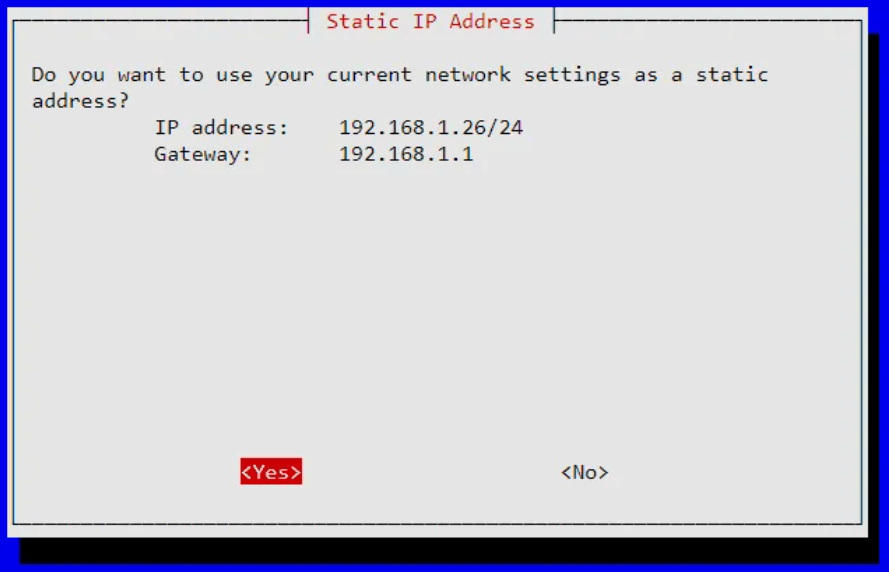
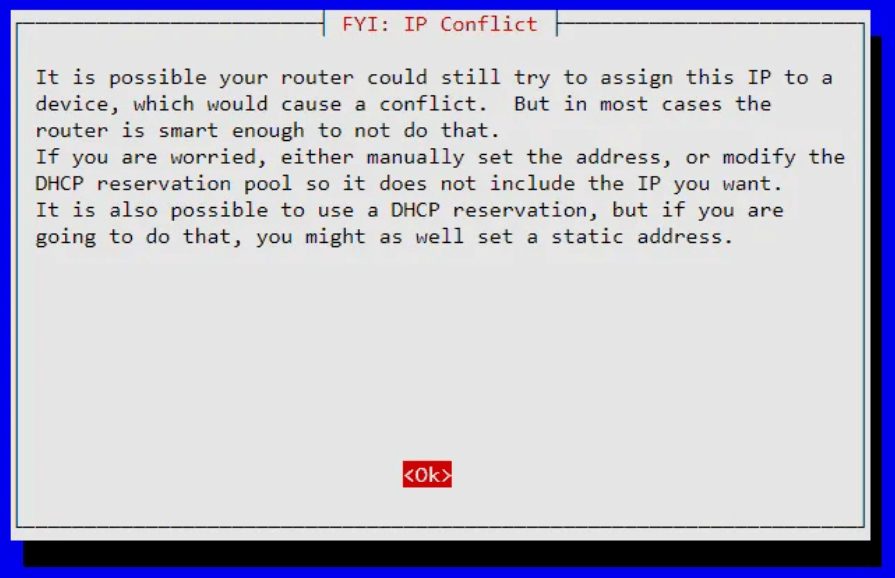
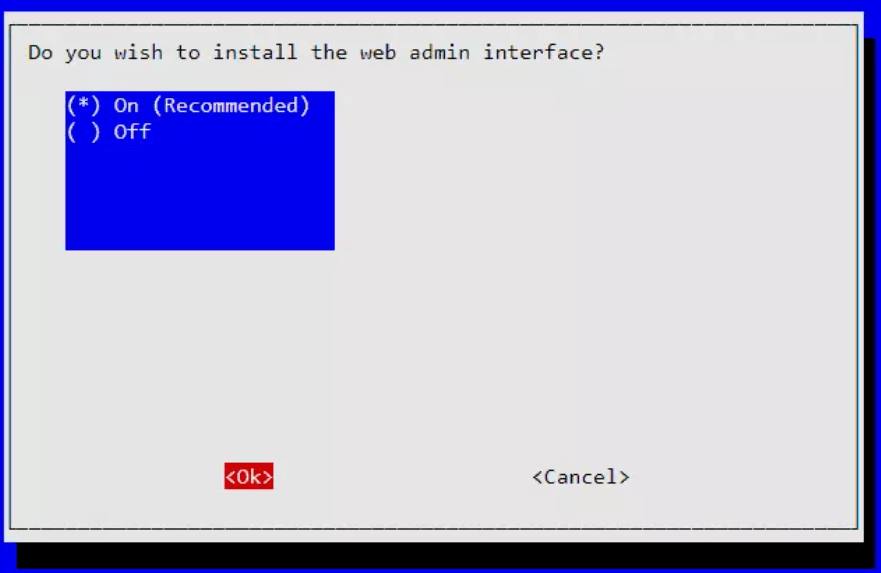
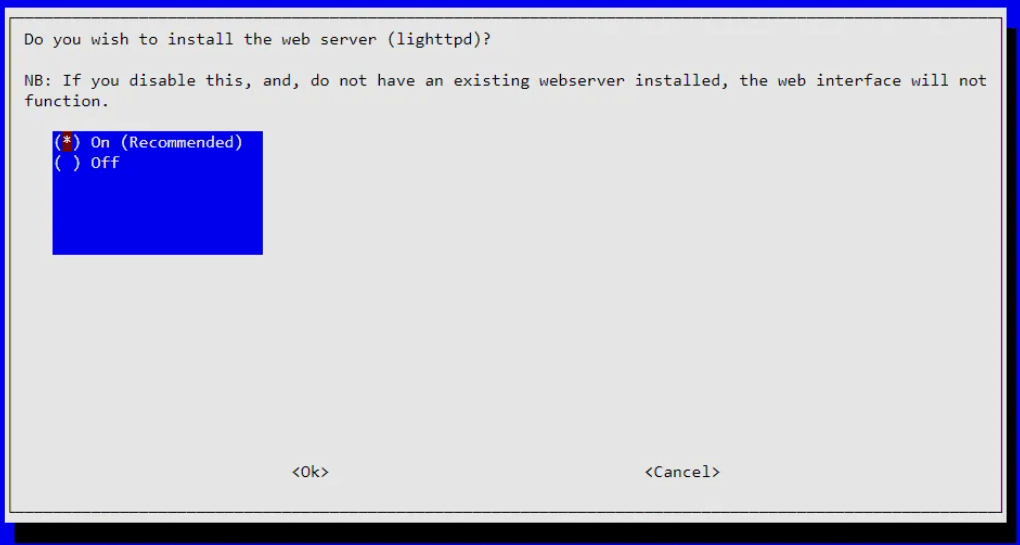
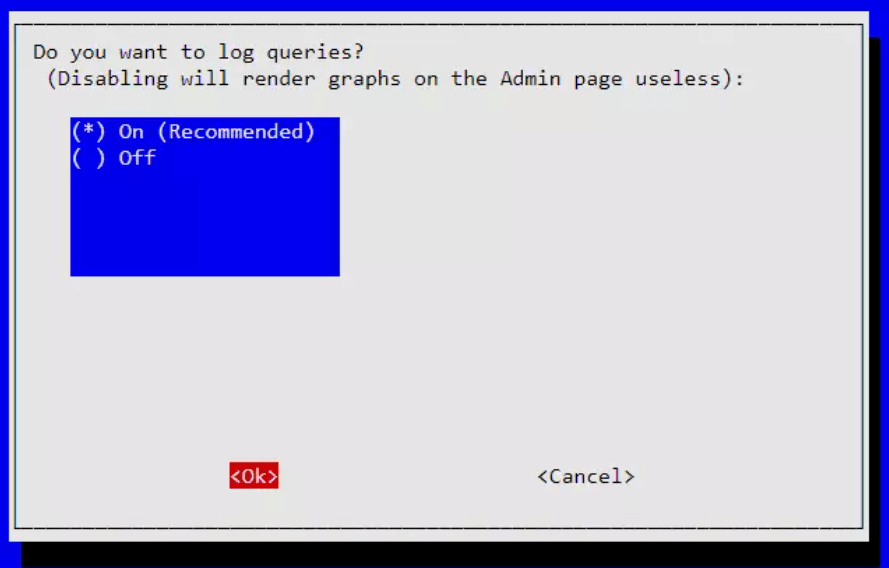
After that, follow the Pi-hole installer prompts below.

Step 3
Finally, you will be presented with a screen saying that the installation is complete. Please note down the password displayed on this screen because this will be the password that we will use to login to the web dashboard.
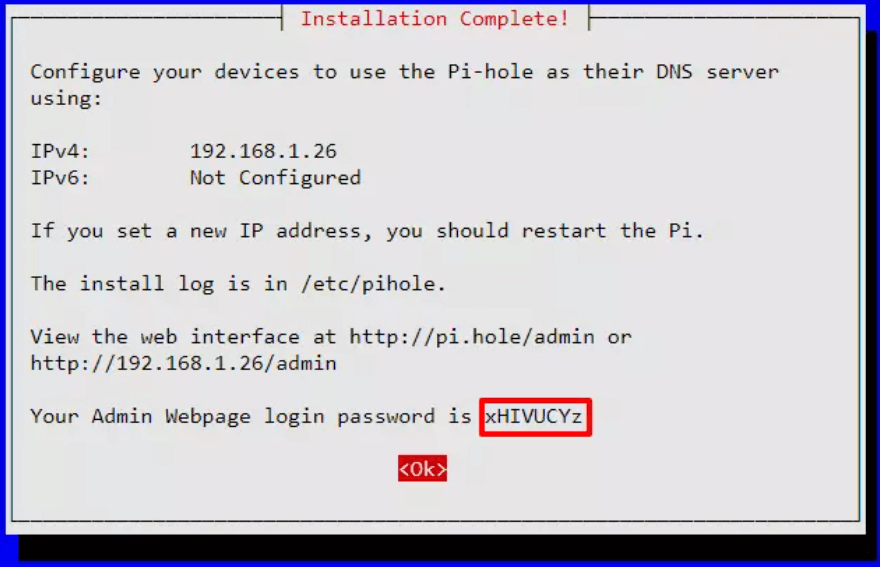
Step 4
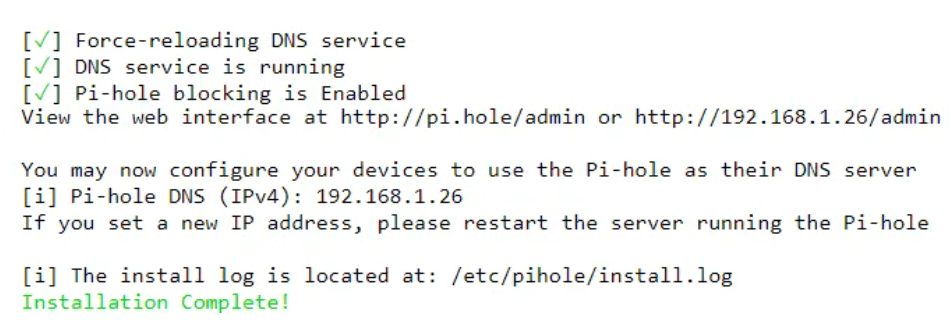
When you press ok in the previous window, you will be presented with Pi-hole installation confirmation message as follows.
Configuring network-wide ad-blocker settings
Now that you have enabled Pi-hole on the Raspberry Pi, let’s go ahead and enable this throughout the entire home network.
Step 1
Login to your router by entering the default username and the password provided by the router manufacturer.
Normally the default ip address for a router is 192.168.1.1 , but it will vary sometimes. Check the router specifications to obtain the IP.
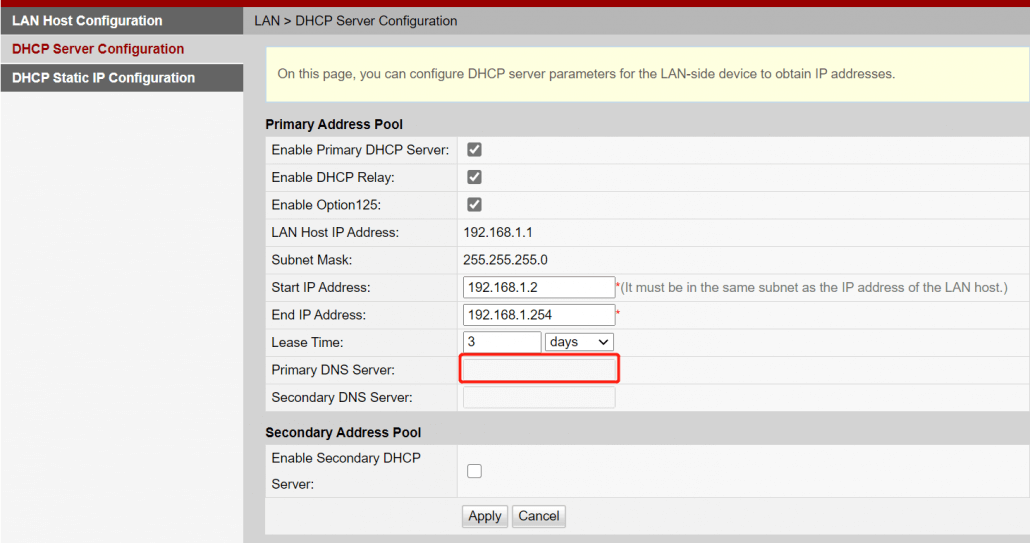
Step 2
Locate the DHCP Server Configuration page and add the IP address of the Raspberry Pi as the primary DNS Server.
Note:
You can find the IP Address of the Raspberry Pi by entering “ifconfig” command in the terminal windows of the Raspberry Pi.
Step 3
Then set Secondary DNS Server as 1.1.1.1. This is for the Cloudflare DNS
Step 4
Apply your changes
Pi-Hole Dashboard
Now Pi-hole is running on your entire network!
Let’s move on to viewing our network statistics from the browser
Step 1
Open your favorite browser and type the IP address of the Raspberry Pi followed by “/admin” in the search bar.

Step 2
Enter the password generated by the Pi-hole setup before and log in.
Step 3
Now you can see which ads are being blocked and various other features in this dashboard. You can also blacklist certain websites so that you can control which websites to allow through your network.
Conclusion
We hope you were successful in setting up your own home ad-blocker in your network by following this guide! It’s time to finally have a smoother experience when browsing the web!