Raspberry Pi HQ Camera Module Review and Image Segmentation Demo
The best pictures I’ve ever taken with Raspberry Pi camera module
Dmitry Maslov
Note: This article by Dmitry Maslov originally appeared on Hackter.io
In this article we are going to have a look at the new Raspberry Pi High Quality Camera, compare it to the old V2 camera and train the image segmentation model to divide humans from the background on your Raspberry Pi!
Hardware you need:
- Raspberry Pi High Quality Camera – 12.3 Megapixel (Sony IMX477)
- 8-50mm 3MP Lens for Raspberry Pi High Quality Camera with C-Mount
- 25mm 10MP Telephoto Lens for Raspberry Pi High Quality Camera with C-Mount
- Raspberry Pi 4 Computer Model B 2GB V1.2 or Raspberry Pi 4 Computer Model B 4GB
When I heard that we’re getting a sample of new HQ cameras I was immediately interested to try it out for shooting videos – the old camera module despite having 8MP had poor optics and small sensor size, so it was hardly suitable for YouTube videos and photography. The specs for HQ sensor looked good – by the way what are the specs?
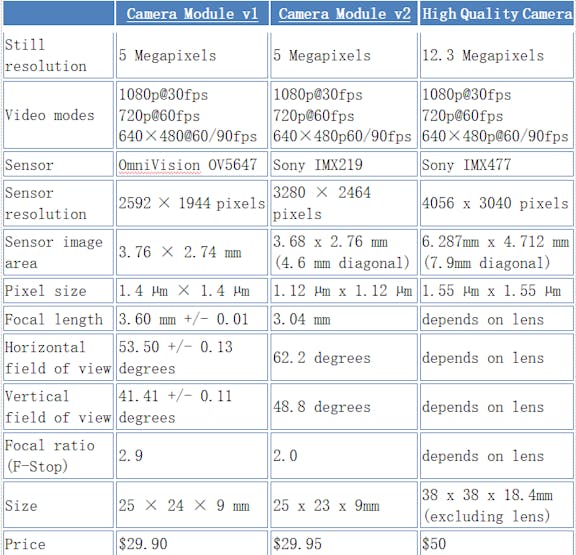
We’ll just ignore the old module v1 here for the sake of brevity and compare the specs for v2 and HQ modules.
The new HQ module can take still pictures with resolution up to 4056 x 3040 pixels and videos up to 1980×1080 pixels. I’m not photography expert by any means, but even I know, that megapixels are not everything when it comes to photo/video quality (contrary to what smartphone commercials want you to believe) – the the sensor size and good optics matter a lot. New HQ camera module has approximately 50% greater area per pixel for improved low-light performance than the existing Camera Module v2, and is designed to work with interchangeable lenses in both C- and CS-mount form factors.
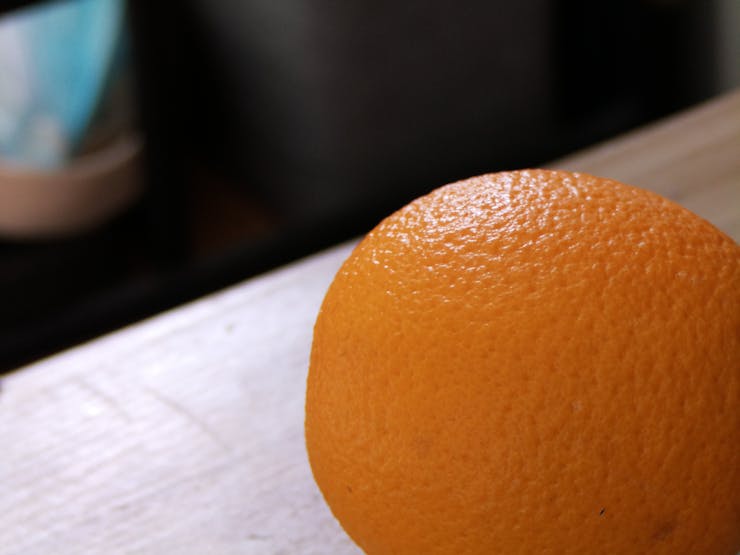
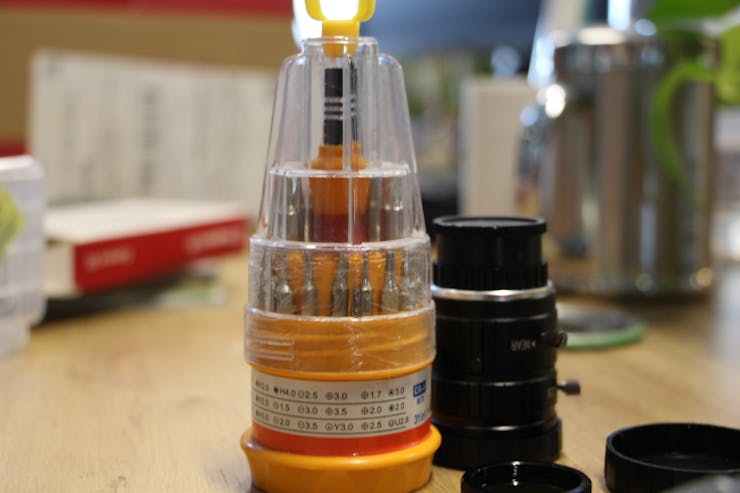
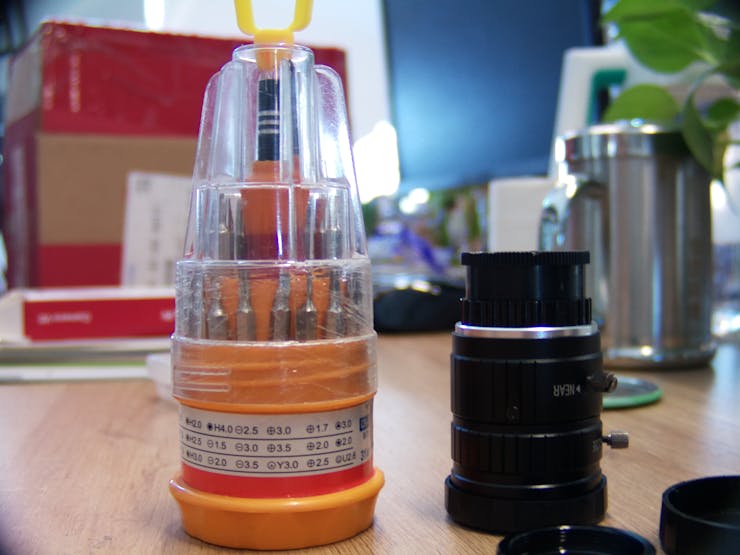
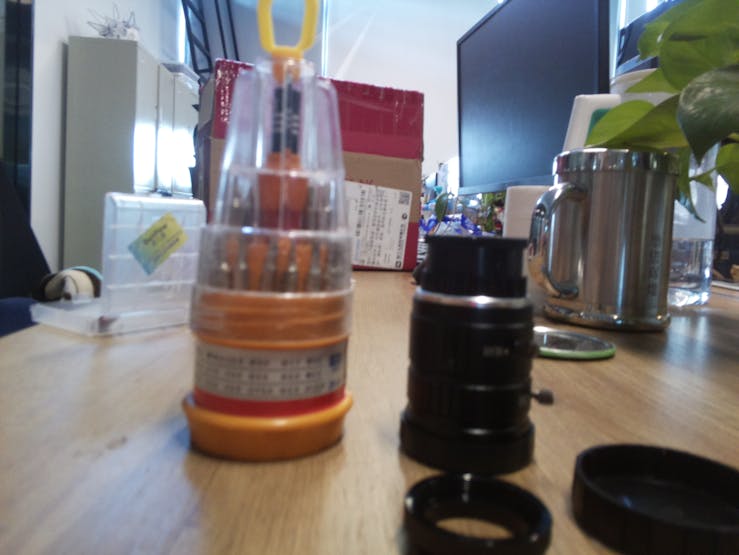
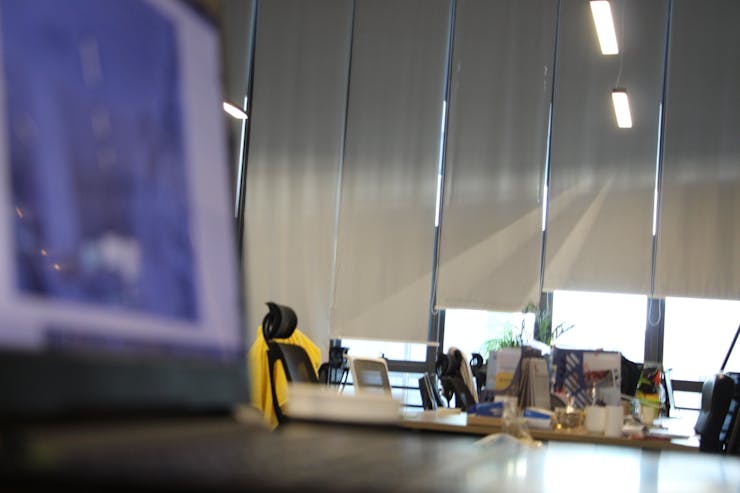
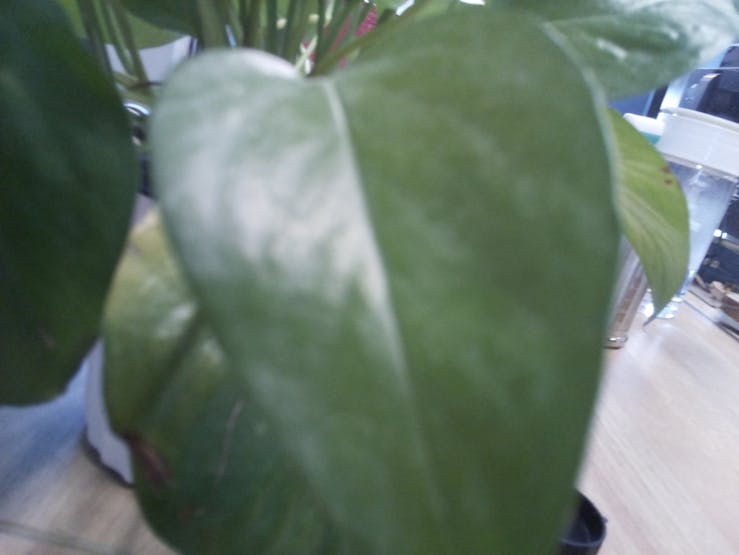
Last week when I got the sample, I only had a 25mm 10MP Telephoto Lens and was quite surprised when I first connected it to Raspberry Pi 4 and took some pictures… of my forehead. It is a telephoto lens, so it is really good for taking pictures of objects far away – so I played a bit with it, took some nice close up pictures of objects in my apartment, but wasn’t able to meaningfully compare it to the old v2 module. Here are some pictures that I took:


This week I got another lens, 8-50mm 3MP lens and was able to make more comparison shots – the shots were taken using new HQ module camera module, v2 camera module and Canon 700D with 18-135 focal length lens.


And here is video recording with a 25mm 10MP Telephoto Lens:
Overall the image quality feels much closer to the DSLR cameras, you can get nice clear shots with blurred background and crisp foreground. Let’s try using new HQ camera with an image segmentation model for some neural network image magic.
We will use aXeleRate, Keras-based framework for AI on the edge to train image segmentation model, that will segment images into two classes: background and human. We then will convert Keras model to.tflite model for faster inference on Raspberry Pi and use the inference results to blur (or remove background) from the video feed.
Semantic segmentation models (a.k.a image segmentation) classify each pixel of the input image into a category – as opposed to image classification models, which classify the whole image and object detection models, which output bounding boxes for objects present in the image. In aXeleRate, SegNet-basic architecture is used for image segmentation.
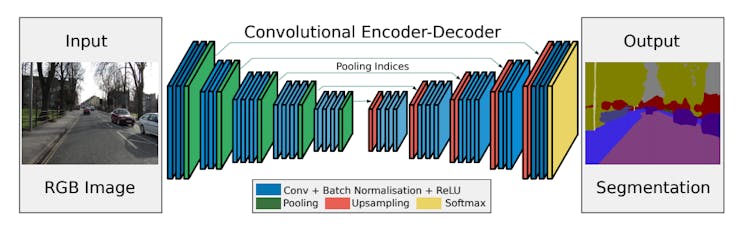
Here the output of feature extractor, in our case MobileNet alpha 0.5 is being fed intro a decoder, which consists of Conv2D and upsampling layers. Upsampling layers are direct opposite of pooling layers – they increase the feature map size instead of decreasing it. The final decoder output feature maps are fed to a soft-max classifier for pixel-wise classification.
Open the Colab notebook I prepared and follow the steps there to train and convert your model.
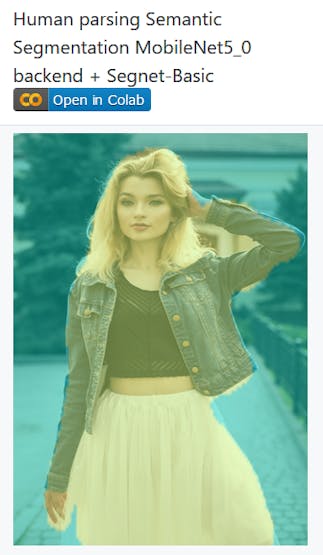
I was hesitating between this picture and a picture of a very charismatic Jewish guy wearing kippah from the validation dataset
In the latest version of aXeleRate I added several converter options for .tflite models – these correspond to options in Post training quantization documentation for TensorFlow Lite.
“tflite_dynamic” is Dynamic range quantization
“tflite_fullint” is Full integer quantization with float fallback – the model will still have float inputs and outputs(!)

Once the training is done, copy the tflite model to your Raspberry Pi and execute the following commands.
Install the dependencies for the demo:
python3 -m pip install --user opencv-python numpy flaskIn order to achieve the best inference speed you need to install latest version fo Tensorflow Lite interpreter, 2.3.0 with threading enabled. You can download binaries from this Github repository.
Or compile them yourself.
Then download the example scripts and run them:
git clone https://github.com/AIWintermuteAI/aXeleRate.gitcd aXeleRatepython example_scripts/raspberry_pi/segnet/segnet_video.py --model path-to-your-model --labels path-to-your-labels-file --source picameraEither way, if you use the latest official TensorFlow Interpreter package(2.1.0), you need to change the line in segnet_video.py
self.interpreter = Interpreter(model_file, num_threads = 4)to
self.interpreter = Interpreter(model_file)The label file is just a.txt file with names of classes in the following format “background”, “human”
After the script is running open your web browser and enter 0.0.0.0:5000 to see the live stream from the camera. The inference speed with an optimized model, using 4 threads is ~150 ms per second – the image processing also adds some overhead.
_esyYXMbodJ.jpg?auto=compress%2Cformat&w=740&h=555&fit=max)
Remember to use a good power supply – when I used a cheap power supply rated for 2.1A I got undervoltage warning and inference speed was ~300 ms!
Until the next time!