ESPHome Bluetooth Proxy: Extend Bluetooth Range for Home Assistant with ESP32
If you’ve been running Home Assistant for a while, chances are you’ve had at least one “Bluetooth day” — moving a sensor closer, restarting integrations, or wondering why a device that worked yesterday has vanished today. BLE thermometers, plant sensors, presence trackers… they all seem fine, yet Home Assistant just can’t see them consistently.
For most Home Assistant users, the issue isn’t the device at all. It’s simply that Bluetooth doesn’t travel very far, and our Home Assistant servers are rarely in the best spot for it. That’s exactly why ESPHome Bluetooth Proxy exists: it lets you place Bluetooth where it actually needs to be, using inexpensive boards to extend Bluetooth coverage and make Home Assistant feel a lot more reliable.
What Is a Bluetooth Proxy?
In simple terms,a Bluetooth proxy is exactly what it sounds like: a small device that listens for nearby Bluetooth (BLE) signals and relays them back to Home Assistant over your network. You place a small device near your sensors, and it forwards Bluetooth data back to HA over Wi-Fi or Ethernet.
Think of it like a Wi-Fi extender, but for Bluetooth. The problem it solves is straightforward: Bluetooth range is short, and distance causes instability. Bluetooth proxies close that gap, making devices more reliable without changing your existing setup.
ESPHome Bluetooth Proxy for Home Assistant
What Exactly Is ESPHome Bluetooth Proxy?
ESPHome Bluetooth Proxy uses ESPHome running on an ESP32 board to scan nearby BLE devices and forward their data to Home Assistant over the network. From Home Assistant’s perspective, these devices appear as if they are locally connected—even if they’re physically far from the host.
Why Choose an ESPHome Proxy Over a Standard USB Adapter?
If you are currently plugging a USB Bluetooth dongle directly into your Raspberry Pi or NUC, you are likely hitting the physical limits of that setup. Here is why switching to an ESPHome Proxy is the standard upgrade path for Home Assistant users.
The Core Advantage: Native Ecosystem & Hardware
Before comparing features, it is crucial to understand why this combination works so well:
- Native Integration: ESPHome is a “first-class citizen” in Home Assistant. Unlike generic USB adapters, the Active Bluetooth Proxy feature allows HA to automatically discover and manage devices through the ESP32 without complex configuration.
- The Power of ESP32: For less than the cost of a lunch, the ESP32 chip handles both Wi-Fi and Bluetooth simultaneously. It offloads the processing work from your server, providing a dedicated, low-power interface for your sensors.
The Upgrade: 4 Key Improvements
| Feature | Standard USB Adapter (The Limit) | ESPHome Proxy (The Advantage) |
| 1. Placement | Tethered to Server: Physically leashed to your host machine (often trapped in basements or closets). | Place Anywhere: Decoupled from the server. Place it anywhere you have Wi-Fi/Power (e.g., behind the TV). |
| 2. Coverage | Single Point: Cannot penetrate concrete walls or cover multi-story homes effectively. | Distributed Network: Deploy multiple proxies to eliminate dead zones and cover every corner. |
| 3. Scalability | Clumsy: Adding multiple USB sticks to one server is technically difficult and messy. | Zero-Config: Need more range? Just plug in another ESP32. Home Assistant automatically unifies them. |
| 4. Performance | Laggy: Distance causes packet loss, “Unavailable” sensors, and delayed reactions. | Instant: Keeps the Bluetooth link local and strong, converting data to high-speed Wi-Fi for real-time response. |
How ESPHome Bluetooth Proxy Works
Once you have an ESPHome Bluetooth Proxy running on an ESP32, here’s what happens behind the scenes:
1. Instant Listening (Passive & Active): The proxy supports both battery-saving “broadcasts” (e.g., thermometers) and urgent “active notifications” (e.g., motion sensors). Because the ESP32 is always listening, it captures these signals instantly, eliminating the wake-up lag common in older hubs.
2. The “Raw” Data Pipeline: Instead of processing data locally, the proxy uses the ESPHome Native API to stream raw Bluetooth packets directly to Home Assistant. This offloads the heavy lifting to your server, ensuring near-zero latency.
3. Connectivity: Wi-Fi vs. Ethernet vs. PoE: Your hardware choice defines stability:
- Wi-Fi: Flexible and cheap (<$10), but shares the 2.4GHz spectrum with Bluetooth, which can cause interference under heavy load.
- Ethernet: Eliminates interference and boosts connection stability.
- PoE (Gold Standard): Delivers both power and rock-solid data over a single cable. It allows for ideal ceiling placement without cable clutter.
4. Two-Way Control: It is not just a receiver. When you toggle a switch in HA, the proxy establishes a direct, confirmed connection to the device. Your dashboard only updates when the device confirms “Action Complete.”
5. Intelligent Roaming: With multiple proxies, Home Assistant acts as the brain. It receives data from all proxies but automatically filters duplicates, using only the strongest signal (RSSI). Move a device to a new room, and it seamlessly “roams” to the nearest proxy without reconfiguration.
What Can You Actually Do With ESPHome Bluetooth Proxy?
1. Reliable Whole-Home Sensing
Bluetooth sensors like Xiaomi thermometers or Govee plant monitors are great, but they often fail to reach the server from distant bedrooms. By placing a wired proxy in the hallway, you create a stable “listening post” that captures every single data point without the dropouts common with Wi-Fi extenders.
Beyond simple climate data, these proxies enable high-stakes accessibility routines. For instance, one user shared how they utilized a mesh of proxies to support a family member recovering from a severe injury:
“I’m setting up all sorts of routines… with a combination of Bluetooth, motion detectors, and NFC tags, to make things easier for my sister to move around the house without trying to deal with a wheelchair, walker, and lights, while at the same time using other lighting scenes for others living in the house.”
2. Reaching “Dead Zones” (Basements & Garages)
Thick concrete walls in basements or detached garages kill wireless signals. A standard Wi-Fi hub often struggles here. Running a single Ethernet cable (PoE) to a proxy bypasses these physical barriers entirely, giving you instant control over smart locks or SwitchBots in areas that used to be offline.
This isn’t just theoretical; it’s a common hurdle for Home Assistant power users. On the Home Assistant Community forums, one user highlighted the exact frustration of trying to manage hardware across multiple levels:
“My SwitchBot curtains (2 floors down from where my HA is) are discovered but response is bad, and a SwitchBot [Remote] I got for free with the curtains actually is discovered only if it’s on the same floor as the HA server.”
By deploying a wired ESP32 Bluetooth Proxy on that lower floor, you bridge that gap. The proxy acts as a local “bridgehead,” communicating with the curtains via low-energy Bluetooth and sending the commands back to your server over a rock-solid Ethernet or Wi-Fi backhaul. This transforms a “dead zone” into a fully responsive part of your smart home ecosystem.
3. Room-Level Presence Detection
Motion sensors only know someone is there; a BLE Proxy knows who is there. By tracking the signal of your Apple Watch or Tile Tracker, Home Assistant can tell exactly which room you are in. This enables “follow-me” lighting that reacts specifically to you, not just generic movement.
As demonstrated by the Home Automation Guy in his project, this setup turns simple proxies into a sophisticated tracking network:
- Hardware Efficiency: No dedicated devices needed. Your existing ESPHome sensors can act as tracking nodes simply by adding a bluetooth_proxy: line to their code.
- Personalized Scenes: Your home can automatically trigger bespoke settings—like your preferred thermostat temperature or Spotify playlist—the moment it detects your specific ID in a room.
- Seamless Accuracy: By using the Bermuda integration to analyze signal strength (RSSI) across multiple nodes, your house gains “spatial awareness,” eliminating the ghost triggers common with basic motion sensors.
Hardware Option: From Plug-and-Play to Custom DIY
ESPHome is flexible, and your hardware choice should match your skills and budget. Whether you want a ready-made solution, want to “hack” an existing device, or build from scratch, here are your three paths.
1. The Plug-and-Play Route: Ready-Made Ethernet Gateways
Best for: Users who want guaranteed stability without looking at a bare circuit board. If you want the “Gold Standard” connection, start with the Ready-Made Project list in ESPHome.
- Official Web Installer: These certified devices support the magic “Web Installer“. You don’t need to install any software or write code. Simply plug the device in, visit the website, and click “Connect” to flash the firmware instantly.
- The True Plug-and-Play Choice: Among the supported devices, the Seeed Studio W5500 Ethernet Adapter V1.2 stands out as a complete, consumer-ready gateway. Unlike bare development boards that require assembly or 3D-printed cases, this unit is ready to deploy immediately. It integrates the industrial W5500 Ethernet chip with PoE (Power over Ethernet) support into a finished form factor. This makes installation far cleaner and easier than standard Ethernet adapters (which still need a clumsy USB power brick), while delivering rock-solid stability that Wi-Fi simply cannot match.
2. The Multi-Tasker Route: Repurposing Existing Gear
Best for: Power users who love efficiency and writing YAML. Did you know you don’t always need a dedicated device? Since the ESP32 is a powerful dual-core chip, many smart devices can act as a Bluetooth Proxy while doing their main job.
- The Flexible Approach: You can take an existing ESP32-based device and simply add the Bluetooth Proxy code to its YAML configuration.
- Community Example: A popular use case is the E1001 E-ink Display. A Home Assistant Ethusiasm in the community have successfully configured it to display weather and home status on the screen while simultaneously running as a Bluetooth Proxy in the background. One device, two functions.
3. The DIY Module Route: Low-Cost Mass Coverage
Best for: Covering every corner of the house on a budget. If you need to cover a large house with 5 or 6 nodes, buying finished products can get expensive.
- The Strategy: Buy a pack of low-cost ESP32 Series development boards or compact modules. The same page in ESPHome that supports the pro gateways also includes firmware for “Generic ESP32” boards.
- Why it wins: Because they are so affordable, you can sprinkle them everywhere—behind nightstands, inside junction boxes, or under shelves. While these are usually Wi-Fi based, their low cost allows you to build a massive “mesh” of sensors that eliminates every possible blind spot in your home.
FAQ
Q1: How many devices can one proxy handle?
A1: It depends on the device type and your connection method: Passive Sensors (Unlimited): Thermometers and plant monitors just broadcast data. One proxy can handle dozens of these effortlessly. Active Connections (Limited): Devices requiring two-way control (e.g., locks, some lights) need a constant link. On Wi-Fi (~3 Device Limit): The chip shares one radio for both Wi-Fi and Bluetooth. Connecting more than 3 active devices causes interference and instability. On Ethernet/PoE (5-10+ Devices): Wired data frees up the radio to focus 100% on Bluetooth, significantly increasing stability and capacity.
Q2: Can I use this for Bluetooth Speakers or Audio?
A2: No. ESPHome Proxies are designed strictly for data (sensors, lights, locks). They do not support Bluetooth Classic Audio (A2DP). You cannot stream music from Home Assistant to a Bluetooth speaker via this proxy.
Q3: Do I need to know how to write code (YAML)?
A3: Not anymore. Thanks to “Ready-Made” projects and web installers, you can often flash an ESP32 directly from your browser with zero coding. Once installed, Home Assistant auto-discovers it
Q4: Can I run the proxy on a battery?
A4: Not recommended. Keeping the Wi-Fi and Bluetooth radios active 24/7 consumes too much power for standard batteries. It is best to use a USB phone charger or PoE (Power over Ethernet).
Q5: Which ESP32 chip variant should I choose?
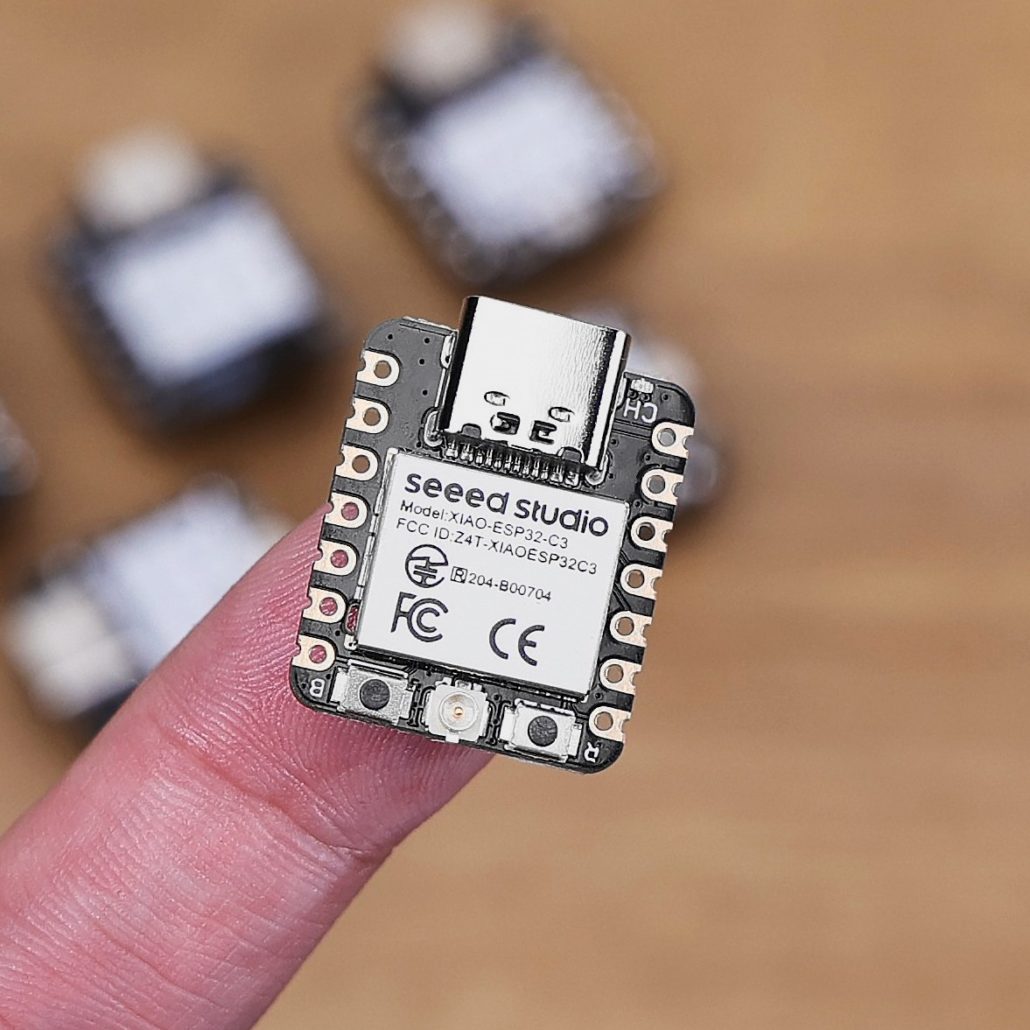
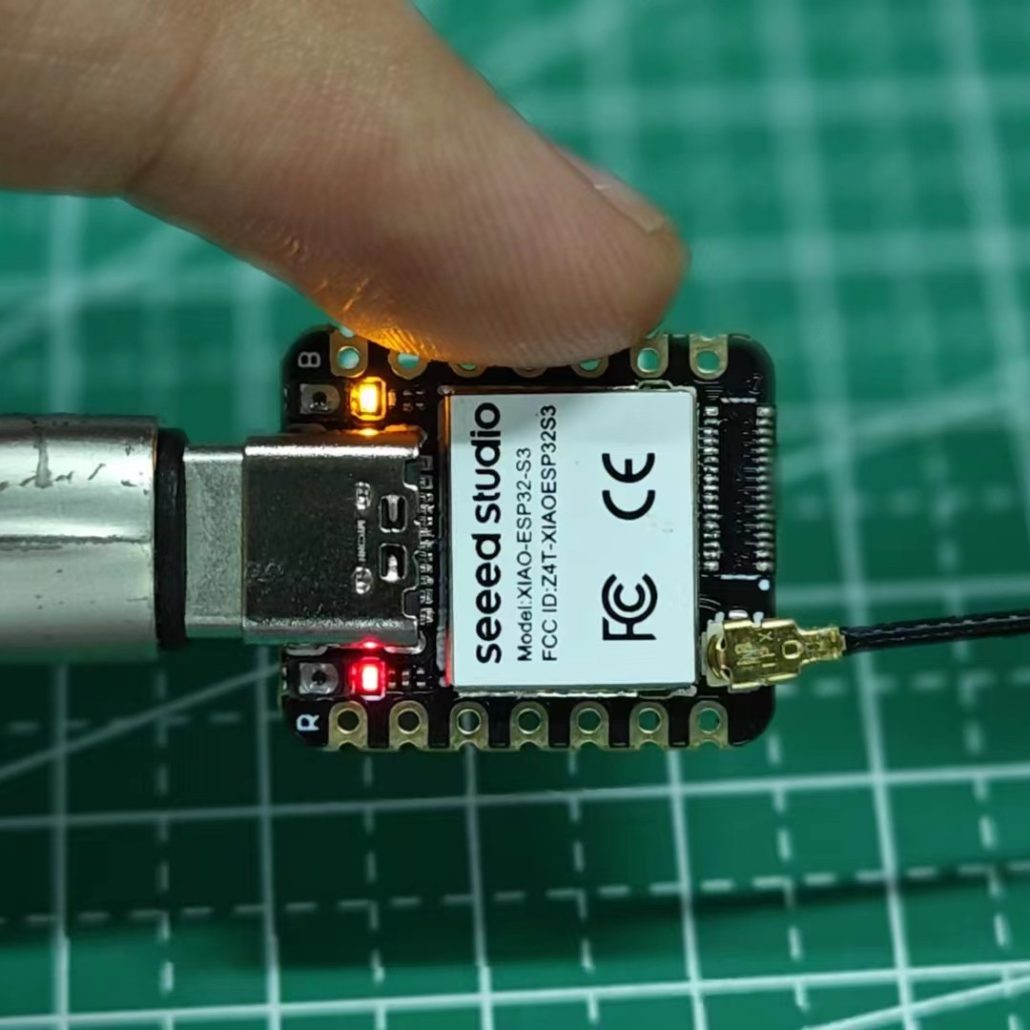
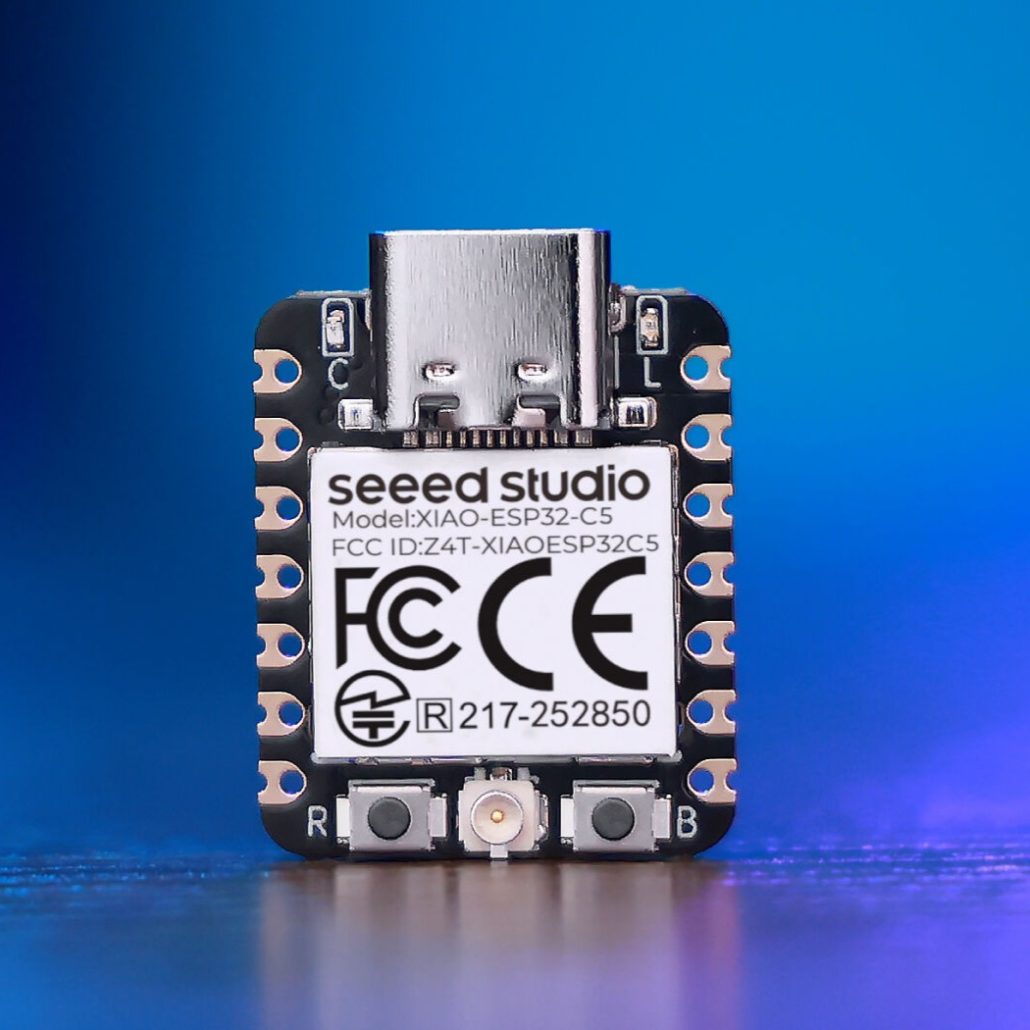
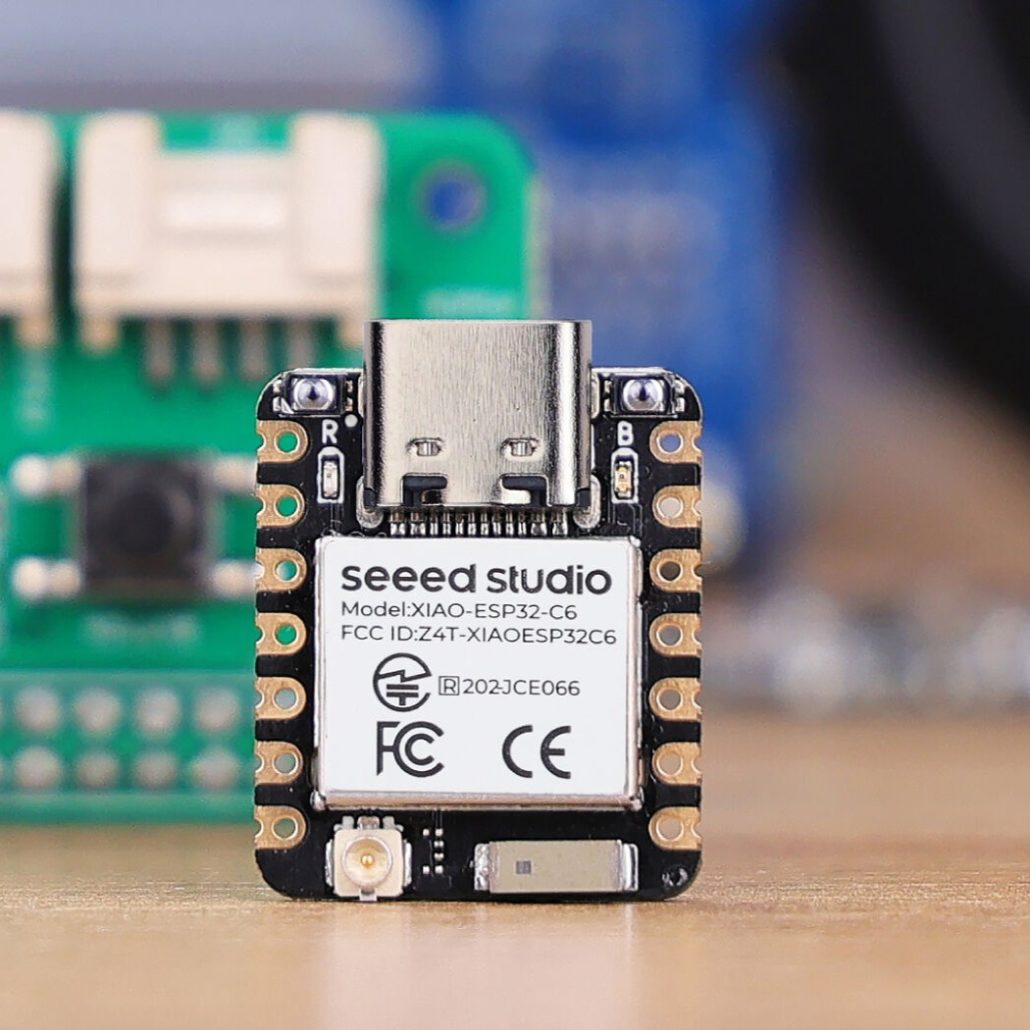
A5: For most users, the ESP32-C3 or ESP32-S3 is the sweet spot because they support Bluetooth 5 (Long Range) for superior wall penetration. If you suffer from heavy 2.4GHz interference, the ESP32-C5 is your best problem-solver, as its 5GHz Wi-Fi support leaves the airwaves clear for Bluetooth. The ESP32-C6 is also an excellent choice, offering Wi-Fi 6 for better connection stability in crowded networks. While the classic ESP32 remains a safe budget choice, strictly avoid the ESP8266 (no Bluetooth) and ESP32-S2 (unsupported).
—————————————————————- READ MORE —————————————————————-
As a proud partner of Nabu Casa, Seeed Studio is an official global distributor of Home Assistant hardware (Host, Accessory, and Control), shipping to 100+ countries. Complementing the official gear, we offer an extensive ecosystem of self-developed HA-compatible solutions—from industrial devices to DIY kits—with seamless MQTT and ESPHome integrations. From local servers to E-Ink dashboards, Seeed provides the definitive hardware foundation to bring your Home Assistant vision to life. [Explore the HA Collection]
—————————————————————- READ MORE —————————————————————-
short easy explanation. thanks.